
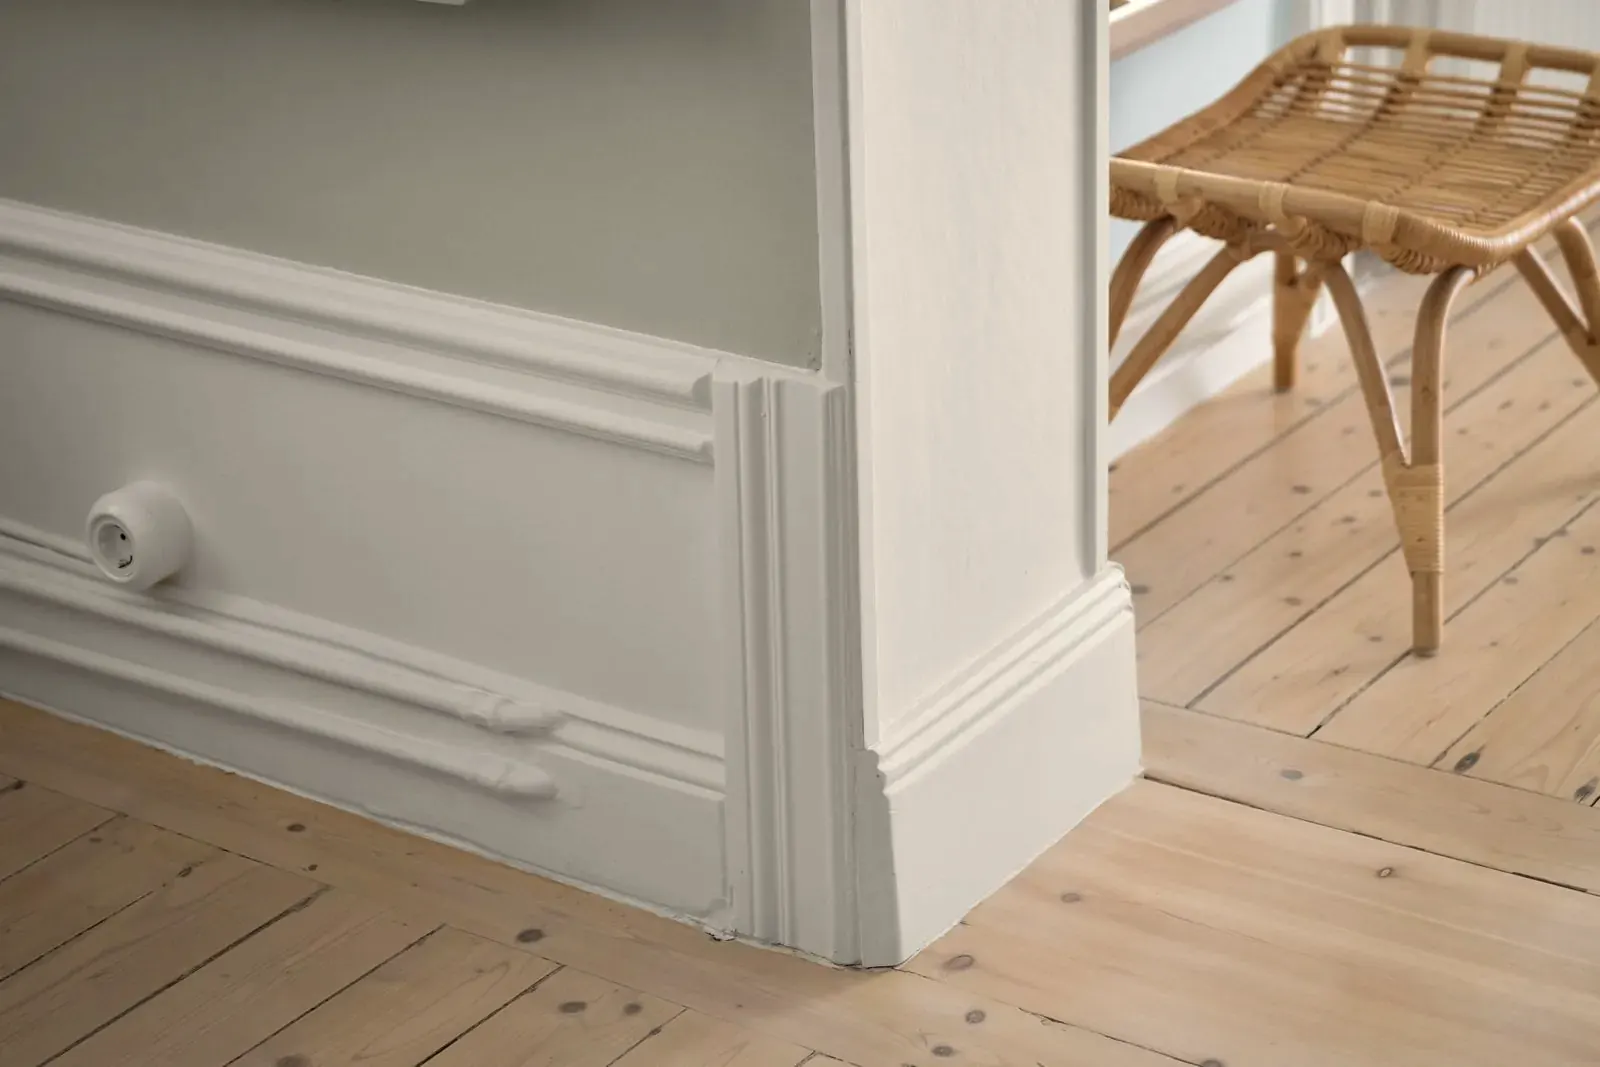
How to install baseboards
A baseboard hides the expansion gap only if it is deeper than the gap is wide and fastened to the wall alone. Here are the spacings, cutting angles and checks that are otherwise scattered across manufacturer leaflets.
For anyone fitting baseboards after laying laminate, click parquet or vinyl, and for floor installers who want the manufacturer values in one place. Baseboards are the last job on the floor, and they decide whether a floating floor can move. Allow two hours for a small room and up to a day for an apartment. Read your board's own leaflet first, because clip spacing and approved fasteners differ by product; the values below are the ranges given across several manufacturers.
Before you buy: does the board cover your gap?
Measure the expansion gap between floor and wall at its widest point. Laminate and parquet manufacturers usually ask for 10 to 15 mm, some for 8 to 10 mm. The board must be deeper than that gap, or the gap shows, or the floor slides out from under the board when it expands.
Common boards are 14 to 20 mm deep (for example 58 × 14 mm or 50 × 18 mm). With a 15 mm gap, a 14 mm board is too shallow, so choose a deeper one.
Installing baseboards in 8 steps
Finish the floor and acclimate the boards
Pull every spacer wedge out of the expansion gap, because a forgotten wedge locks the floor for good. Check the gap is clear all the way around. Lay the boards flat in the room: manufacturers quote 24 to 48 hours, and 18 to 23 °C for plastic profiles. Trim the underlayment or vapor-barrier film that sticks up the wall flush, before or after fitting depending on your floor's leaflet. It must not show.
Plan wall by wall
Count whole board lengths per wall, not just the total perimeter: a 40 cm offcut is no use on a 2.80 m wall. Put butt joints behind cabinets or sofas, not in the line of sight from the door. Count inside corners, outside corners and ends at door frames, which tells you how many corner pieces or miter cuts you need.
Pick the fastening for your wall and board
See the table below. Rule of thumb: clips for laminate and parquet, because the board comes off and the floor stays free. Nails mainly for wood boards on ordinary plaster. Screws on uneven walls. Adhesive only on flat, dry, dust-free walls. Some floor manufacturers approve only their own clip system, so check before you buy.
Start at a door frame
Begin at a door frame and work to the next corner. Cut only the next board and test-fit it before fastening. At the visible end by the frame, fit an end cap (with clip systems the last clip sits about 5 mm short of the frame) or back-cut the end at 90°. Butt joints are straight cuts pushed tight together.
Cut corners to the real angle
Very few room corners are exactly 90°. Take the angle with a sliding bevel and halve it: 88° gives 44° per board, 92° gives 46°. Cut both boards at the same half angle, not one at 45° and the other at the remainder. Test on offcuts first. On foil-wrapped boards, plastic corner pieces are the safe option: cut square, push on, done. Coping inside corners works on paint-grade solid wood; on foil-wrapped boards the foil chips.
Fasten to the wall only
Clips: hold up, mark, drill, plug, screw, press the board on. Put a clip about every 40 to 50 cm, plus one near each corner and joint. Nails: at most 60 cm apart (40 cm on some profiles), at most 5 cm from corners and joints. Drive them slightly downward (about 8°) while pressing the board onto the floor with a short board and your body weight so it sits tight. The board rests on the floor but is never nailed, screwed or glued into it.
Pipes, cables and thresholds
At radiator pipes, drill or notch the board at the pipe position and cover the rest with a pipe collar. Cables fit the groove on the back of many boards. At a doorway the board stops at the frame, not on the threshold profile.
Caulk the top, leave the bottom open
Seal the joint between board and wall with paintable acrylic caulk and smooth it with a wet finger. Leave the joint between board and floor open, because caulk or silicone there bonds board and floor. Wet-room exception: floor manufacturers require a water-resistant board sealed to the floor with silicone. Foil-wrapped boards are not painted; fill nail holes with color-matched wax.
Which fastening for which wall?
| Fastening | Suits | Spacing per manufacturers | Advantage | Watch out |
|---|---|---|---|---|
| Clips (screwed and plugged) | Laminate and parquet on masonry, concrete, plaster, drywall with the right anchor | About 40 cm (one manufacturer supplies 6 clips per board) to 50 cm | The board comes off for cables or redecorating | Many holes; some floor manufacturers approve only their own clips |
| Steel pins | Wood boards on ordinary plaster and masonry | Under 60 cm (German parquet standard DIN 18356), at most 40 cm on some profiles; at most 5 cm from corners and joints | Quick and cheap; the standard method for parquet installers | Pins bend in hard plaster and concrete; wood paneling can split |
| Screws and plugs | Uneven or hard walls, solid-wood boards | 80 to 100 cm on flat walls (one manufacturer), closer otherwise | Pulls boards onto uneven walls | Visible screw heads; a separately priced item in German tenders under DIN 18356 |
| Construction adhesive | Flat, dry, dust-free walls; tiled walls | Continuous or in dabs, as the adhesive maker says | No holes | Comes off only with a scraper and damage; fails on damp or dusty walls |
Tools and materials
| Item | Quantity |
|---|---|
| Baseboards | Perimeter minus door openings, worked out wall by wall in whole lengths (2.40 to 2.60 m) |
| Clips or fasteners | About 2 to 3 per linear meter at 40 to 50 cm spacing, plus one near every corner and joint |
| Plugs and screws for clips to suit the wall (for example 6 mm plugs); steel pins about 1.5 × 45 mm if nailing | 1 per fixing point |
| Inside corners, outside corners, end caps, connectors if you are not mitering | 1 per corner, end or joint |
| Miter saw with a carbide blade, or a miter box and fine-tooth saw | |
| Sliding bevel or digital angle finder | |
| Drill, cordless screwdriver, level, pencil, utility knife, folding rule | |
| Paintable acrylic caulk and caulking gun for the top edge; suitable silicone in wet rooms | |
| Offcuts for test miters |
The five most common mistakes
Gap wider than the board is deep
How to spot it: You can see into a gap from above, or the floor creeps out from under the board in summer.
Fix: Choose a deeper board, or check before buying (see the box above). Never shrink the gap below the 10 to 15 mm your floor manufacturer asks for.
Board tied to the floor
How to spot it: The board is nailed into the floor, glued onto it, or caulked at the bottom. The floor domes, or joints open in the middle of the room.
Fix: Fasten to the wall only and leave the bottom joint open.
Spacer wedges left in the gap
How to spot it: The floor domes along one wall although the board is fitted correctly.
Fix: Walk the whole gap before the first clip goes on.
Every miter at 45°
How to spot it: A wedge-shaped gap opens at the top or face of inside corners.
Fix: Measure and halve the angle, test-cut, or use corner pieces.
Wrong fastening for the wall
How to spot it: Nails bend in hard plaster, adhesive lets go on a dusty or damp wall, the board stands off.
Fix: Use plugged clips or screws on hard walls. Dust and dry walls before gluing. Add fixing points on uneven walls.
When to call a professional
Call a professional in these cases, because a caulked board on a damp wall traps the moisture and close fastening cannot fix a badly wavy wall.
If you are tendering floor work in Germany: under the parquet standard DIN 18356 nailing is the standard fastening, and screwing is a separate item that the tender must ask for explicitly. Plastic and resilient-flooring baseboards fall under DIN 18365.
- Damp walls, for example in old buildings or basements
- Strongly wavy walls where even close fastening leaves gaps
- Rooms with many angled corners or curves
Frequently asked questions
- Glue, nail or clip baseboards?
- For floating laminate or parquet, clips are usually best: the board comes off and is fastened only to the wall. Nailing is the standard for parquet installers and holds wood boards well on ordinary plaster, but pins bend in hard plaster. Use adhesive only on flat, dry, dust-free walls. Some floor manufacturers require their own clip system.
- How many clips per meter?
- Manufacturers give 40 to 50 cm spacing, so about 2 to 3 clips per linear meter plus one near each corner and joint. One retail clip system supplies 6 clips per board. Set them closer on uneven walls.
- What angle do I cut if the corner is not 90°?
- Half the measured angle, the same for both boards: 88° gives 44°, 92° gives 46°. Take it with a sliding bevel and test on offcuts.
- Do I caulk the bottom between board and floor?
- No. With a floating floor the bottom stays open and only the top edge to the wall is caulked. The exception is wet rooms, where floor manufacturers require a water-resistant board sealed to the floor with silicone.
- Why can't I fasten the board into the floor?
- A floating floor expands and contracts and must slide freely in the edge gap. Nail or screw through it and you pin it at that spot, so it domes or joints pull apart. The board rests on the floor but is fastened only to the wall.
Linear meters straight from the floor plan
If you draw your room in the planner, it gives the linear meters of baseboard as the perimeter minus the door openings; you still count corners and board lengths per wall yourself.
Start planning