
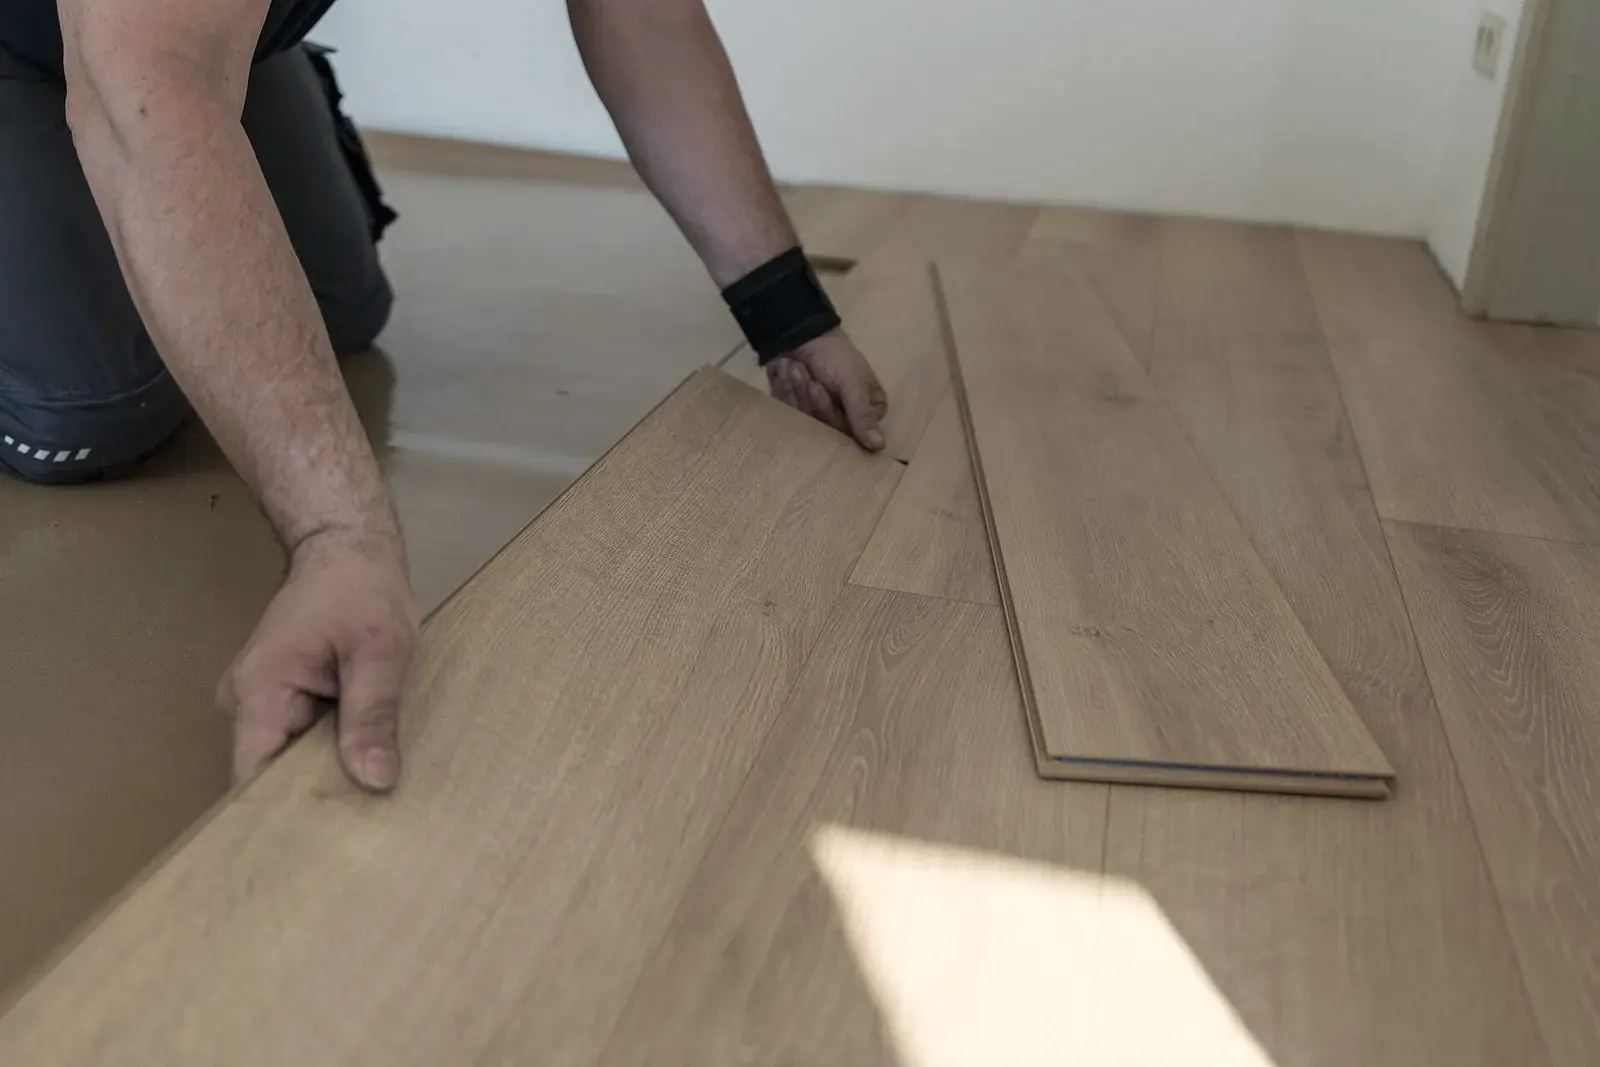
How to install laminate flooring
Laying floating click laminate is well within reach of a careful do-it-yourselfer. Whether the floor lasts is decided before the first plank: by the subfloor, the gaps and the width of the last row. This guide gives the numbers manufacturers really ask for.
This guide covers floating click laminate in living spaces. The figures come from several manufacturers' installation instructions and from the technical bulletin of the European Producers of Laminate Flooring association; the sources are listed at the end of the page. Where sources differ, we give the range – the instructions in your box always win.
Who this guide is for
For anyone laying click laminate in their own home, or checking a contractor's work. Careful measuring matters more than carpentry skill: you only cut at row ends, the last row, pipes and door casings.
Not covered: glued laminate, wet rooms (most manufacturers exclude bathrooms or require special products) and commercial floors.
Which laminate? The usage class on the box follows the European laminate standard: 21 to 23 for residential use, 31 to 33 also for commercial use; the second digit means moderate, general or heavy traffic. Choose a higher class for a hallway, kitchen or children's room than for a bedroom.
Check the subfloor first: moisture, flatness, stability
Flatness: lay a straightedge on the floor and measure the largest gap underneath. For click systems manufacturers allow at most 2 mm over 1 m (about 1/16 in over 3 ft) and 3 mm over 2 m (about 1/8 in over 6.5 ft); no single step may be higher than 1.2 mm. Grind or fill anything beyond that, and fill wide grout lines on old tile.
Moisture in screed or concrete: measure, don't guess. In Germany the accepted method is the calcium carbide test, where a sample is chiseled out of the screed and tested chemically. Limits: cement screed below 1.8 to 2.0 %, calcium sulfate (anhydrite) screed below 0.3 to 0.5 % (the stricter value with underfloor heating). An alternative named by the laminate association is at most 75 % relative humidity measured in the slab to EN 17668. Rule of thumb for drying: one week per centimeter of thickness for cement screed, two weeks per centimeter for anhydrite – never a substitute for measuring. Cheap pin meters only show trends.
Stability: repair cracks and loose spots and fix bouncy boards. A wood subfloor must be dry (one manufacturer allows at most 10 % wood moisture), free of mold and ventilated. The table after the steps shows what each type of subfloor needs.
Vapor barrier and underlayment: which and how
The vapor barrier protects laminate from moisture rising out of mineral subfloors. Required is an equivalent air layer thickness (the sd value on the data sheet) of at least 75 m, met for example by 0.2 mm (8 mil) polyethylene film. Overlap strips by 20 to 30 cm (8 to 12 in), seal them with moisture-resistant tape, run the film 2 to 5 cm (1 to 2 in) up the wall and trim it only after the baseboards are on. Underlayments with a built-in barrier must be taped just as tightly at the seams.
The underlayment must above all be firm, not thick. The laminate association asks for at least 10 kPa compressive strength and 60 kPa for higher demands; manufacturers recommend 60 to 90 kPa. One manufacturer limits the thickness to 3 mm. A soft, thick pad lets the click joint flex with every step until it breaks.
Planks with attached underlayment get no second underlayment – only the vapor barrier on mineral subfloors.
Worked example: where the last row lands
Room 5.00 × 4.00 m, planks 1383 × 193 mm, 10 mm gap at every wall. Laying width 4000 − 20 = 3980 mm. 3980 ÷ 193 = 20 full rows (3860 mm) and a last row of 120 mm – fine, since manufacturers require at least 5 to 8 cm.
Same room, but 3.50 m wide: 3480 ÷ 193 = 18 full rows and 6 mm left over. Nobody can lay that strip. The fix: 17 full rows, and the first and last rows share the rest: (3480 − 17 × 193) ÷ 2 = about 100 mm each. Decide this before the first plank, because the first row is then ripped lengthwise.
Along the length (4980 mm): row 1 has three full planks and an 831 mm end piece. The 552 mm cut-off starts row 2, whose end piece is 279 mm – both above the 20 cm minimum, and the offset of 552 mm is more than a third of the plank. Carry on like this and row 5 would end in a 6 mm sliver (saw kerf ignored), so that row's starting piece gets shortened. Do this check row by row before the first cut.
Underfloor heating
Laminate works on hydronic underfloor heating embedded in the screed. Manufacturer limits: floor surface at most 27 to 29 °C (81 to 84 °F); combined thermal resistance of laminate and underlayment at most 0.15 m²K/W (both data sheets state it). The underlayment must be approved for heated floors. Loose electric heating mats are not allowed.
Before laying, the heating installer runs a heat-up cycle and records it in writing (flow temperatures, dates, signature). The moisture test spots should be marked in the screed so nobody drills into a pipe.
Before, during and for three days after laying, keep the floor surface at about 18 °C (64 °F); then raise the temperature slowly.
Installing laminate in 7 steps
Measure the room and order
Measure length and width in several places and check that the room is square. Work out how wide the first and last rows will be (see the worked example); if the last row would be narrower than 5 to 8 cm (2 to 3 in), rip the first row narrower. Order whole packs plus one spare pack from the same batch for future repairs.
Acclimate the laminate
Store the sealed packs flat in the room for at least 48 hours, not leaning against a wall, 30 to 50 cm (12 to 20 in) away from outside walls and radiators. Room conditions before, during and for three days after laying: air at least 18 °C (64 °F), floor at least 15 °C (59 °F), relative humidity between 40 and 60 to 75 % depending on the manufacturer.
Check and prepare the subfloor
Flatness with the straightedge (at most 2 mm over 1 m), moisture in screed by test, stability. Fill low spots and let the compound dry as its maker specifies. Vacuum thoroughly. Undercut door casings by the thickness of plank plus underlayment so the floor can slide beneath them.
Lay the vapor barrier and underlayment
On mineral subfloors roll out the film with 20 to 30 cm overlap, tape the seams and run it up the walls. Then lay the underlayment as its instructions say. On wood subfloors, underlayment only.
Set out the first row
Choose the direction (usually with the incoming light or along the longest wall). Mix packs: take planks from at least four packs in turn so patterns don't cluster. Keep the gap to every wall with spacers (8 to 12 mm, about 5/16 to 1/2 in, as your instructions say). If the wall is not straight, scribe its line onto the first row and cut along it. The first row must be dead straight – everything else follows it.
Work across with staggered joints
Offset the end joints between rows by at least 20 cm (8 in) or a third of the plank length; no end piece shorter than 20 cm. Start each row with the previous offcut as long as these rules hold. At pipes, drill a hole about 20 mm (3/4 in) larger than the pipe, cut out the piece and glue it back after fitting. At every doorway the floor stops at a gap for a transition profile; likewise beyond about 8 m across or 8 to 12 m along the planks (check your instructions).
Fit the last row and finish
Measure the distance to the wall at several points, subtract the gap, transfer it to the plank, rip it and pull it in with the pull bar. Remove the spacers. Fix baseboards to the wall only and profiles to the subfloor only – never through the laminate. Inspect the floor within 48 hours: height differences at joints up to 0.10 mm and joint openings up to 0.2 mm are within tolerance.
What each subfloor needs
| Subfloor | Vapor barrier | What to do |
|---|---|---|
| New cement screed | Yes, sd value at least 75 m | Calcium carbide test, below 1.8 to 2.0 % |
| New calcium sulfate (anhydrite) screed | Yes | Test, below 0.3 to 0.5 %; prepare the surface as the screed contractor specifies |
| Old tile or stone | Yes, directly on the tile | Level grout lines and edges |
| Fully bonded vinyl or linoleum | No, the old floor acts as the barrier | Leave it in place |
| Carpet or needle felt | – | Always remove |
| Floorboards, chipboard, joisted floor | No, it would trap condensation in the wood | Fix loose boards, at most 10 % wood moisture, keep the ventilation (one manufacturer asks for 4 cm² of vent area per m² of floor, for example through vented baseboards) |
| Hydronic underfloor heating in screed | Yes | Documented heat-up by the heating installer first, see the underfloor heating section |
| Loose electric heating mats | – | Not allowed by manufacturers |
Tools and materials
| Item | Quantity |
|---|---|
| Laminate, planks mixed from at least four packs | Floor area plus waste, rounded up to whole packs, plus one spare pack from the same batch |
| Vapor barrier with an sd value of at least 75 m, for example 0.2 mm polyethylene film (mineral subfloors only) | With a 2 m roll and 20 to 30 cm overlap about 1.11 to 1.18 m² per m² of floor, plus the wall upturns |
| Moisture-resistant tape | About 0.6 m per m² for the long seams, plus the cross seams |
| Underlayment with 60 to 90 kPa compressive strength, at most 3 mm thick (not needed with attached underlayment) | Floor area plus offcuts |
| Baseboards | Room perimeter minus door openings, plus one spare length for corners |
| Transition profile | 1 per doorway |
| Pipe collars | 1 per pipe |
| Spacers matching the gap in your instructions | 8 to 12 mm |
| Pull bar and rubber mallet; tapping block only if your instructions allow it | |
| Miter or table saw for straight cuts (decor up), jigsaw or circular saw (decor down) | |
| Drill or Forstner bit for pipes | Hole about 20 mm larger than the pipe |
| Flush-cut saw for undercutting door casings | |
| Straightedge and feeler wedge for flatness | Straightedge 2 m |
| Tape measure, pencil, square | |
| Thermometer and hygrometer for the room climate |
The five most common mistakes
Laid on screed that was still wet
How to spot it: After a few weeks the plank edges curl up (cupping) and the joints swell.
Fix: The only prevention is testing before you lay: cement screed below 1.8 to 2.0 %, anhydrite below 0.3 to 0.5 %.
The floor is pinned: gap too narrow, baseboard screwed into the floor, kitchen units or built-in wardrobes standing on the laminate, door casing not undercut
How to spot it: Cracking noises, then a tent-shaped ridge in the middle of the room or at doors.
Fix: Free the gap; install heavy fixtures before the floor and leave a gap around them.
Run through several rooms without a break
How to spot it: Open joints or a ridge right in line with the door – each room has its own climate.
Fix: Separate the floor at every doorway and fit a transition profile.
Uneven subfloor or soft underlayment
How to spot it: Creaking and clicking, later broken locking edges and open end joints in walkways.
Fix: Check with the straightedge first (at most 2 mm over 1 m) and look up the compressive strength on the underlayment data sheet.
Last row too narrow or end pieces too short
How to spot it: The strip at the wall lifts or creeps; pieces under 20 cm come loose from the lock.
Fix: Work out the rows beforehand and rip the first row so the last one is at least 5 to 8 cm wide.
When to call a professional
Laying a floating floor is work you can do yourself. In these cases a professional belongs on the job:
- New screed: the calcium carbide test is done by a floor layer or screed contractor and decides warranty claims.
- Underfloor heating: the heat-up and its record are the heating installer's job.
- Old floor tiles from the 1950s to 1970s (vinyl asbestos tiles, in Germany called Floor-Flex) can contain asbestos and look like linoleum or vinyl. Don't rip, sand or drill them; have them tested, and leave removal to a certified firm.
- Bouncy joisted floors, damp rooms without a basement and open areas over 8 m without a break.
- If a contractor lays the floor, they must check the subfloor before starting and raise concerns in writing if they find defects – manufacturers' instructions describe this with reference to DIN 18365, the German standard for floor covering work.
Frequently asked questions
- How wide should the expansion gap be?
- Manufacturers specify 8 to 12 mm (about 5/16 to 1/2 in) to every wall, pipe, door casing and fixture; your instructions decide. The wood-based core moves with humidity – one manufacturer quotes up to 2 mm per meter. Baseboards cover the gap and are fixed to the wall only.
- Do I need a vapor barrier?
- On screed, concrete and tile, yes (sd value at least 75 m, taped seams). On floorboards and chipboard, no – it would trap condensation in the wood. On fully bonded vinyl or linoleum no extra film is needed.
- Can I run laminate through several rooms without a threshold?
- Most instructions require a movement gap with a profile at every doorway and limit an unbroken area to about 8 m across and 8 to 12 m along the planks. Some products allow more – but only if their instructions say so explicitly.
- How much waste should I allow?
- It depends on room shape, plank length, pattern and the number of doors and pipes; no manufacturer's instructions give a fixed percentage. In a straight lay each row's offcut starts the next row, so little is lost; diagonal lays lose much more. Count the cuts row by row as in the worked example.
- How long does new screed need to dry?
- Roughly one week per centimeter for cement screed and two weeks per centimeter for anhydrite. Only the test decides: below 1.8 to 2.0 % for cement screed and below 0.3 to 0.5 % for anhydrite, measured by the calcium carbide method.
Work out rows, last row and packs in advance
The planner places every plank at real size in your floor plan, shows the width of the first and last rows, checks offsets and end pieces and counts whole packs – subfloor, moisture and gaps remain hands-on work.
Start planning
Sources
- European Producers of Laminate Flooring: technical bulletin on installing laminate flooring (06/2022, German)
- European Producers of Laminate Flooring: technical bulletin on underlayment materials under laminate flooring (12/2022, German)
- BauNetz Wissen: flatness tolerances to DIN 18202 (German)
- State Institute for the Environment Baden-Württemberg: fact sheet 25.6 on vinyl asbestos floor tiles (German)
- Ostwestfalen-Lippe University of Applied Sciences: notes on asbestos (German)
- EN 13329:2023 laminate floor coverings, catalog entry