Laminate flooring calculator: planks, packs and waste %
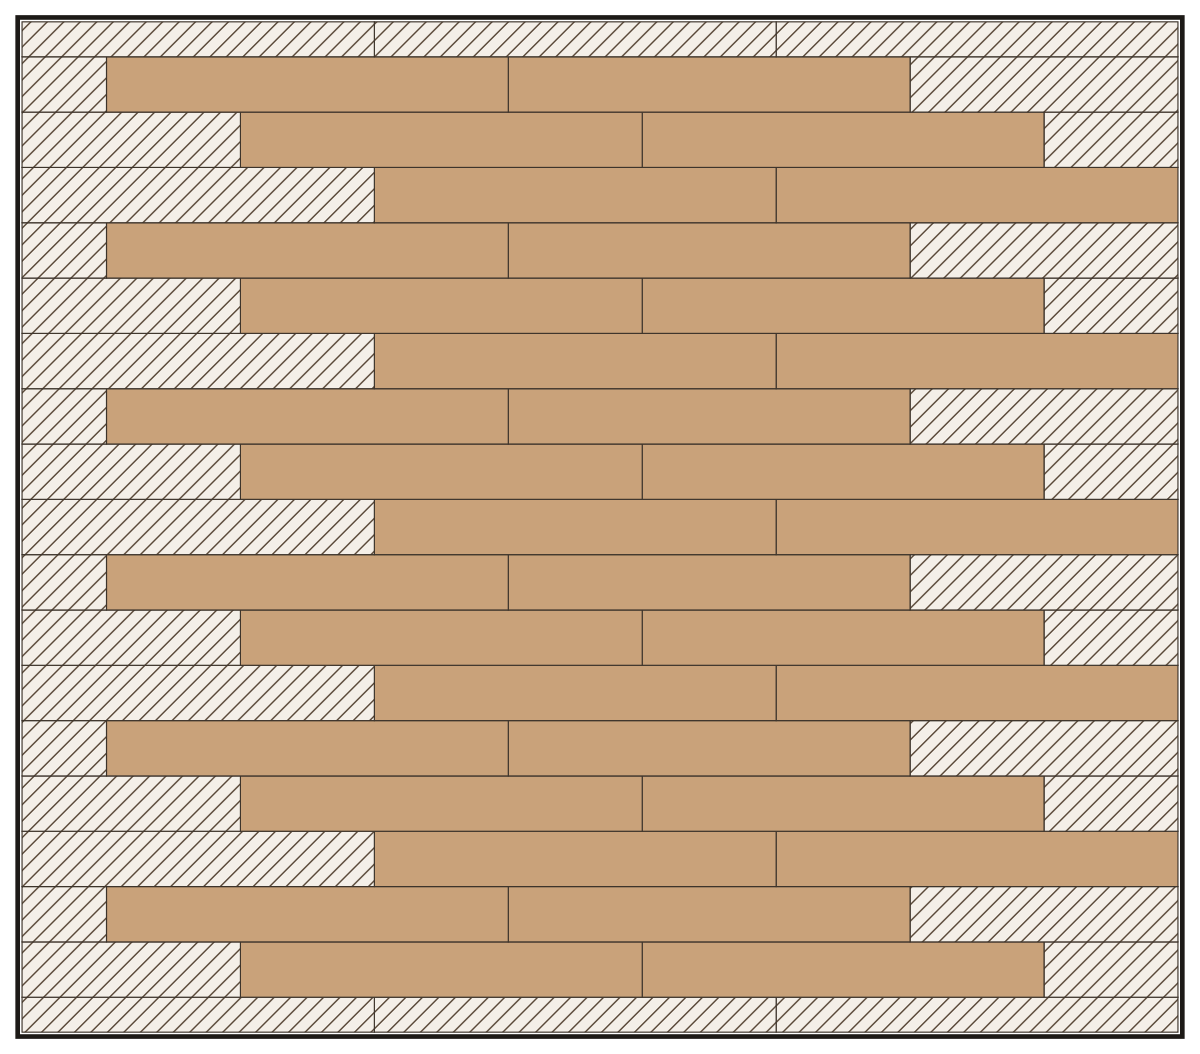
Enter the room, the plank and the pack, and this calculator lays the floor row by row the way an installer does: the offcut of one row starts the next, end pieces stay at least 7.9 in long and joints in neighboring rows at least 7.9 in apart. You get the planks, the cut pieces, the waste and the packs to buy — for a rectangle or an L-shaped room.
The count runs right here in your browser. For a floor with more corners, doorways or several rooms, the planner lays the real outline plank by plank.
How many packs of laminate does your room need?
Enter the room, the plank and the pack. The calculator lays every row with the installers' rules for offsets and end pieces and counts the planks, the cuts and the packs.
A common size — overwrite it with yours.
Printed on the pack label.
Enter your room to count the planks
Enter the length and width of the room to see the count.
Worked example: a 16 × 13 ft bedroom in laminate
The same numbers the calculator shows when you enter this room, line by line.
- Room: 16 × 13 ft = 208 sq ft, a rectangle; expansion gap about 3/8 in at every wall.
- Plank: 47.8 × 7.5 in, 8 planks per box (19.9 sq ft); planks along the 16 ft side, the offcut of each row starts the next.
- Rows: 21; the last row is 5 1/4 in wide — wider than the 2 in minimum, so no row needs to be split.
- Whole planks: 60. Cut pieces: 45 (start and end pieces), cut from 26 planks.
- Planks to buy: 86 = 11 boxes. Counted offcut waste: 3.9 %.
- Spare planks: 3 % = 3 planks. The 11th box leaves 2 over, so buy 12 boxes.
- For comparison, the flat rule: 208 sq ft ÷ 2.49 sq ft per plank = 84 planks + 10 % = 92 planks = 12 boxes.
The same room with a fixed half-plank offset: 95 planks, 12 boxes. The same room as an L-shape with a 6 × 5 ft corner missing: 74 planks, 10 boxes.
What a laminate calculator has to do
Dividing the floor area by a pack and adding 10 % gives a number, not an answer. A calculator earns its place only when it turns your real room into real quantities:
- Count the whole planks and the cut planks at the end of each row from the real room shape, then round up to whole packs — not the bare area.
- Count from the offset rule, because a run where each row's offcut starts the next wastes less than a fixed half-plank offset, which leaves many short offcuts nobody can use.
- Take the plank size, the room shape and the pack content you actually have, and keep the expansion gap at every wall.
- Show the width of the last row, so you see before you start whether it would end in a strip too narrow to click in.
From floor plan to pack count in four steps
- Bring the room in: a photo of the floor plan, a PDF, an IFC building model or a 3D scan.
- Trace the outline and set the scale, so every following number is a real measurement.
- Pick the plank size, the offset and the pack size.
- Get the plank count, the packs, the waste percentage and the cut list, then order against it.
Why the pack-rounding number is usually wrong
The area-divided-by-pack estimate
The quick estimate divides the floor area by the pack coverage and adds a flat 10 %. In a plain rectangle it is often within one pack of the counted figure, but it never sees the end cuts, the last row or an L-shape, so it can be a pack too many — or one too few.
The laying direction changes the waste
A run where the offcut starts the next row keeps waste low. A fixed half-plank offset leaves offcuts that are too short or on the wrong side to use, so the waste climbs: in the 16 × 13 ft example from 3.9 % to 14.8 %.
Why placing each plank is exact
The calculator above lays each plank, keeps the minimum lengths and offsets of the installation rules and uses offcuts only where their click profile fits, so the plank and pack count follow your room instead of a one-size markup.
From tape measure to the order
Six steps before the first plank clicks in. The calculator counts; these steps decide whether the count fits and the floor stays flat.
Measure and choose the direction
Measure each side at two places and use the longer figure. Planks usually run towards the main window and along the longest wall; enter that side as the room length. For an L-shape, measure the full rectangle and the missing corner.
Check the last row
Divide the room width by the plank width: what is left is the last row. The European laminate producers' association asks for at least 2 in (5 cm); if less, cut the first row narrower so both edge rows share the difference. The calculator does this and shows the last row's width.
Read the box label and the batch
The label gives the planks per box, the area per box and the production batch. Buy all boxes at once from one batch and mix planks from several boxes while laying, so small shade differences spread over the floor.
Let the boxes acclimatize for 48 hours
Store the closed boxes flat in the room at least 48 hours before laying, away from walls and drafts. The association asks for at least 64 °F (18 °C) air, a floor surface of at least 59 °F (15 °C) and 40 to 75 % relative humidity, before, during and for three days after laying.
Lay with gap, offset and the right tools
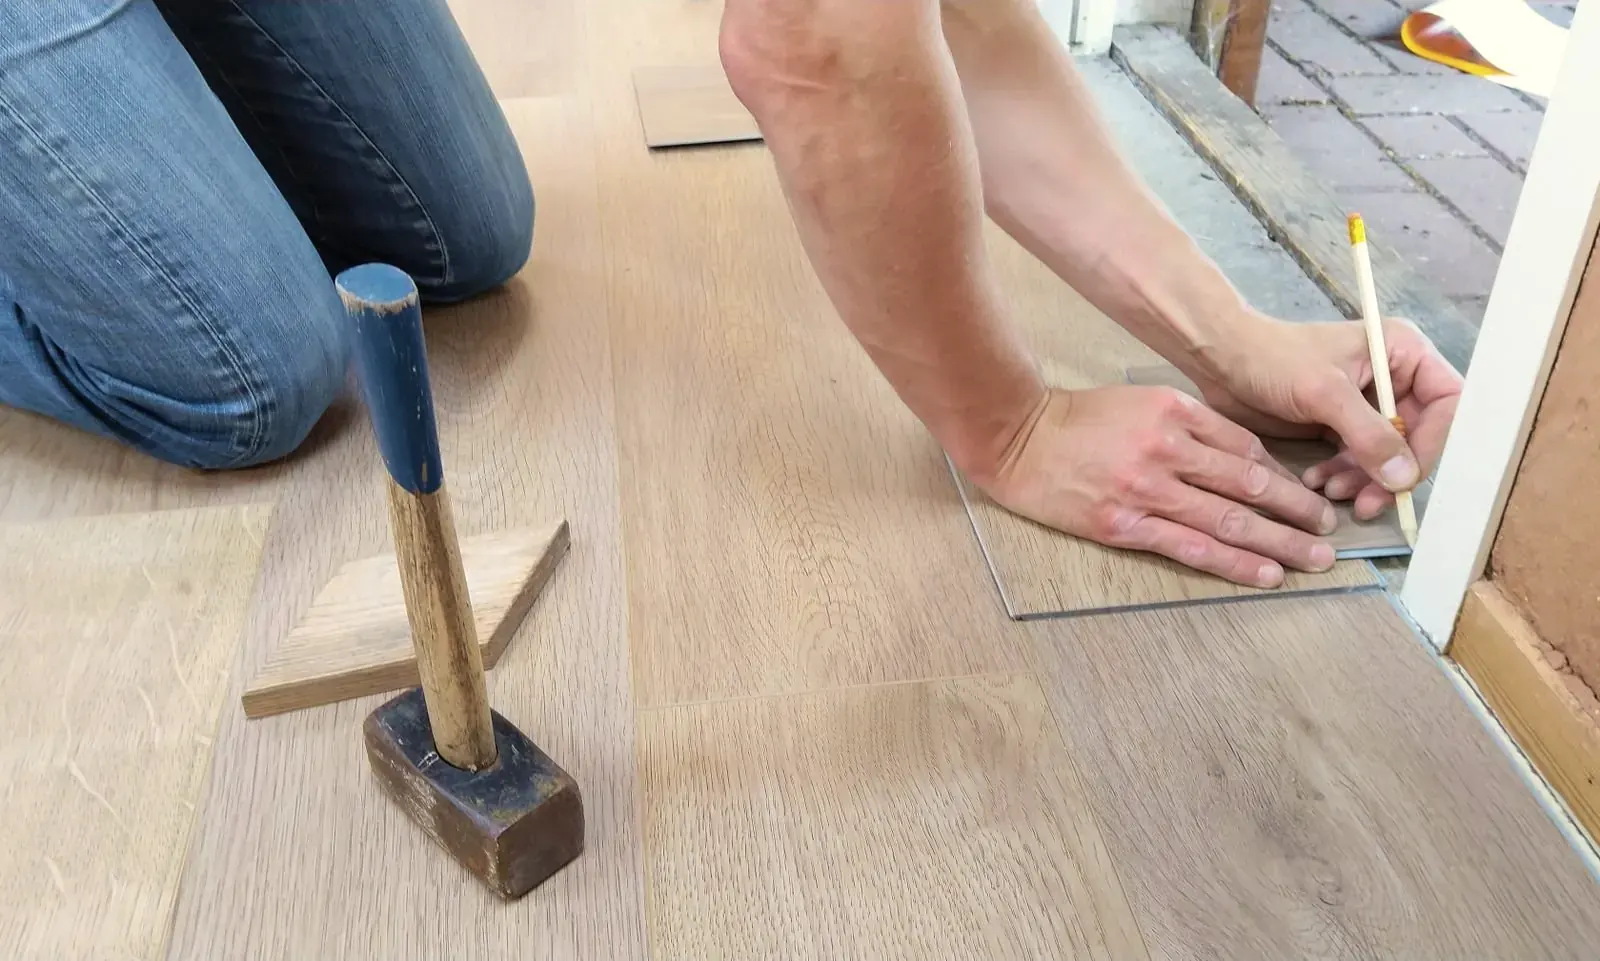
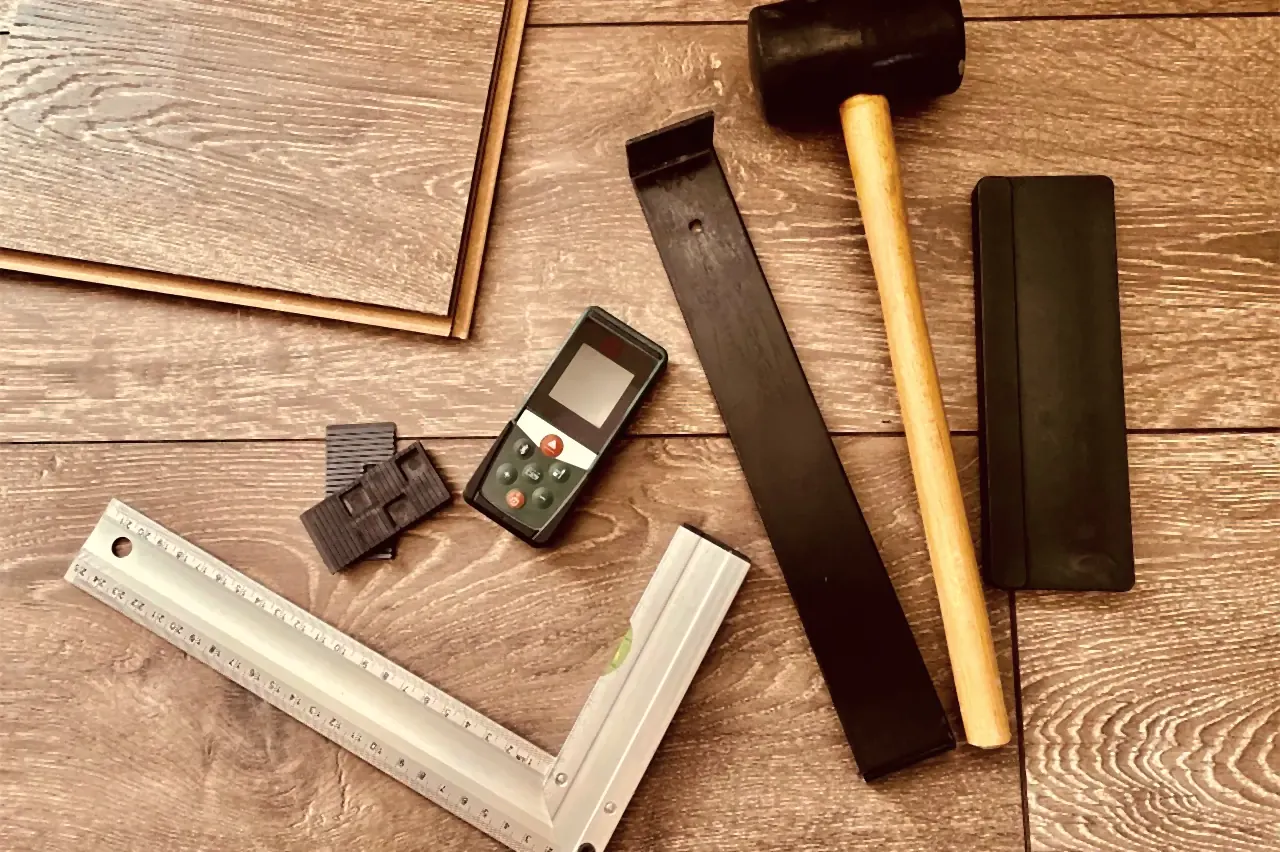
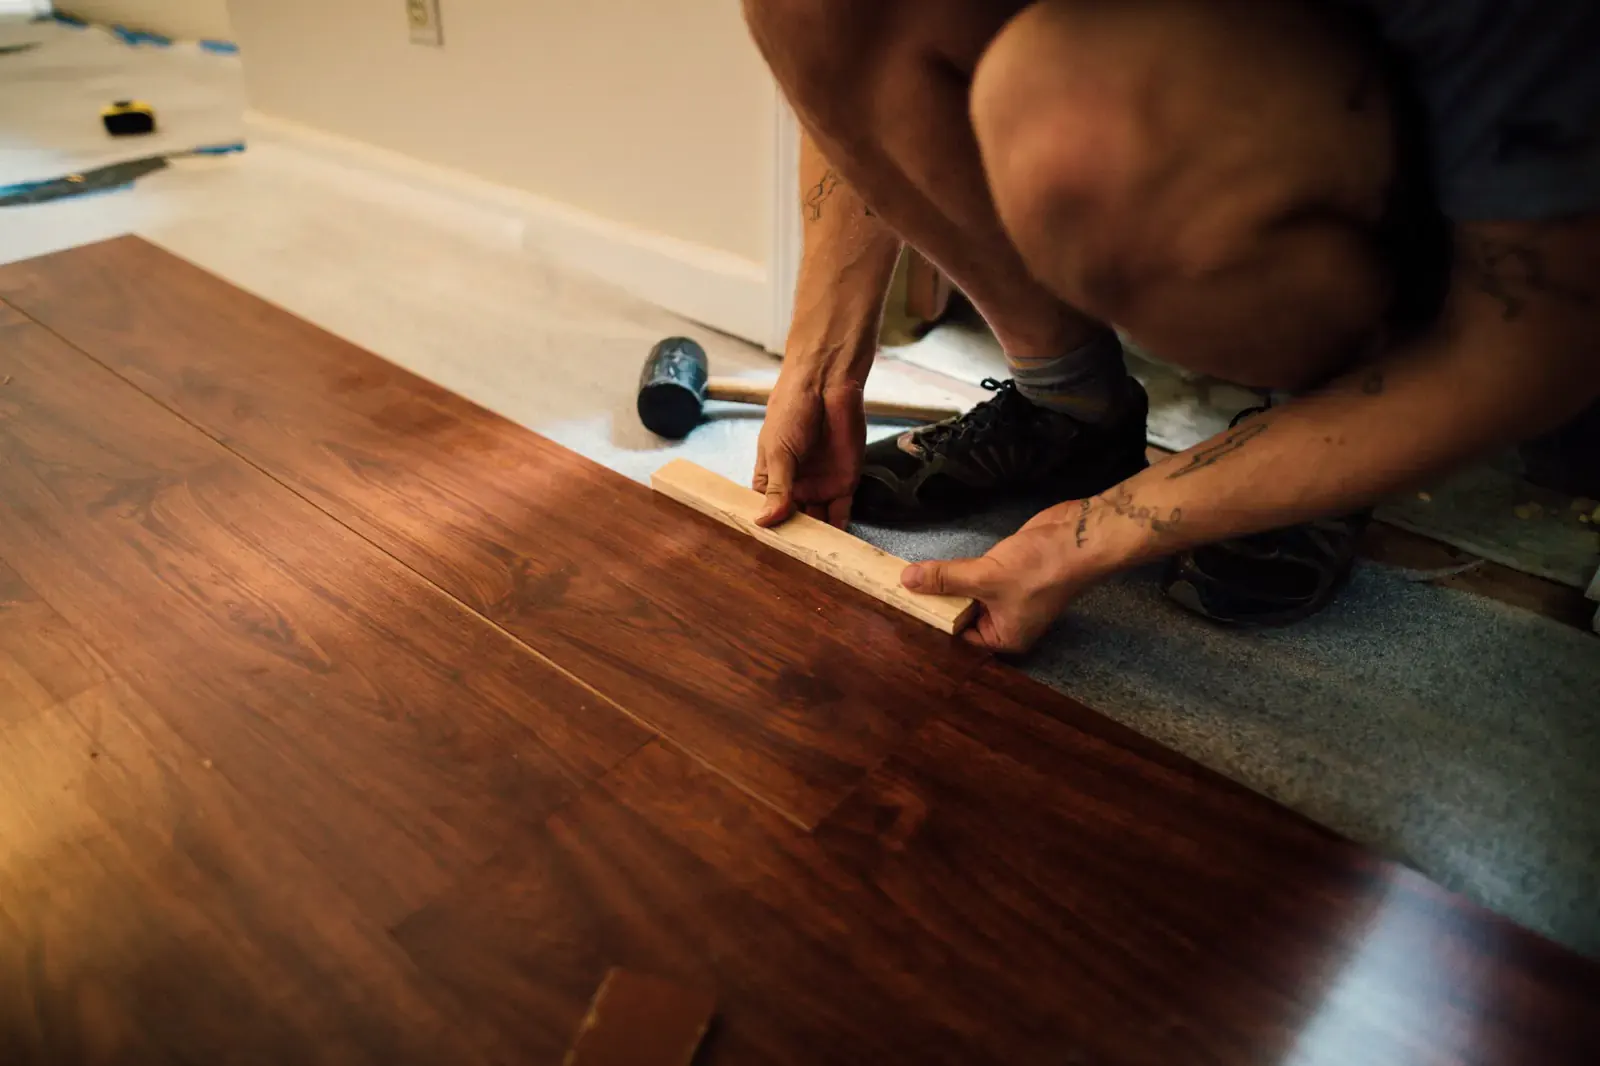
Keep 5/16 to 1/2 in (8 to 12 mm) from every wall, door frame and pipe with spacers. Start each row with the offcut of the last if it is at least 8 in long and its joint lands at least 8 in from the one in the row before. Close end joints with a tapping block and the last plank with a pull bar — never hit the plank edge directly.
Plan joints and keep the spares
Add a movement joint profile in every doorway, and where the floor runs more than about 26 ft (8 m) across the planks or 40 ft (12 m) along them. Keep the spare planks with one box label for later repairs.
Waste by offset and room shape
| Offset | Rectangle | L-shape | Why |
|---|---|---|---|
| Offcut starts the next row | 86 planks, 3.9 % | 74 planks, 4.5 % | Each row's end offcut becomes the next row's start piece if it keeps the minimum length and offset |
| Third of a plank | 91 planks, 9.9 % | 78 planks, 10.1 % | Fixed start lengths; end offcuts often have the wrong length for the next start |
| Half a plank | 95 planks, 14.8 % | 79 planks, 11.5 % | Two start lengths alternate, so many offcuts are too short or on the wrong side of the click profile |
Tools and materials
| Item | Quantity |
|---|---|
| Laminate from one batch | the count above plus the spare planks |
| Underlayment | room area; rolls laid edge to edge, not overlapped |
| Vapor barrier film on mineral floors (if the underlayment has none) | room area plus 8 to 12 in (20 to 30 cm) overlap per seam |
| Wall spacers | one every 2 to 3 ft of wall |
| Tapping block and pull bar | 1 each |
| Jigsaw, miter saw or laminate cutter | 1 |
| Tape measure, square, pencil, utility knife | 1 each |
| Rubber mallet (on the tapping block only) | 1 |
| Baseboards and threshold profiles | wall length minus doors; 1 profile per doorway |
Common mistakes
No acclimatization
How to spot it: Boxes go straight from a cold van to a warm room and are opened the same day.
Fix: Leave them closed and flat in the room for 48 hours.
Planks tight against the wall
How to spot it: No spacers, or the baseboard pushes on the floor.
Fix: Keep 5/16 to 1/2 in (8 to 12 mm) everywhere, including door frames and pipes; the floor bulges or opens up otherwise.
End joints too close
How to spot it: Joints in neighboring rows line up or lie closer than 7.9 in.
Fix: Shift the start piece; the calculator only counts layouts that keep 7.9 in.
A strip as the last row
How to spot it: The last row would be under 2 in wide.
Fix: Cut the first row narrower as well so both edge rows share the difference.
Hitting the plank directly
How to spot it: Chipped edges and a click joint that no longer closes.
Fix: Use the tapping block, and the pull bar at the wall.
When to call a professional
Laying click laminate is a classic do-it-yourself job. Get an installer, or at least advice, when:
- the floor is uneven by more than the laminate maker allows, or the screed is new and its moisture has to be measured;
- there is underfloor heating — the underlayment and the floor have to be approved for it;
- the floor runs through several rooms without thresholds, longer than the maker's maximum;
- you want a herringbone or a glued installation;
- door frames have to be undercut and many pipes cut around.
Frequently asked questions about the laminate calculator
- How many packs of laminate do I need?
- Use the calculator above. For a 16 × 13 ft room with 47.8 × 7.5 in planks and 8 planks per box it counts 86 planks, 11 boxes; with three spare planks for repairs you buy 12 boxes.
- How much waste should I expect with laminate?
- With the offcut starting the next row, the counted waste in a plain room is usually 3 to 6 %; a fixed half-plank offset can reach 12 to 15 %. Most installers add 5 to 10 % — the calculator shows the counted figure and adds 3 % spare planks for repairs on top.
- How exact is the count?
- It is exact for the room you enter, with the installation rules applied to every row. It does not see door frames, pipes or a wall that is out of square, and it adds no breakage — that is what the spare planks are for. For the real outline of your room, use the planner.
- Does the laying direction change how much laminate I need?
- Less than most people think. In the 16 × 13 ft example, planks along the 16 ft side need 86, along the 13 ft side 85 — the same 11 boxes. Choose the direction for the light and the room: planks usually run towards the main window and along the longest wall. The calculator counts planks along the room length; swap length and width to compare.
- How do I calculate laminate for an L-shaped room or several rooms?
- Choose L-shape above and enter the missing corner. For several rooms, add their counts — or lay them as one floor in the planner, where the offcut from one room can start a row in the next. Plan a movement joint or a threshold profile in every doorway.
Get the plank count for your own room
Upload your floor plan and the free planner works out the exact packs and waste before you order.
Start planning