Tile layout calculator: waste per pattern for tiles, laminate and parquet
The laying pattern decides how much of your floor ends up as offcuts. In our simulated study of 5,811 layouts, a third-bond straight lay wasted a median 5.7 %, chevron 13.4 % and herringbone 14.8 % — and small rooms and L-shapes waste more than large rectangles. Enter your room below to read the range for your pattern and turn it into whole packs.
The range comes from the study, not from your exact room. For the exact count — every piece, every cut, the pack total — the planner lays the pattern in your own outline.
How much waste does your laying pattern really cause?
Enter the room, the element size and the pattern. The planner lays the pattern in your room and counts the waste it really causes, instead of a guessed allowance.
A common size — overwrite it with yours.
It is printed on the pack label; the planner rounds up to whole packs with it.
The real waste, not a flat allowance
The planner lays your room piece by piece, cuts at every wall and counts the waste that really falls — then the pieces and the packs to buy.
Enter the length and width of the room, and the planner lays it for you.
Waste range for your room and pattern
Type the floor area, pick the room shape and the pattern. You get the waste range the simulated study found for rooms like yours, the area to order and, with the area per pack from the label, the number of whole packs.
From the pack label; leave empty for area only.
Expected waste
Enter the floor area to see the range.
Waste per pattern and room, from the simulated study
| Laying pattern | Rectangle under 160 sq ft | Rectangle 160–320 sq ft | Rectangle over 320 sq ft | L-shaped, 140–470 sq ft |
|---|---|---|---|---|
| Straight grid (tiles only) | 13.0 %90 %: 27.0 % | 9.1 %90 %: 19.4 % | 6.5 %90 %: 13.9 % | 8.1 %90 %: 15.0 % |
| Half bond | 10.3 %90 %: 20.6 % | 7.0 %90 %: 15.2 % | 5.2 %90 %: 10.8 % | 7.4 %90 %: 15.2 % |
| Third bond | 8.4 %90 %: 17.2 % | 6.1 %90 %: 12.1 % | 4.3 %90 %: 8.9 % | 5.3 %90 %: 13.0 % |
| Herringbone | 17.9 %90 %: 26.9 % | 15.3 %90 %: 24.4 % | 12.4 %90 %: 20.7 % | 18.0 %90 %: 26.6 % |
| Chevron 45° | 14.4 %90 %: 25.9 % | 13.2 %90 %: 23.0 % | 12.4 %90 %: 21.3 % | 16.5 %90 %: 26.8 % |
- Straight grid means aligned joints; plank manufacturers require a staggered bond, so this row applies to tiles only.
- Diagonal laying is neither in the planner nor in the study, so we give no figure for it.
- Rooms with several recesses, bay windows or angled walls were not simulated. Expect at least the L-shape figures and lay the room in the planner for the exact count.
- Format moves the figure as much as the pattern: in herringbone, small 20 × 2¾ in oak blocks wasted a median 8.5 %, 12 × 24 in tiles 15.9 % and long laminate or vinyl planks about 20 %.
What a laying-pattern calculator has to do
Choosing a pattern from a catalog photo tells you nothing about the cost. A calculator earns its place only if it turns the pattern into real numbers for your room:
- Cover the patterns the planner really lays — straight (tiles), half bond, third bond, herringbone and chevron — and say plainly which ones it does not (diagonal).
- Give the waste per pattern for the room shape and size, because a herringbone field wastes about 9 percentage points more than a third-bond straight lay, and a small room more than a large one.
- Put the patterns side by side in one table, so you compare before you commit — the table further down does exactly that.
- Turn the percentage into whole packs, and for the exact room hand over to a laying plan with a cut list: which pieces are cut, at what length, which offcuts come back.
From pattern to material list in four steps
- Bring the room in: a photo of the plan, a PDF, an IFC building model or a 3D scan.
- Trace the outline and set the scale, so every following number is a real measurement.
- Pick the pattern — straight, offset, herringbone or chevron — and the plank size.
- Get the material list, waste percentage and cut list for that pattern, then compare the patterns or order against it.
How much does the pattern change the waste?
Straight and offset
Planks run wall to wall and the offcut from one row starts the next, so waste stays low: in the study a third bond wasted a median 5.7 % and a half bond 6.8 %. A straight grid with aligned joints — tiles only, plank makers require a stagger — came to 8.4 %.
Herringbone
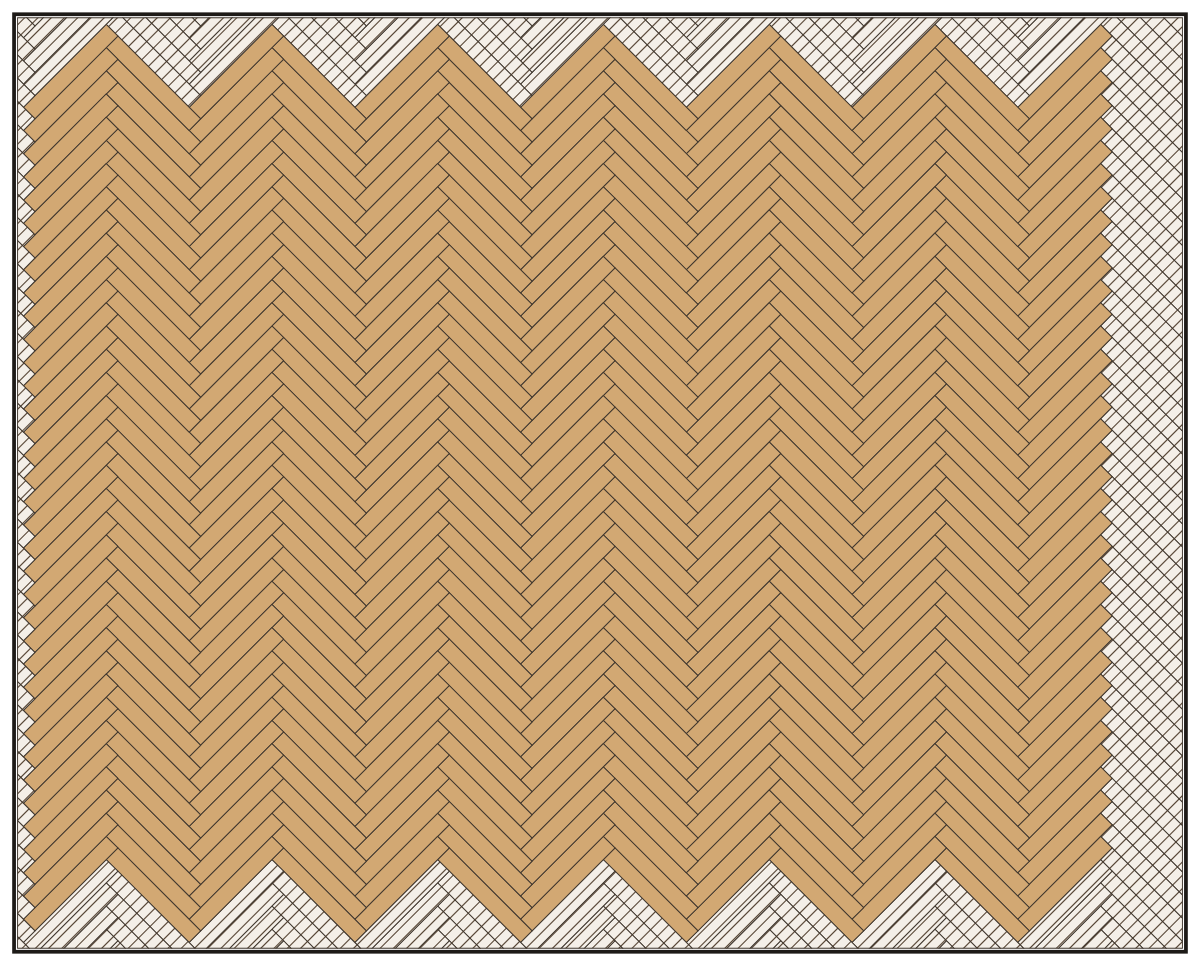
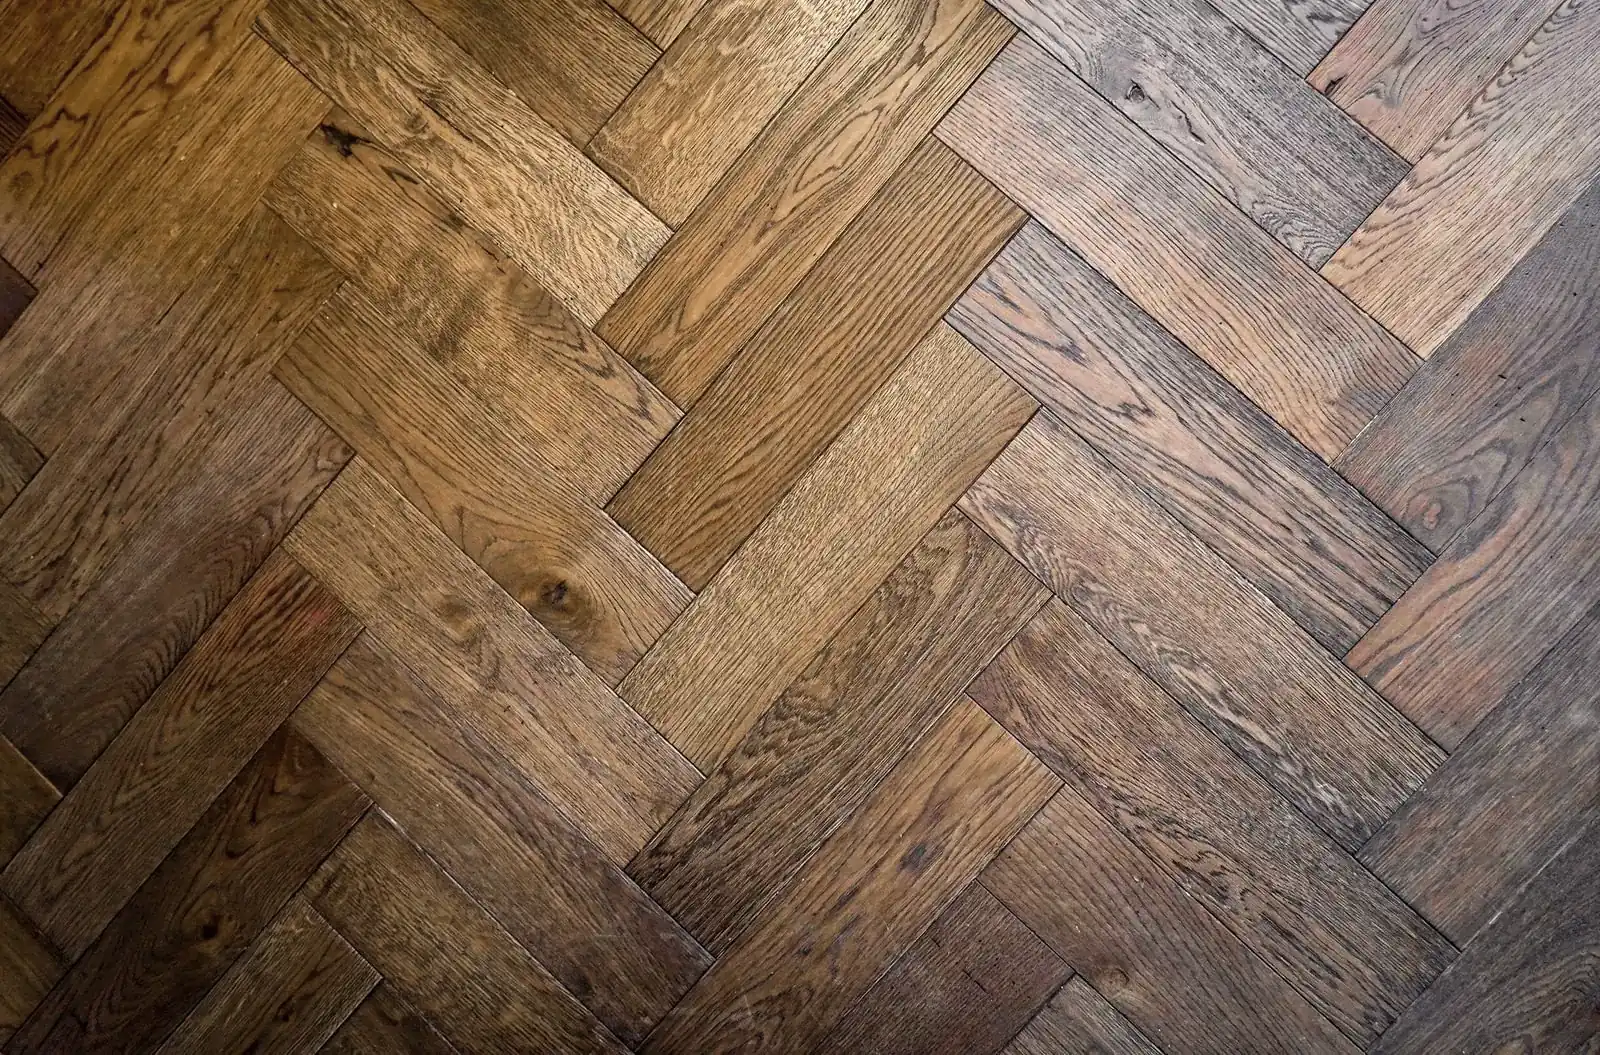
Every plank meets its neighbor at a right angle, so the perimeter fills with angled cuts: median 14.8 % in the study, and 24.5 % or less in nine plans out of ten. That is about 9 percentage points more than a third bond — not 15 to 20 % more.
Chevron
Chevron planks are cut at the ends so they meet in a continuous V. In the study chevron at 45° wasted slightly less than herringbone, a median 13.4 % (22.7 % or less in nine plans out of ten), because the field itself needs no cuts. Its real risk is ordering the two hands in the wrong ratio.
Choose the pattern for the room, not for the catalog photo
Every laying pattern was photographed in a large, square, well-lit room, which is the one setting where all of them look good. In a real room the proportions do the deciding. A long narrow space laid across its width reads as a series of stripes and looks shorter; laid along its length it reads as a single surface. A small room shows few repeats of a large herringbone, and it wastes more: in the study herringbone wasted a median 17.9 % in rectangles under 160 sq ft and 12.4 % in rooms over 320 sq ft.
Light is the second constraint and the one most often ignored. A plank joint catches the light along its length: run the planks towards the main window and the joints disappear, run them across and every joint casts a thin shadow line all day. In rooms with large glazing this decides how the floor looks far more than the pattern does.
Only after those two questions does the material calculation become interesting — and then it can still overturn the choice, which is why it is worth running both candidates through the planner before the material is ordered rather than after.
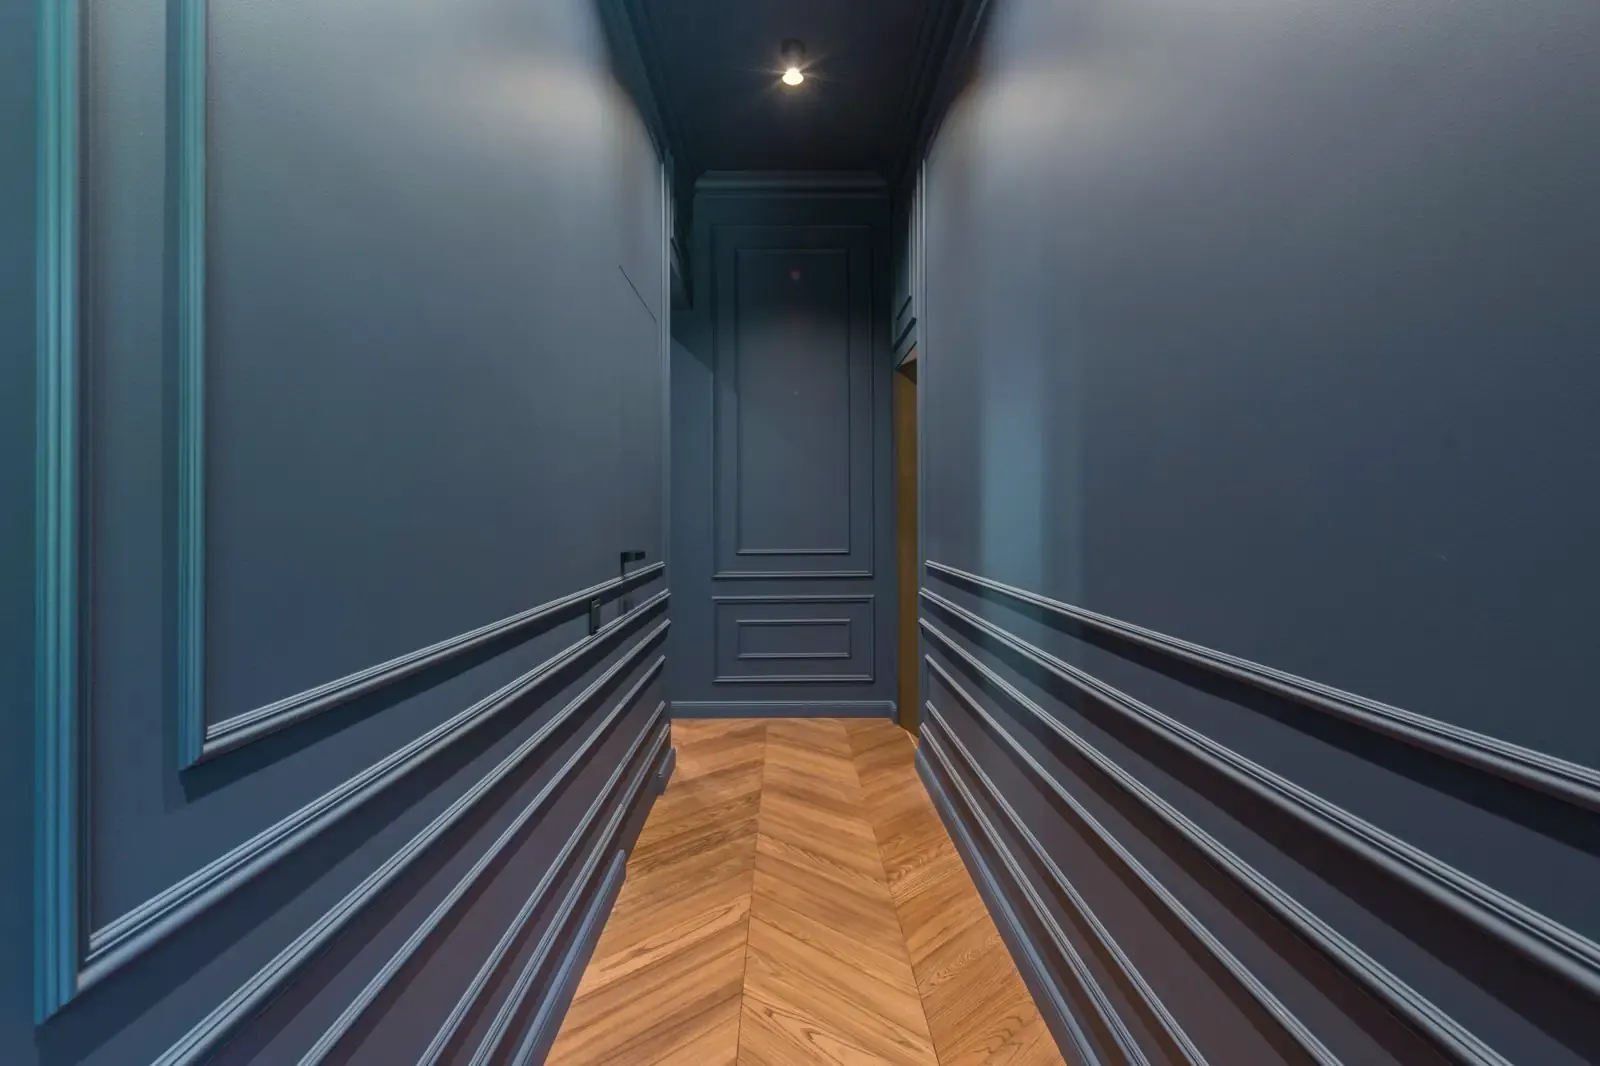
- Long, narrow rooms and corridors: run the planks along the length — fewer end joints, fewer cuts, a longer-looking room.
- Rooms with one dominant window: run the planks towards the light, so the joints do not cast shadow lines.
- Small rooms: a smaller plank or a plain offset pattern; large-format herringbone needs the repeats to be readable.
- Rooms opening into one another: one setting-out origin for the whole floor, otherwise the courses step at the threshold.
Offset patterns: the bond fraction is a real decision
'Offset' covers several different floors. A half-bond staggers every row by exactly half a plank, which produces a regular brick pattern and a strong rhythm. A third-bond staggers by a third and reads calmer. A random stagger varies row by row and is the most forgiving of odd room widths, because it can absorb offcuts of many lengths instead of only one.
The bond fraction changes the material figure in two opposite ways. A fixed half-bond can only reuse an offcut that happens to be near half a plank, so the rest of the offcuts stay in the bin; but it always starts a row with a known piece, so the perimeter cuts repeat and the cut list is short. A random stagger reuses far more offcuts and generates a longer, less repetitive cut list that takes more attention on site.
Whichever you pick, the minimum end-joint distance is not negotiable. Manufacturers ask for roughly 8 to 16 in between the end joints of neighboring rows, depending on the product, and a click floor that ignores it loses joint strength exactly where it is most walked on — near doorways, where the rows are shortest and the temptation to cheat is greatest.
The rules a pattern has to obey before it is a plan
A pattern that looks right on screen can still be unbuildable. Four constraints decide that, and all four belong in the plan rather than in the fitter's head on the day.
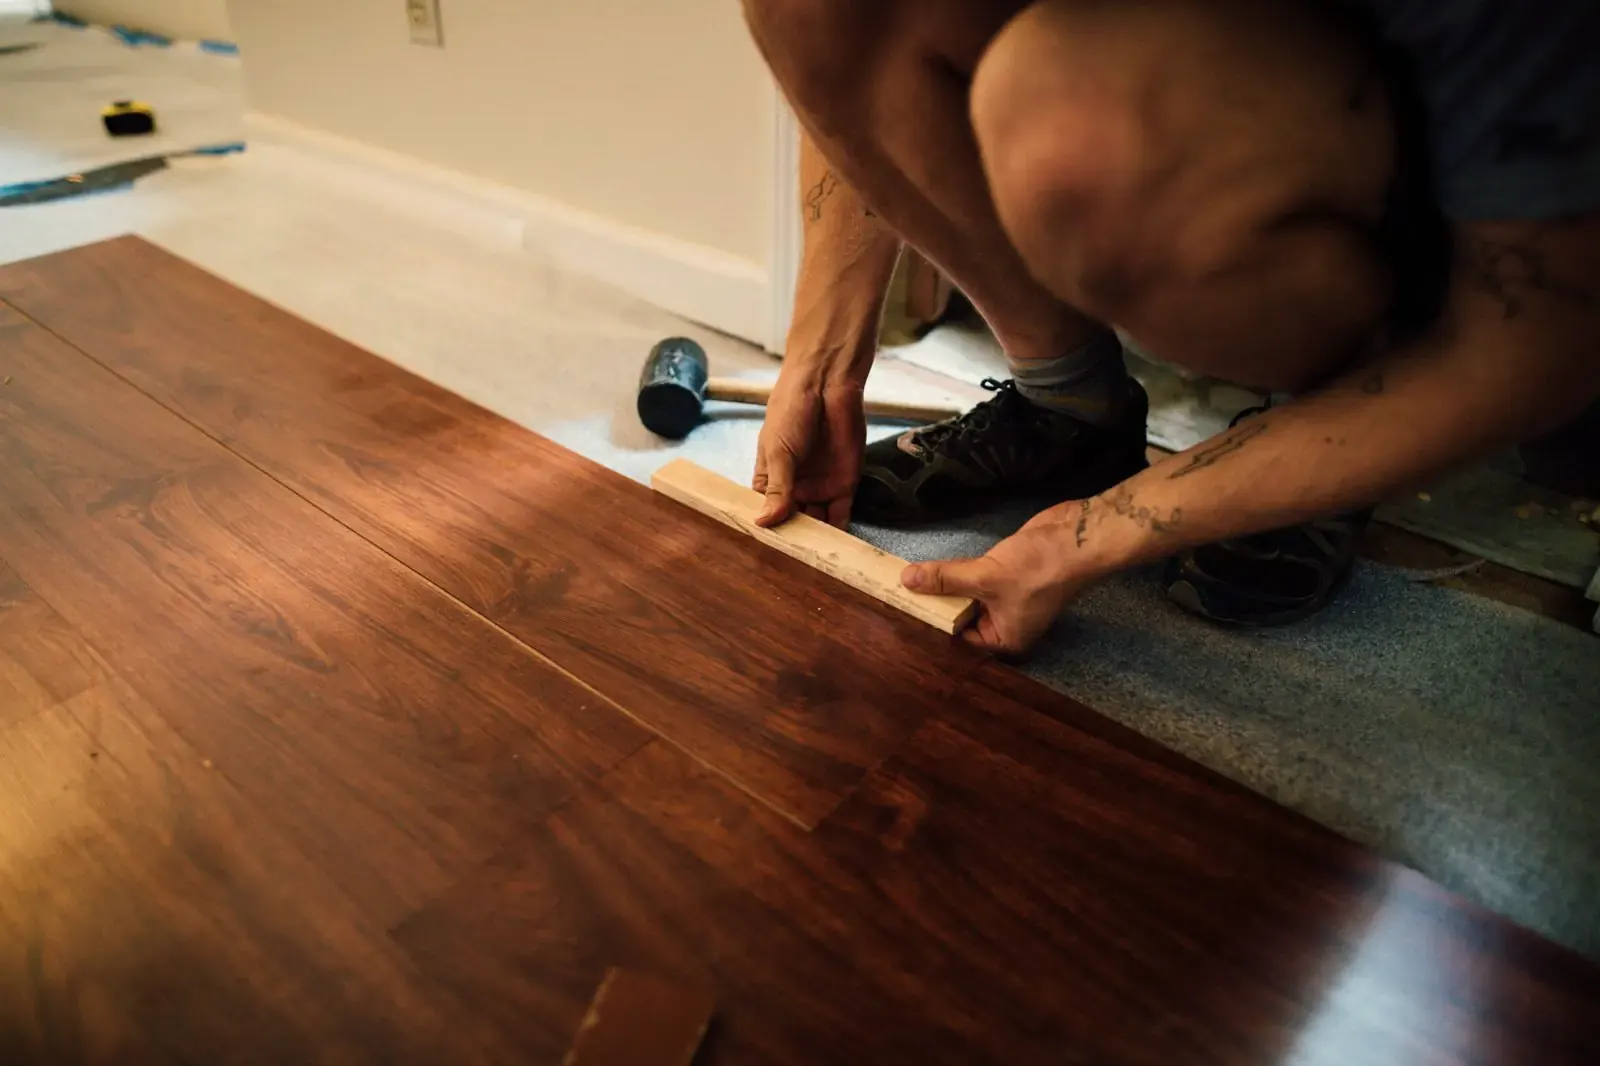
The expansion gap comes first: floating floors need a clear perimeter gap, typically 3/8 to 5/8 in and more for large areas, and the baseboard has to be able to cover it. Second, continuous runs have a maximum length — most manufacturers ask for an expansion joint every 25 to 40 ft, and a doorway is the natural place to put one. Third, underfloor heating limits both the material and the pattern's glue-down variants. Fourth, the room's own squareness sets a floor under what any pattern can achieve: in a room that is 1 in out over 16 ft, a pattern that keeps a constant joint line against one wall will visibly taper against the opposite one.
Autolay applies the gap and the perimeter rules while it lays the pattern, so the material list is for a floor that can actually be built, not for a geometric ideal that gets adjusted on site.
- Perimeter expansion gap of 3/8–5/8 in, covered by the baseboard — larger on big floors and on click floors.
- An expansion joint or a threshold profile every 25–40 ft of continuous run, and at every doorway that narrows.
- Check underfloor-heating compatibility for the material and the fixing method before the pattern is chosen.
- Measure the diagonals: a room that is out of square needs the taper put where it is least visible, which is a setting-out decision.
The pattern behaves differently in each material
The same word means different work depending on what is being laid. In click laminate and click vinyl the pattern is limited by the locking profile — herringbone needs a dedicated left/right product and cannot be improvised from ordinary planks. In glue-down parquet almost any pattern is possible, but every piece is set into adhesive and a mistake has a working time rather than a click to correct it.
Tile changes the constraints again. A running bond in a long tile builds up lippage where the end of one tile meets the middle of its neighbor, which is why the American tile installation standard (American National Standards Institute A108.02) limits the offset to a third for tiles with a side longer than about 15 to 18 in, unless the tile maker says otherwise. Large formats also need a flatter substrate than the pattern itself suggests: the pattern shows the deviation, the substrate causes it.
Sheet materials — vinyl in rolls, linoleum — are a different calculation entirely, because the waste is driven by roll width against room width, and a pattern repeat has to be matched across every seam. The number that matters there is how many room widths fit into a roll width, not a percentage.
Compare patterns on the cut list, not on the percentage alone
A waste percentage is one number and it hides two others. The first is packs: two patterns that differ by three percent on paper can land on the same pack count once the figure is rounded up, in which case the cheaper-looking pattern costs exactly the same. The second is cuts: the cut list tells you how many pieces have to be measured, marked and sawn, and that number drives the labor, which on most jobs is the larger half of the invoice.
So compare like a buyer, not like a spreadsheet. Run each candidate pattern through the planner for your real room, and put the three numbers side by side: packs to order, cut pieces to make, and the waste percentage that explains the difference between them. That comparison usually settles the question in a way a catalog photograph cannot.
It also makes the decision reversible. Changing your mind on the pattern before the order is a click; changing it after the pallet arrives is a return, a restocking fee and a delayed start.
From room to pack count in six steps
Measure the room
Measure length and width at floor level, plus every recess and door reveal the floor runs into. Measure both diagonals: if they differ, the room is out of square and a pattern will taper along one wall.
Choose the pattern for the room
Use the decision table below: a third bond for most plank floors, herringbone or chevron for larger rooms and long corridors, a straight grid only for tiles.
Read the waste range
Enter the area and shape in the calculator above. Plan with the typical figure if the room is simple and you can reuse offcuts; plan with the nine-in-ten figure for small rooms, L-shapes and herringbone.
Round to whole packs
Divide the area to order by the area per pack and always round up. For herringbone and chevron sold as separate left and right packs, round each hand up separately.
Add the reserve the study leaves out
The study counts cutting waste only. A solid wood supplier sets at least 5 % for cutting and sorting out faulty pieces; keep one spare pack from the same batch for repairs.
Check the exact count for your room
For the exact number of pieces, cuts and packs, lay the pattern in your own outline in the planner and order against its material list.
Which pattern for which room
| Pattern | Suits | Study median | For a first floor? |
|---|---|---|---|
| Third bond | Most plank floors, any room size | 5.7 % | Yes — lowest waste in the study |
| Half bond | Planks, short tiles; long tiles only up to a third offset | 6.8 % | Yes |
| Straight grid | Tiles only; square rooms, bathrooms | 8.4 % | Yes, with a square room |
| Chevron 45° | Long rooms and corridors, points along the length | 13.4 % | Only with experience: left and right planks, exact center line |
| Herringbone | Larger rooms; avoid very small rooms | 14.8 % | Only with experience: angled perimeter cuts, setting out decides |
| Diagonal | Not in the planner or the study | no figure | — |
Tools for setting out and cutting a pattern
| Item | Quantity |
|---|---|
| Tape measure, carpenter's square and chalk line | 1 each per room; center line and right angle by the 3-4-5 rule |
| Miter saw or chop saw | for the 45° perimeter cuts of herringbone and chevron |
| Jigsaw or multi-tool | for door frames and pipes |
| Spacers or wedges | along every wall for the expansion gap of floating floors |
| Tapping block and pull bar | 1 each for click floors |
| Spare flooring | the waste range above plus at least one spare pack from the same batch |
Common mistakes
Ordering herringbone with the straight-lay allowance
How to spot it: Packs run out in the last third of the room
Fix: Plan herringbone and chevron with their own range from the table — about 9 points above a third bond — and round up per pack.
One percentage for every room
How to spot it: The small rooms and the L-shaped hall run short, the big room has packs left over
Fix: Read each room's own group: a third bond wasted 8.4 % in small rectangles and 4.3 % in large ones.
End joints too close together
How to spot it: Visible steps or an H-shaped joint pattern across rows
Fix: Keep the manufacturer's minimum offset, often a third of the plank length or at least 12 in.
A half bond on long tiles
How to spot it: Tile edges stand proud where an end meets the middle of the next tile
Fix: Limit the offset to a third for tiles with a side over about 15 to 18 in, unless the tile maker says otherwise.
Rounding left and right planks together
How to spot it: A full pack of one hand left, the other hand missing
Fix: For chevron and herringbone sold by hand, round each hand up to whole packs separately.
When to call a professional
A straight or offset plank floor in a rectangular room is a reasonable first project. Call a flooring installer when the pattern or the room makes setting out the hard part.
- Glued-down parquet in herringbone or chevron, where a mistake sets in adhesive
- Rooms whose diagonals differ noticeably, where the taper has to be hidden
- A pattern running through several rooms and a hallway from one center line
- Underfloor heating, or tiles with a side over about 15 in on an uneven floor
Frequently asked questions about the pattern calculator
- Which laying patterns can I calculate?
- The planner lays seven patterns: a straight grid (for tiles), half bond, third bond, an optimized straight lay that picks each row's offset, herringbone, and chevron at 45° and at 60°. The table on this page covers the five our simulated study measured. Diagonal laying is not in the planner, so we give no figure for it.
- How does the pattern change the cut pieces and the waste percentage?
- A straight or offset run keeps waste low because the offcut from one row starts the next: in the study a third bond wasted a median 5.7 %. Herringbone fills the perimeter with angled cuts and came to 14.8 %, chevron at 45° to 13.4 %. Room size matters as much: the same third bond wasted 8.4 % in rectangles under 160 sq ft and 4.3 % in rooms over 320 sq ft.
- Where do the numbers on this page come from?
- From a simulated study: our layout engine — the same one the planner uses — laid 5,811 plans over 273 rooms (rectangles from 81 to 517 sq ft and L-shapes), six plank and tile formats and five patterns, and counted the material bought against the area covered. It is a simulation, not a measured job, and the waste is before rounding to whole packs.
- Which direction should the planks run?
- The default is along the longest wall and, where possible, parallel to the main light source, because a plank joint that runs towards a window is far less visible than one lit across. In narrow rooms and corridors, running along the length also cuts the number of end joints and therefore the number of cuts. Where the two rules disagree — a long room with the window on the short wall — the light usually wins in living spaces and the length wins in corridors.
- What is the minimum stagger between end joints in an offset pattern?
- It depends on the product, so the installation instruction decides. Manufacturers ask for roughly 8 to 16 in between the end joints of neighboring rows, often written as a third of the plank length or at least 12 in. Below that the floor shows steps and, in a click floor, the joint loses strength. The planner keeps the offset you set on every row, including the perimeter rows, where a hand-laid floor tends to drop below the minimum.
- Is a random stagger cheaper than a fixed half-bond?
- Not always. In our study the third bond wasted less than the half bond (median 5.7 % against 6.8 %), because an offcut of two thirds starts the next row more often. A random offset can use offcuts of many lengths, but it still has to keep the minimum end-joint distance. The planner's optimized straight lay picks each row's offset for you; compare it with a fixed bond on your own room rather than assuming a saving.
- Does the pattern change the labor cost as well as the material?
- Yes. A herringbone or chevron field takes longer to lay than a straight run of the same area, because every piece is placed to an angle and the perimeter is cut piece by piece. The cut list tells you how many cuts the pattern needs, which is what a fitter's price is based on — so compare patterns on cuts and packs, not on the waste percentage alone.
- Can the same pattern run through several rooms and a hallway?
- It can, and it usually looks best when it does — but the courses then have to line up across every threshold, which means the whole floor is set out from one origin instead of room by room. Plan the rooms as one outline where the covering is continuous, and use a threshold profile where it is not. A continuous floating floor also has a maximum length before it needs an expansion joint; the figure is in the product's installation instruction.
Get the number for your own pattern
Upload your floor plan and the free planner works out the exact packs and waste before you order.
Start planning