
How to install underlayment: the numbers that matter
Which underlayment suits laminate, engineered wood or click vinyl, when a vapor barrier is required and when it does harm, and which values on the data sheet really count. With quantities, a tool list and the mistakes that later open the joints.
This guide is for anyone installing a floating floor (laminate, engineered wood or click vinyl) who wants to choose and lay the underlayment properly first. Underlayment is thin and cheap, but it decides whether the click joints hold, whether underfloor heating still gets through and whether moisture from the screed makes the floor swell. All values below come from the technical bulletins of the laminate and multilayer floor manufacturers' associations and from manufacturer instructions. Where sources differ, we give the range. Your floor's own installation instructions always take priority.
Do you need a separate underlayment at all?
No, if the floor is fully glued down: glued wood, tiles and glue-down vinyl get no underlayment.
No, if your click vinyl or laminate already has a pad on the back (cork, foam or felt). Manufacturers state plainly that no additional underlayment may be used then: a second soft layer lets the planks give under load, and the click joints break or open. On a mineral subfloor a vapor barrier film still goes underneath, usually 0.2 mm polyethylene.
Yes, for laminate and engineered wood without an attached pad, and for click vinyl without a pad where the manufacturer calls for one. The table further down gives the minimum values for each floor type.
What the values on the data sheet mean
Every underlayment data sheet lists standard values. Four matter: compressive strength (on the data sheet: CS, in kPa), compensation of local unevenness (PC, in mm), thermal resistance (R, in m²K/W) and impact sound reduction (IS, in dB). Thicker is not better: a thick, soft pad harms click joints and holds back underfloor heating.
Even a new screed laid to standard has local unevenness under 1 mm, which is why an underlayment under laminate should compensate at least 0.5 mm. Anything larger has to be leveled with compound before you start.
Cold, unheated floor (over a basement, garage or passage): an underlayment with a thermal resistance of at least 0.075 m²K/W feels noticeably warmer. Do not use one on underfloor heating.
Impact sound and walking noise are different things. Impact sound reduction in dB is about the noise in the room below, which matters to your neighbors. Walking noise is the clatter in your own room. In an apartment building, pick a high dB value and ask the building management whether there are requirements.
Underfloor heating: one limit worth calculating
When the heating sits in the screed, the whole build-up above it must not exceed a thermal resistance of 0.15 m²K/W. This is the recommendation of the German Federal Association for Surface Heating, adopted by the laminate association and by manufacturers.
Add up the values from the data sheets. The laminate association's example: laminate 0.07 plus underlayment 0.04 plus vapor barrier 0.005 gives 0.115 m²K/W, which is suitable. A laminate at 0.09 with an underlayment at 0.075 would give 0.165, which is too much.
Thin, firm underlayments have very low values (one data sheet: 0.01 m²K/W at 1.1 mm). Vinyl manufacturers also cap the surface temperature at 29 °C, and at least one forbids loose electric heating foils. Check your instructions before combining these.
Check the subfloor: moisture and flatness
Screed moisture (measured with the calcium carbide method, result in CM percent): cement screed at most 2.0 (some manufacturers 1.8, and 1.8 with underfloor heating). Calcium sulfate or anhydrite flowing screed at most 0.5, or 0.3 with underfloor heating. Alternatively, relative humidity in the screed must not exceed 75 %. A handheld meter from a hardware store shows only a trend and does not replace this test.
Flatness: lay a straight 1 m and a straight 2 m edge on the floor and measure the largest gap underneath. For click floors manufacturers typically allow at most 2 mm under 1 m and 3 mm under 2 m. Single steps over 1.2 mm are not acceptable. No underlayment fixes anything beyond that: it has to be leveled with compound.
Old coverings: carpet, needle felt and soft coverings come out. Firmly glued, crack-free linoleum or vinyl may stay and acts as a vapor barrier itself, but only without underfloor heating. Old ceramic or stone tiles get a vapor barrier just like screed.
Vapor barrier: required on screed, harmful on wood
A mineral subfloor (cement or anhydrite screed, concrete, old tiles) always holds some residual moisture. It needs a film with a water vapor diffusion resistance of at least 75 m (on the data sheet: SD). High-quality polyethylene film from 0.15 mm thickness, or metallized polyester film, reaches that. Many underlayments have the film already attached.
Separate film: overlap the strips by 20 to 30 cm, tape the overlap vapor-tight, and turn it up 3 to 4 cm above the underlayment at the walls. Underlayment with attached film: butt the strips and seal the seam vapor-tight with the matching tape (the film often has an overlapping adhesive strip).
Wooden boards, chipboard or timber joist floors get no vapor barrier. The wood must be able to release moisture, otherwise mold and rot can develop underneath. Use an underlayment without film there and keep the floor ventilated, for example with ventilated baseboards.
Installing underlayment in 7 steps
Read your floor's instructions and pick the underlayment
First check whether your floor already has a pad on the back. If it does, no extra underlayment. If not, choose by floor type: laminate and engineered wood at least 10 kPa (better 60), click vinyl at least 150 to 200 kPa and only an approved underlayment. With underfloor heating, check the total of at most 0.15 m²K/W. Meanwhile the planks sit in the room for at least 48 hours to acclimate.
Check and prepare the subfloor
Confirm screed moisture (cement at most 1.8 to 2.0, anhydrite at most 0.3 to 0.5 CM percent, depending on manufacturer and heating). Check flatness with the straightedge: at most 2 mm under 1 m. Grind down high spots, fill dips, sink protruding nails and screws, remove carpet and adhesive residue. Then sweep and vacuum thoroughly: every grain of sand presses through a thin underlayment.
On a mineral subfloor, lay the vapor barrier
If the underlayment has no attached film: lay film with at least 75 m diffusion resistance, overlap the strips 20 to 30 cm, tape them vapor-tight and turn the film up 3 to 4 cm at every wall. On a wooden subfloor skip this step: no film there.
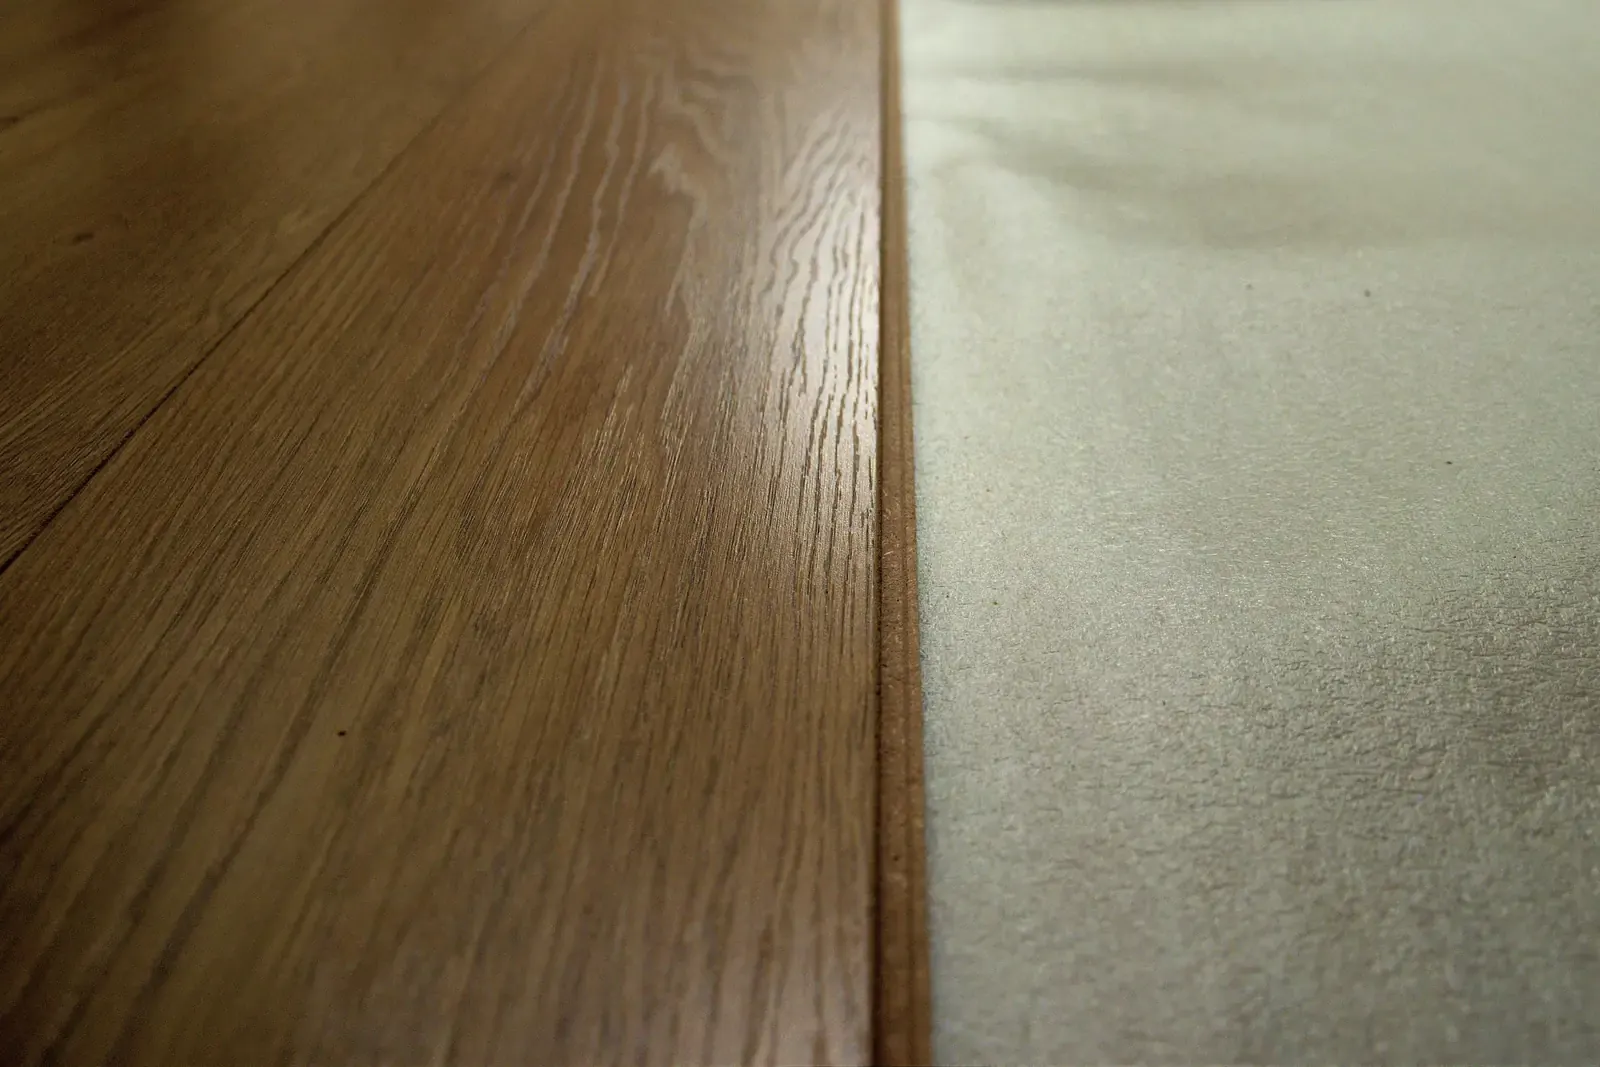
Roll out the underlayment across the plank direction
Start at the wall where the first row of planks will go. Run the strips across or diagonally to the planks so underlayment seams and plank joints never line up. With an attached film, the film side faces the way the manufacturer says, usually up. Do not roll out the whole room at once: stay one or two strips ahead of the planks so the underlayment does not get trampled.
Butt the strips and tape the seams
Lay strips edge to edge, with no gap and no overlap, and seal the full length of each seam with tape. With an attached vapor barrier, this tape is the moisture seal, so it must be continuous. Butt offcuts on and tape them the same way.
Trim at the walls
The underlayment stops at the wall without turning up. Cut neatly around door frames and heating pipes so there are no folds. The vapor barrier film stays turned up at the wall. Trim the excess only after the floor is laid, low enough for the baseboard to hide it.
Install the floor and keep the wall gap
Lay the floor straight onto the underlayment with spacer wedges giving 8 to 12 mm at the walls (vinyl makers usually say 10 mm). Do not glue or staple the underlayment: it lies loose and the floor holds it. Plan expansion profiles where the floor runs longer than 12 m along the planks or wider than 8 m across them, and in doorways, unless your instructions say otherwise.
Which underlayment for which floor
| Floor | Separate underlayment | Compressive strength | Also check |
|---|---|---|---|
| Laminate or engineered wood with a fiberboard core | Yes, unless a pad is attached | At least 10 kPa, 60 kPa for busy rooms or heavy furniture | Unevenness compensation at least 0.5 mm, impact sound reduction at least 14 dB (good products 18 dB) |
| Click or rigid vinyl without a pad | Only one approved for vinyl, where the manufacturer calls for it | At least 150 to 200 kPa, 400 kPa for higher demands | Thickness as your instructions say; one manufacturer allows at most 1.5 mm |
| Laminate or vinyl with an attached pad | No, a second layer is not allowed | – | On a mineral subfloor still a vapor barrier film, usually 0.2 mm polyethylene |
| Fully glued floor | No | – | Follow the adhesive instructions instead |
| Any floor on underfloor heating | Pick a thin, firm one | As for the floor type | Whole build-up at most 0.15 m²K/W |
| Cold, unheated floor over a basement or garage | Yes | As for the floor type | Thermal resistance at least 0.075 m²K/W |
Tools and materials
| Item | Quantity |
|---|---|
| Underlayment | Floor area, rounded up to whole rolls or packs |
| Vapor barrier film with at least 75 m diffusion resistance, if not attached | About 1.3 to 1.6 times the floor area |
| Seam tape | Length of all seams together |
| Spacer wedges | Enough for an 8 to 12 mm gap along every wall |
| 2 m straightedge and measuring wedge | 1 set |
| Utility knife with spare blades | 1 |
| Metal ruler or level as a cutting guide | 1 |
| Folding rule or tape measure | 1 |
| Broom and vacuum cleaner | |
| Screed moisture test with the calcium carbide method | From a floor layer, for new or unknown screed |
Common mistakes
Underlayment overlapped instead of butted
How to spot it: A line you can feel under the floor and joints creaking along a straight line
Fix: Cut the overlap away so the strips meet edge to edge, then tape the seam
Separate vapor barrier film only butted
How to spot it: Film strips meet without a taped overlap, so the moisture barrier does not work
Fix: Overlap the strips 20 to 30 cm and tape them vapor-tight
A second underlayment under a floor with an attached pad, or soft foam under rigid vinyl
How to spot it: The floor noticeably gives as you step on it, joints open, edges lift
Fix: Take up the floor and remove the extra layer, or replace it with a firm underlayment approved for vinyl
A vapor barrier on a wooden subfloor, or none on screed
How to spot it: On wood: musty smell, dark patches on the boards below. On screed: laminate edges swell, first in corners and along outside walls
Fix: On wood remove the film and ventilate the floor; on screed take up the floor and lay the film underneath
An underlayment that insulates too much on underfloor heating
How to spot it: The room no longer gets properly warm and the flow temperature has to rise
Fix: Add up the thermal resistance before buying: floor, underlayment and film at most 0.15 m²K/W
Underlayment used to even out a crooked floor
How to spot it: Dips sound hollow and the planks give there
Fix: Measure with the straightedge first and level anything over 2 mm under 1 m with compound
When to call a professional
Most of this job is within reach of a careful do-it-yourselfer. Bring in a professional where a measurement or a repair needs equipment or knowledge you do not have: a floor layer measures screed moisture with the calcium carbide method, and if the screed contains underfloor heating, the heating installer confirms that it was heated up to protocol first.
- New or unknown screed whose moisture you cannot confirm
- Large areas that need leveling compound
- A timber joist floor that flexes or shows damp patches
- An apartment building where the building management requires a specific impact sound rating
Frequently asked questions
- Which underlayment do I need for click vinyl?
- If the floor already has a pad on the back, none. Manufacturers forbid a second underlayment because the click joints can break. Without a pad, use a thin, very firm underlayment approved for vinyl. At least 200 kPa is recommended, and one manufacturer names at least 150 kPa at no more than 1.5 mm thickness.
- Overlap or butt-joint: which applies to what?
- Underlayment is always butt-jointed and taped. A separate vapor barrier film is overlapped by 20 to 30 cm, taped vapor-tight and turned up 3 to 4 cm at the walls. They are two different layers with different rules.
- Do I need a vapor barrier on wooden floorboards?
- No. Wood or chipboard should not get a vapor barrier, because the wood has to release moisture. Use an underlayment without film and keep the floor ventilated, for example with ventilated baseboards.
- Which underlayment works with underfloor heating?
- One with a low thermal resistance. What counts is the sum: floor plus underlayment plus film must not exceed 0.15 m²K/W. The individual values are on the data sheets. Thin, firm underlayments are often 0.01 to 0.04 m²K/W.
- How much underlayment and film should I buy?
- Underlayment: the floor area, rounded up to whole rolls; offcuts can be butted on. Example: a 4 × 5 m room (20 m²) with 6 m × 1 m rolls takes five strips of 4 m across the planks; four rolls give four full strips plus four 2 m offcuts, and two of those make the fifth. Film: because of the overlaps and wall upturn, about 1.3 to 1.6 times the floor area; in the same room with 2 m wide film that is three strips of about 5.1 m, roughly 31 m². Tape: the length of all seams, a little over 26 m here.
Plan the floor that goes on top
Draw your room in the planner to get the floor area and plank direction for the underlayment, plus the offset, cuts and width of the last row for the floor itself.
Start planning
Sources
- European Producers of Laminate Flooring: technical bulletin on underlayment materials, 12/2022 (German)
- European Producers of Laminate Flooring: technical bulletin on installing laminate floors, 06/2022 (German)
- Multilayer Modular Floor Coverings association: underlayment bulletin 08/2019, press report (German)