Self-leveling underlayment calculator: pounds and bags
Self-leveling underlayment takes about 91 lb to 104 lb per 100 sq ft for every 1/8 in of thickness, depending on the product, so a 215 sq ft floor at 3/16 in needs about 335 lb at the 104 lb default — 7 bags of 50 lb, 8 with a 10 % margin. Enter your area and the average layer thickness and this calculator returns your own figure in pounds and whole bags. Leveling is subfloor preparation; the flooring that goes on top is a separate calculation.
How much self-leveling underlayment do you need?
Enter your floor area, the average layer thickness and — if it differs — the consumption rate printed on the bag. The result is the total weight and the number of bags, rounded up.
Default value – replace it with the manufacturer’s figure.
Optional – shows the material cost for the rounded-up amount.
You need
Enter a floor area and a layer thickness to see the quantity.
The result updates as you type – no button to press.
Quantity = area × thickness × consumption rate.
Getting the layer thickness right
- Find the low point and the high point of the subfloor with a straightedge and a bubble level; the difference is your maximum thickness.
- Use the average depth across the room, not the deepest spot — that is what the whole area consumes on average.
- Stay within the product's stated range (often 1/32 to 3/8 in for a thin skim, more for a deeper compound); below the minimum it will not flow, above the maximum it can crack.
Consumption, primer and drying
The consumption rate is the one number that changes the result the most, so take it from the bag rather than a rule of thumb:
- Current manufacturer data sheets range from about 91 lb through 98 lb to 104 lb per 100 sq ft per 1/8 in, depending on the product. The default of 104 lb is the top of that range and so on the safe side; type in the figure from your own bag.
- Prime the subfloor first: primer stops the compound drying too fast and binding poorly — it changes adhesion, not the quantity.
- Add a small safety margin for an uneven subfloor or waste in mixing; the field above lets you add a percentage on top.
What this calculator does — and does not
It does
Work out the pounds and bags of self-leveling underlayment for the subfloor, from your area, average thickness and the consumption rate on the bag.
It does not
Plan or lay the flooring that goes on top. Autolay's planner handles the tiles, planks or laminate and their material list and waste — not the self-leveling underlayment. Mixing and pouring it stays a separate job on site.
Measure the deviation before you buy anything
The quantity of self-leveling underlayment is driven almost entirely by one number you have to establish on site: the average thickness of the layer. Everything else — area, consumption rate, bag size — is either known or printed on the packaging. Getting the average wrong by 1/32 in changes a 215 sq ft job by about 56 lb, which is more than a whole bag.
Work with a 6 ft straightedge and a set of measuring wedges or a tape. Lay the straightedge across the room in several directions, including the diagonals, and note the gap underneath at a grid of points — roughly one reading per 10 sq ft is enough for a domestic room. Mark the high point, because that is the point the finished surface has to clear: the layer thickness at the high point is the product's stated minimum, and every other point needs that minimum plus its own gap.
The mistake to avoid is assuming the average is half the maximum. A floor with a single deep dip and an otherwise flat surface averages far less than one that slopes steadily from one wall to the other, even when both share the same worst-case reading. Take the mean of your grid readings — that is the number the calculator above wants.
- One reading per 10 sq ft, taken under a 6 ft straightedge, in at least two directions plus the diagonals.
- Add the product's stated minimum thickness to every reading before you average: the compound has to flow, not just fill.
- Photograph the marked-up floor before you pour. Once it is level, nobody can reconstruct where the deep spots were.
- Check the edges separately — the perimeter is where screeds curl upwards and where the deepest surprises usually hide.
The substrate decides which compound you may use
Before the quantity matters, the product has to suit what is underneath it. Cementitious compounds are the default and tolerate almost any substrate; calcium-sulfate and gypsum-based ones flow beautifully and cost less, but they have to stay permanently dry, which rules them out of bathrooms, utility rooms and any floor exposed to standing water. Over an anhydrite screed the order reverses: the screed is sanded first to take off the sintered skin, because that thin weak layer is exactly what peels away when a bond fails.
Every product also carries a minimum and a maximum thickness, and both are limits rather than suggestions. A fine smoothing compound rated 1/32 to 3/8 in will not fill a 1 in dip: poured that thick it shrinks, cracks and costs three times what a deep-fill product would have. The reverse fails just as reliably — a heavily filled compound feathered out at 1/32 in never closes to a smooth surface. Where the deviation falls outside the product's range, either build up in two layers with the intermediate priming the data sheet prescribes, or move to a leveling screed and treat the floor as a screed job.
Three build-ups need a product of their own. Over underfloor heating the layer becomes part of the heated construction: use a fiber-reinforced compound, keep the cover above the pipe crown that the heating manufacturer states, and leave the edge insulation strip standing until the compound has cured so the floor can move. Over old tiles the substrate has to be sound first — tap every tile, replace the hollow ones, grind the glaze and use a grip primer, because a loose tile telegraphs through any thickness of compound. Over timber boards, screw the boards down so they stop working, then use a flexible fiber-reinforced product at the higher minimum thickness it specifies, with the decoupling fleece if the sheet asks for one.
- Gypsum-based compounds stay out of wet rooms; cementitious ones go almost anywhere.
- On anhydrite, sand the screed and use the primer the data sheet names — the sintered skin is the layer a failed bond peels off with.
- Read the minimum as carefully as the maximum: 1/32 to 3/8 in will not fill 1 in, and a deep-fill product will not close at 1/32 in.
- Underfloor heating, old tiles and timber boards each need their own product — fiber-reinforced, grip-primed, flexible — not the cheapest bag on the pallet.
The consumption rate on the bag decides the order
Leveling underlayments are quoted in pounds per 100 sq ft for every 1/8 in of thickness, and the figure differs between products. Current manufacturer data sheets give 91 lb for the lightest products, 98 lb for several common ones and 104 lb for the heaviest. The calculator's default of 104 lb is the top of that range. Across a 323 sq ft floor at 3/16 in, the difference between 91 lb and 104 lb is 63 lb — more than one 50 lb bag.
So take the rate from the bag or the data sheet of the exact product you are buying, not from a rule of thumb. If you are comparing two products on price, compare them on cost per 100 sq ft per 1/8 in rather than on cost per bag: a bag that covers less area can cost more per floor even when it is cheaper per bag.
A safety margin on top is normal practice rather than padding. Substrate that is more absorbent than expected, a room that turns out to slope more than the grid suggested, material left in the bucket and in the pump line — five to ten percent covers all of it, and the field above lets you add it explicitly instead of quietly inflating the thickness.
Primer changes the job, not the quantity
Priming is the step most often skipped and most often responsible for a failed pour. On an absorbent substrate — cement screed, anhydrite, old concrete — the bare surface pulls the mixing water out of the compound within minutes. The compound stops flowing, cures short of full strength and leaves pinholes where escaping air could not close behind it. Primer regulates that absorption so the compound keeps its water for the few minutes it needs to self-level.
On a non-absorbent substrate the problem is the opposite: a tiled or sealed surface offers nothing to bond to, so the primer's job is to provide grip. These are different products, or at least different dilutions of the same product, and the data sheet says which. Dilution matters: an over-diluted primer on a thirsty screed does almost nothing, and an undiluted primer on a dense surface can leave a glossy film that the compound slides on.
Whatever the substrate, it has to be clean, sound and free of anything that breaks a bond — dust, curing agents, adhesive residues, paint, gypsum from plastering. Vacuum rather than sweep, and let the primer dry to the state the data sheet describes before mixing the first bag. None of this changes how many pounds of compound the floor needs; all of it changes whether those pounds stay put.
Mixing, pot life and the one-pour rule
Self-leveling underlayment is unusually sensitive to water. A quart too much per bag and the mix separates, loses strength and dries with a weak, dusty surface; a quart too little and it will not flow and stays under the straightedge as a ridge. Measure the water rather than judging it, mix with a forced-action paddle for the full time the bag states, and let the mix stand for its maturing time if one is specified.
Working time is short — typically 15 to 30 minutes from mixing, less in a warm room. That is what makes the pour a planning problem rather than a mixing problem: every batch has to reach the previous one while the previous one is still wet, or the two do not merge and a ridge stays. Pour in strips, keep a wet edge, and pass a spike roller over the fresh surface to release trapped air.
This is also why the calculation should be generous by exactly one bag. Running out at three quarters of a room is not an inconvenience, it is a cold joint that has to be ground back and a surface that is no longer flat. An unopened bag returns to the merchant; a ground joint costs an afternoon and a hire of a grinder.
- Weigh or measure the water; do not judge it by consistency in the bucket.
- Mix full bags. A part bag mixed by eye is the usual cause of a patch that cures a different color and hardness.
- Keep the room between roughly 60 and 75 °F, out of direct sun and drafts, during the pour and the first day.
- Spike-roll to release air, and work in strips wide enough that the next strip meets a wet edge.
Drying, residual moisture and when the covering can go down
Two different times are printed on every data sheet and they get confused constantly. 'Walkable' is when the surface carries foot traffic without marking — about 2 to 3 hours for current cementitious compounds (current data sheets give 2, 2 to 2.5 or 2 to 3 hours). 'Ready for covering' depends on the layer and the covering: tiles go down as soon as the floor is walkable; vinyl, linoleum and carpet after about 6 hours up to 3/16 in (5 mm), 12 hours up to 3/8 in (10 mm) and 24 to 48 hours above that; parquet takes longer (one data sheet: 12 hours up to 5 mm, 24 hours above).
The old screed rule of about a week per 1/4 in does not apply to leveling compound — it describes sand-cement screed, which dries by evaporation, while modern compounds bind most of their water chemically. What does stretch the times: a cold room, high humidity, poor ventilation, thick layers and products with slower binders (one data sheet states 12 hours, another 48 hours). The times on the data sheets are measured at 68 to 73 °F (20 to 23 °C) and 50 to 65 % relative humidity. The screed or slab underneath must itself be dry before you pour; for parquet and vapor-tight floors also check the covering manufacturer's moisture limit.
Under a heated floor there is a further step: the heating has to be brought back up under a documented heat-up protocol before the covering goes down, and that protocol takes its own days. Build them into the schedule at the start; discovering them the week the flooring is due is how a job loses two weeks.
Once the subfloor is level and dry, the covering becomes a separate calculation — plank size, pattern, cut list and waste — and that is exactly the job the Autolay planner does from a photo of the plan, an IFC building model or a 3D scan.
Step by step: from the uneven floor to the bag count
The sequence a flooring installer follows for one room, with the example of a 215 sq ft (20 m²) floor that is leveled at an average of 3/16 in (5 mm).
Measure the unevenness
Lay a 6 ft (2 m) straightedge on the floor in both directions and across the diagonals and measure the gap under it with a measuring wedge — about one reading per 10 sq ft, so roughly 21 readings in a 215 sq ft room. A rotating laser with a measuring rod is faster in larger rooms: read the height at the same grid of points and note each reading relative to the highest point. Mark the high point and every deep spot with chalk and write the readings on a sketch of the room.

Turn the readings into an average thickness
Take the mean of all readings and add the product's minimum layer: in the example the gaps average 1/8 in and the product needs 1/16 in at the high point, so the average layer is 3/16 in. Check the deepest reading against the product's maximum thickness. Typical targets for the finished floor: no more than 1/4 in in 10 ft under most floors and 1/8 in in 10 ft under tiles with an edge of 15 in or more (American National Standards Institute A108.02); in Europe 4 mm under a 1 m straightedge and 10 mm over 4 m (DIN 18202, table 3, row 3).
Prepare the floor and fit the edge strip
Remove anything loose, grind off paint, adhesive residue and sintered skin, and vacuum rather than sweep. Fix an edge insulation strip around the walls, columns and door frames so the layer can move and does not transmit footfall sound into the walls. Close doorways and floor drains with a foam dam so the compound does not run away.
Prime
Roll the primer the data sheet names in the dilution it prescribes for your subfloor: with a typical primer concentrate, for example, 1 : 5 with water on porous cement screed (about 30 g of concentrate per m²) and 1 : 3 on calcium-sulfate screed (about 50 g per m²); a very absorbent floor gets two coats. Let it dry to a thin clear film before the first bag is mixed.
Work out and order the bags
215 sq ft × 3/16 in at 104 lb per 100 sq ft per 1/8 in: 2.15 × 1.5 × 104 = 335 lb, that is 335 ÷ 50 = 6.7 and so 7 bags of 50 lb. With a 10 % margin it is 369 lb and 8 bags. With a 98 lb product the same floor needs 316 lb and 7 bags. Have the bags in the room before you start mixing.
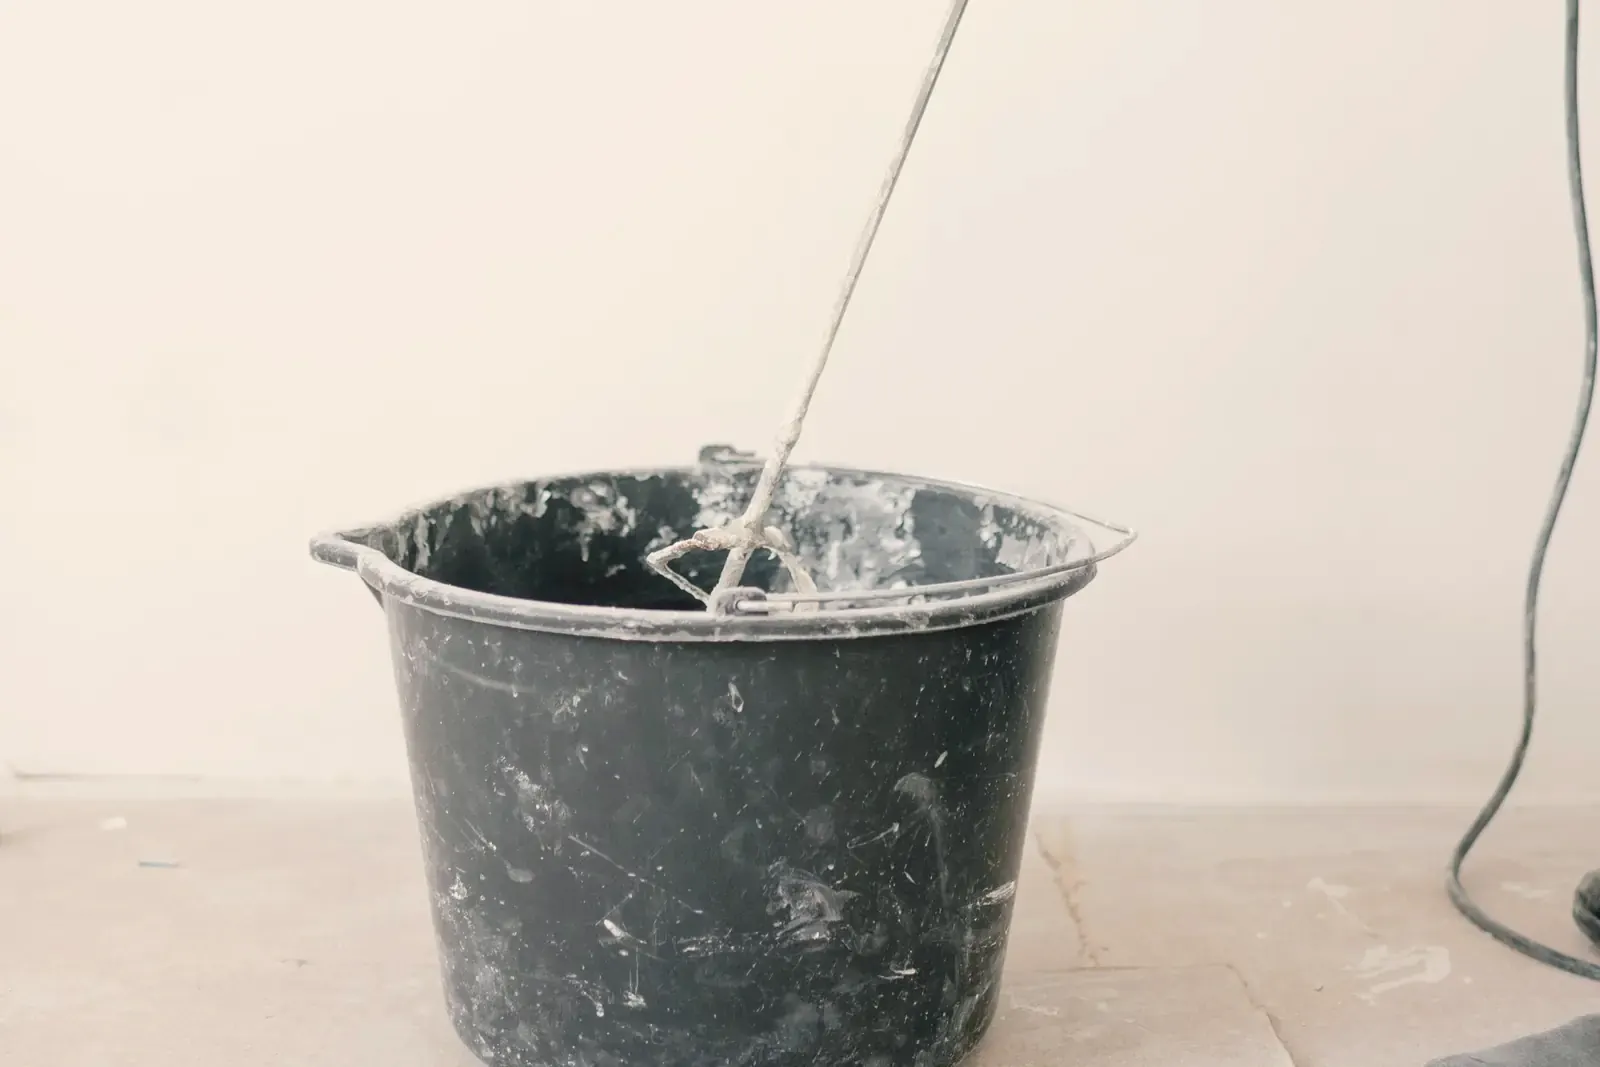
Mix with measured water
Measure the water for every bag with a jug — about 6 liters (1.6 gal) per 55 lb (25 kg) bag for most current compounds, 6.25 liters for some — and stir the powder in with a drill-driven paddle until the mix is free of lumps. Work with two buckets so one is being mixed while the other is poured. Working time is about 30 to 45 minutes, depending on the product.
Pour in strips and spike-roll
Start at the wall furthest from the door and pour in strips, each one meeting the wet edge of the last. Spread with a smoothing trowel or a gauge rake set to the layer thickness, then pass the spiked roller over the fresh surface to release air, wearing spiked shoes. Keep drafts, direct sun and heat off the floor for the first 12 hours.
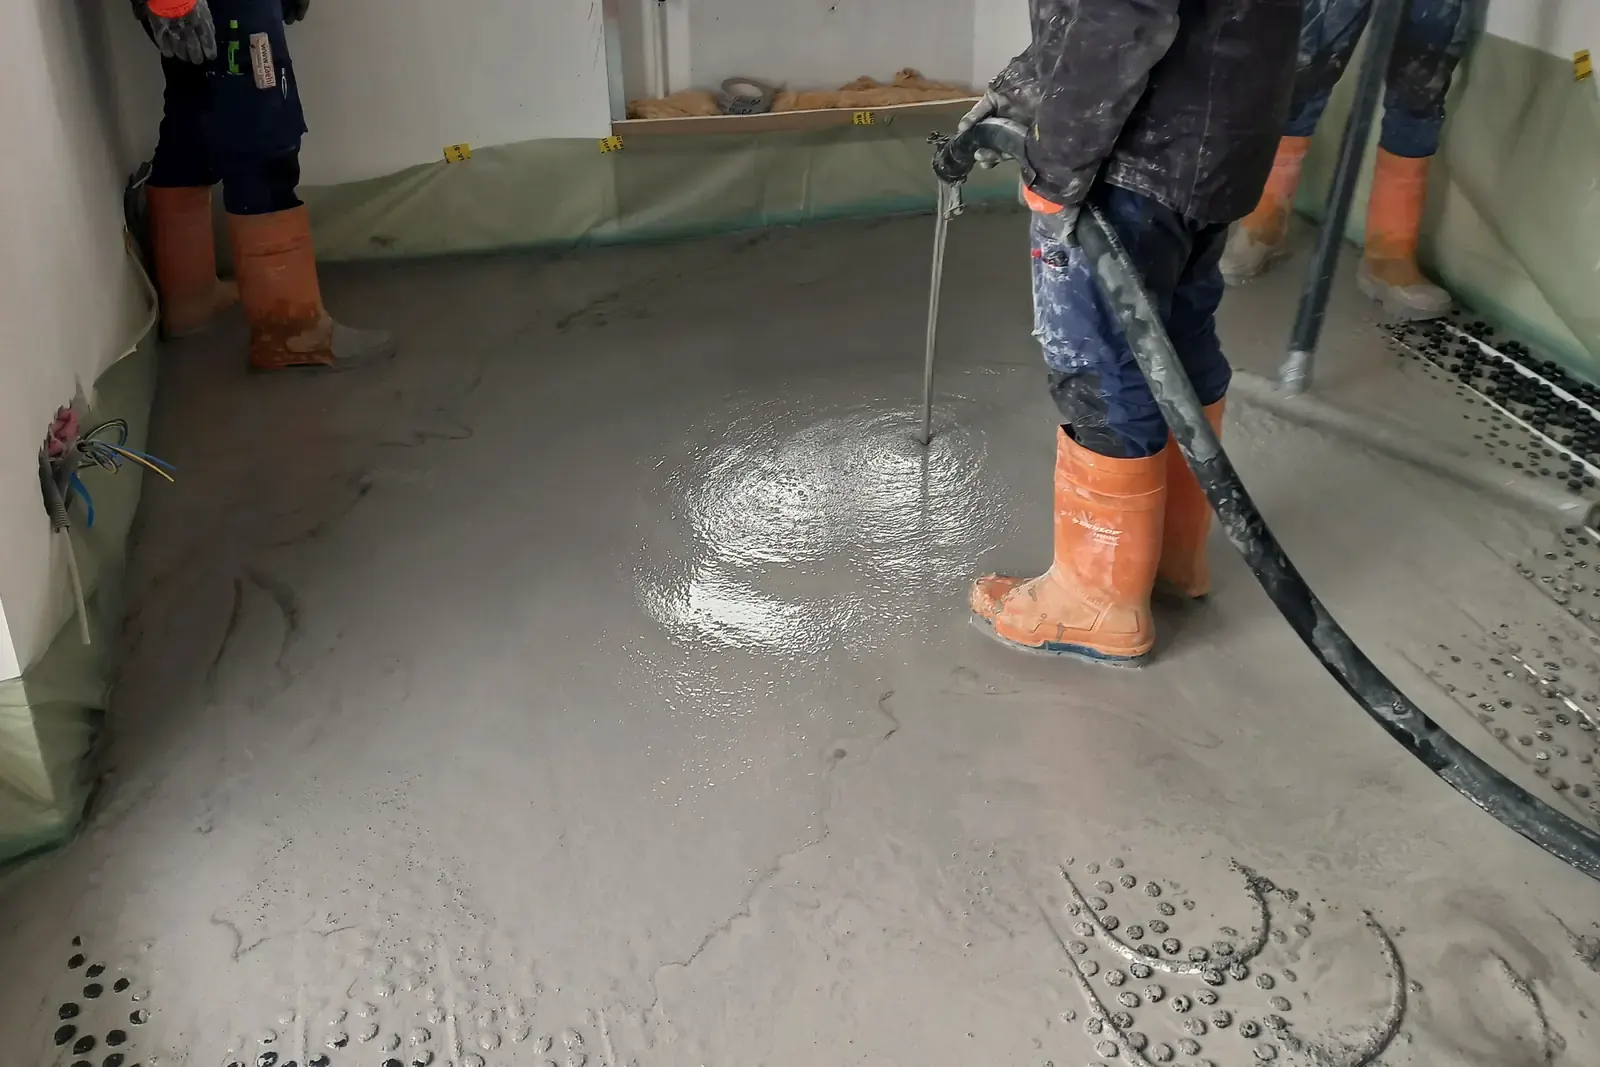
Photo: Asurnipal, CC BY-SA 4.0, via Wikimedia Commons, cropped
Leveling compound, fiber-reinforced compound or screed?
| Self-leveling compound | Fiber-reinforced compound | Screed | |
|---|---|---|---|
| Layer thickness | From about 1/32 in (1 mm); maximum 3/8 to 2 in (10 to 50 mm) by product | Higher minimum, often from about 1/8 in (3 mm); stated on the bag | Usually 1 1/2 in (35 mm) and more |
| Material | About 91 lb to 104 lb per 100 sq ft per 1/8 in | Similar, from the data sheet | About 130 lb per 100 sq ft per 1/8 in |
| Ready for covering | Tiles after 2–3 hours, other floors after about 6–48 hours by thickness | Per data sheet, usually longer than standard compound | Days to weeks, after measuring the residual moisture |
| Best for | Smoothing a sound screed or slab under tiles, vinyl, laminate or parquet | Timber boards, underfloor heating, subfloors that move slightly | Large height differences, slopes, covering pipes, new floors |
| Do it yourself? | Yes, one room with buckets and a helper | With experience; minimum thickness and fleece matter | Rarely; usually a contractor with a pump |
Tools and materials
| Item | Quantity |
|---|---|
| Self-leveling underlayment | 7–8 bags of 50 lb for 215 sq ft at 3/16 in |
| Primer named on the compound's data sheet | about 1.3–2.2 lb of concentrate for 215 sq ft, by dilution |
| Edge insulation strip | the room's perimeter plus door frames, for example 60 ft |
| 6 ft (2 m) straightedge and measuring wedge, or rotating laser with measuring rod | 1 per job |
| Drill-driven mixer with spiral paddle | 1 |
| Two buckets of about 8 gal (30 l) and a measuring jug | 1 set |
| Spiked roller and spiked shoes | 1 each |
| Smoothing trowel or gauge rake | 1 |
| Primer roller and tray | 1 |
| Industrial vacuum, dust mask class FFP2, gloves, foam dam for doorways | per room |
Common mistakes
No primer on an absorbent subfloor
How to spot it: Pinholes and bubbles, a dusty surface, patches that sound hollow when tapped
Fix: Grind off what is loose, prime as the data sheet says and pour a new layer at the product's minimum thickness
Water added by eye
How to spot it: A watery film or separation on top, a soft dusty surface, or ridges that never flowed out
Fix: Measure every bag's water with a jug; sand a dusty surface and prime it before the next layer
Layer below the product's minimum
How to spot it: A rough, grainy surface that never closes
Fix: Prime and pour a second layer at least at the minimum thickness
Layer above the product's maximum
How to spot it: Shrinkage cracks, often a day later
Fix: Build up in two primed layers, or use a deep-fill compound or a screed
No edge insulation strip
How to spot it: Cracks along the walls, footfall sound heard in the room below
Fix: Fit the strip around walls, columns and door frames before pouring
Running out halfway through the pour
How to spot it: A ridge where the second batch met the first one that had already set
Fix: Grind the joint flat and prime it; next time order the margin bag and stack all bags at the mixing point before starting
Gypsum-based compound in a wet room
How to spot it: Softening and swelling where water stands
Fix: Remove it and use a cementitious product; gypsum-based compounds only in dry rooms
Covering laid too early
How to spot it: Adhesive that does not bond, cupping parquet, vinyl that lifts
Fix: Wait the data sheet's time for the actual thickness and measure the residual moisture under parquet and vapor-tight floors
When to call a professional
One room of up to about 200 to 300 sq ft (20 to 30 m²) with up to about 3/8 in (10 mm) of unevenness is a realistic do-it-yourself job with buckets, a paddle mixer and a helper. Beyond that, a flooring installer or screed contractor usually does it faster and with less risk.
- Areas that need more bags than two people can mix within the working time — then a pump is used and the pour stays continuous
- Unevenness of more than about 3/8 in (10 mm), or deep spots beyond the product's maximum thickness
- Underfloor heating: minimum cover over the pipes, heat-up protocol and edge joints must be planned
- Timber floors and floorboards: they move and need a fiber-reinforced product, often with a decoupling fleece
- Old black adhesive or floor tiles from before about 1990: they can contain asbestos; have them tested before grinding
Frequently asked questions about self-leveling underlayment
How much self-leveling underlayment do I need per 100 sq ft?
Current cementitious products need about 91 lb to 104 lb per 100 sq ft for each 1/8 in of thickness on current manufacturer data sheets. The calculator defaults to the top of that range, 104 lb, and multiplies floor area × average thickness × rate: 215 sq ft at 3/16 in is 2.15 × 1.5 × 104 = about 335 lb.
How many bags is that, and how does it round?
The calculator divides the total pounds by your bag size and always rounds up to whole bags, because you cannot buy part of a bag. At 335 lb with 50 lb bags that is 7 bags (335 ÷ 50 = 6.7, rounded up). With a 10 % safety margin it is 369 lb and 8 bags — the eighth bag is the one that saves the pour if the floor is deeper than the grid suggested.
How thin and how thick can I pour self-leveling underlayment?
Every product has its own range, printed on the bag. Current data sheets give, for example, 1 to 10 mm for one compound, 1.5 to 10 mm (1/16 to 3/8 in) for another, 1 to 30 mm (about 1/32 to 1 3/16 in) for a third and 0.5 to 50 mm for a fourth. Below the minimum the compound does not close to a smooth surface; above the maximum it shrinks and cracks. If your deepest reading is beyond the maximum, fill the deep areas first or use a deeper product or a screed.
How do I find the average layer thickness rather than just the deepest spot?
Lay a 6 ft straightedge across the room in several directions and measure the gap under it at a grid of points, roughly one per 10 sq ft. The average of those gaps, plus the minimum thickness the product needs to flow, is your average layer thickness. It is almost never half the maximum: a floor with one deep dip and an otherwise flat surface averages far less than one that slopes evenly across the room.
Do I need primer, and does it change the quantity of compound?
You need it on almost every substrate, and it does not change the quantity of compound — it changes whether the pour works. On absorbent screed or concrete, primer stops the substrate pulling the mixing water out before the compound has flowed and bonded. On non-absorbent surfaces such as tiles it provides the grip the smooth surface cannot. Primer is calculated separately, typically 2 to 4 lb per 100 sq ft depending on dilution.
How long before I can lay flooring on the leveled floor?
Much sooner than the old rules of thumb say. Current cementitious compounds are walkable after about 2 to 3 hours and take tiles from then on. Resilient floors such as vinyl can usually follow after about 6 hours up to 3/16 in (5 mm), 12 hours up to 3/8 in (10 mm) and 24 to 48 hours for thicker layers; parquet waits longer. All of these times are measured at about 68 to 73 °F (20 to 23 °C) and 50 to 65 % relative humidity — a cold or damp room stretches them, and some products need longer (one data sheet states 48 hours). Take the time from your product's data sheet, not from a calendar rule.
Can I pour leveling compound over tiles or over underfloor heating?
Over sound, well-bonded tiles yes, with the right primer and after degreasing — knock the tiles first and replace any that sound hollow. Over underfloor heating you need a compound rated for it and a minimum cover above the pipes, usually stated on the bag, and the heating must be off and cooled during the pour and heated up again by the manufacturer's protocol afterwards. Both cases change the primer and the minimum thickness, not the way the quantity is calculated.
What happens if I run out of compound halfway through a pour?
You get a cold joint: the first batch starts to set before the next one arrives, so the two do not flow together and a visible ridge stays in the surface, which then has to be ground back. This is the single best reason to add a safety margin and to have one bag more on site than the calculation asks for. An unopened bag can usually be returned; a ground-down joint costs an afternoon.
Planning the floor on top
Once the subfloor is level, the Autolay planner works out the tiles, planks or laminate for it — the material list and waste — from a photo of your floor plan, an IFC building model or a 3D scan.
Start planning