Tile calculator: tiles, cuts and boxes for your room
Enter the room, the tile, the joint and the pattern, and this calculator counts the tiles the way a tile setter lays them: whole tiles, every cut at the wall, offcuts used again where they fit, and the boxes to buy rounded up — with spare tiles for repairs on top. For a rectangle or an L-shaped room, straight, offset or diagonal.
The count runs right here in your browser. For a floor with more corners, doorways or several rooms, the planner lays the real outline tile by tile.
How many tiles do I need – and how many packs?
Enter the room, the tile, the joint and the pattern. The calculator lays every tile in your room, uses offcuts again where they fit and counts the tiles, the cuts and the packs.
A common size — overwrite it with yours.
1/16 to 1/8 in for rectified tiles, 1/8 to 3/16 in for most others; check the tile box.
Printed on the pack label.
Enter your room to count the tiles
Enter the length and width of the room to see the count.
Worked example: a 16 × 13 ft kitchen in 24 × 24 in tiles
The same numbers the calculator shows when you enter this room — line by line, so you can follow them with a pencil.
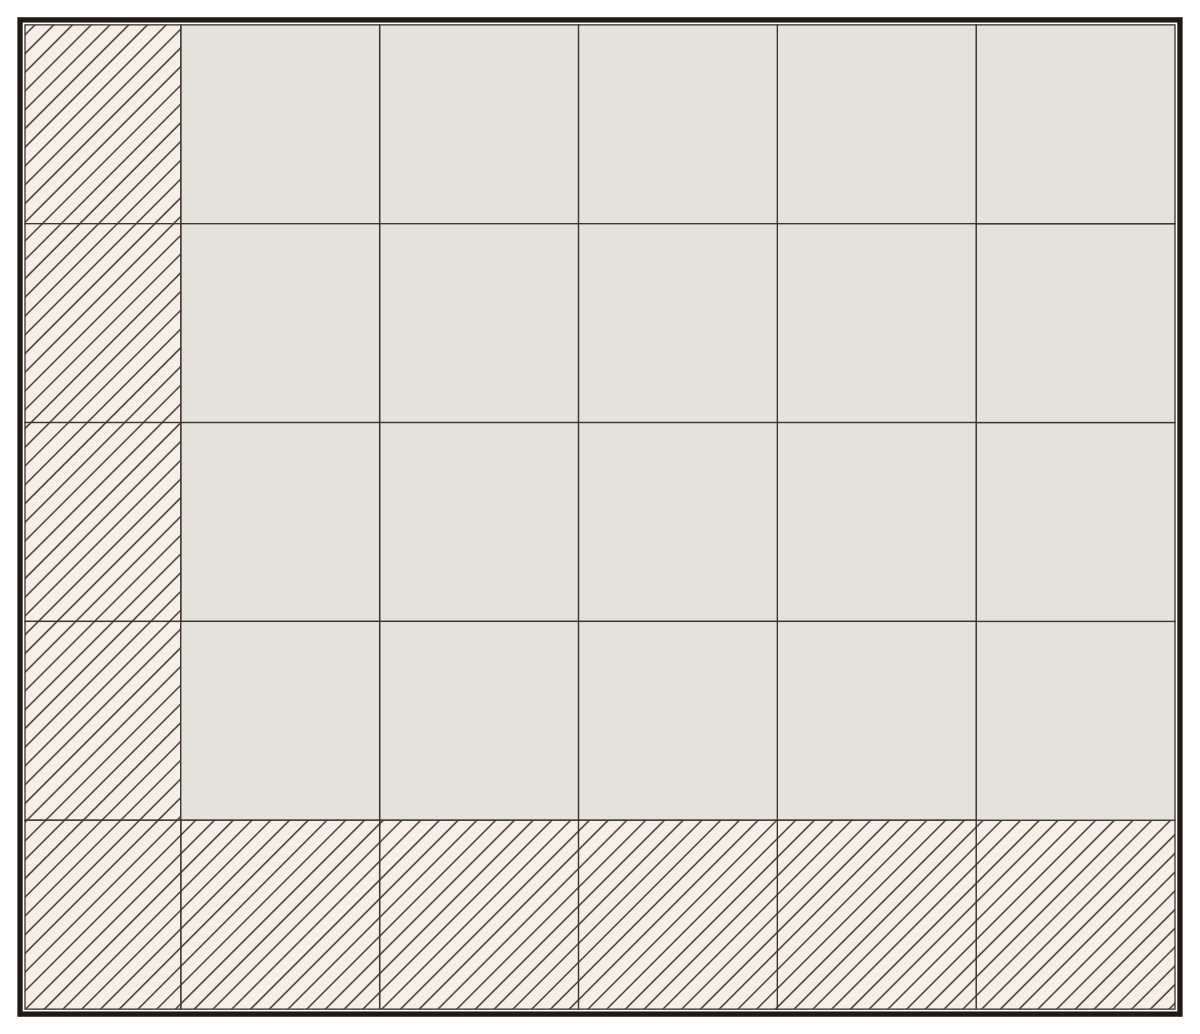
- Room: 16 × 13 ft = 208 sq ft, a rectangle; a joint of about 3/16 in stays free at every wall.
- Tile: 24 × 24 in, 1/8 in joint, straight grid, 4 tiles per box (16 sq ft).
- Rows: 7 across the width; the calculator moves the start so that no cut row or column is narrower than a third of a tile (narrowest here: 10 7/8 in).
- Whole tiles: 36. Cut pieces: 20, cut from 16 tiles, because the offcuts of the cut row are wide enough for the narrow pieces at the side wall.
- Tiles to buy: 52 = 13 boxes. Counted offcut waste: 1.4 %.
- Spare tiles for repairs: 5 % = 3 tiles. The 13th box leaves none over, so buy 14 boxes (56 tiles).
- For comparison, the flat rule: 208 sq ft ÷ 4 sq ft = 52 tiles + 10 % = 58 tiles = 15 boxes.
The same room laid diagonally: 53 tiles, 14 boxes. The same room as an L-shape with a 6 × 5 ft corner missing: 45 tiles, 12 boxes.
What a tile calculator has to do
Multiplying the floor area by a fixed markup gives a number, not an answer. A calculator earns its place only when it turns your real room into real quantities:
- Count the whole tiles and the cut tiles at the walls separately, from the real room shape — not the area rounded up to full boxes.
- Count with the joint width as well as the tile: every joint adds its width to the setting-out, so a 1/8 in or a 3/16 in joint moves where each row ends and which tiles are cut.
- Take the tile format, the pattern and the room shape you actually have — a rectangle or an L — instead of one assumed size.
- Show how many pieces are cut and how wide the narrowest cut row is, so you can move the start line before you buy.
From floor plan to tile list in four steps
- Bring the room in: a photo of the floor plan, a PDF, an IFC building model or a 3D scan.
- Trace the outline and set the scale, so every following number is a real measurement.
- Pick the tile format and the laying pattern.
- Get the tile count, the waste percentage and the cut list, then order against it.
Why the rule-of-thumb number is usually wrong
The area-times-percentage estimate
The quick estimate divides the floor area by the tile area and adds a flat 10 %. It is fast and often close in a plain room, but it never sees where the rows end: two floors of the same size can need different numbers of tiles once the walls cut into the field.
Why the format matters
Waste depends on how the room divides by the tile, not on tile size alone. A large tile loses more when its offcut fits nowhere else; a small one adds more cuts. The calculator shows both effects for your own room in seconds — try two formats.
Why placing every tile is exact
The calculator above places every tile position in your room and reuses an offcut only where it fits by size, so the count follows your format, joint, pattern and room shape instead of a one-size markup.
From tape measure to the order
Six steps a tile setter goes through before a box is opened. The calculator covers the counting; these steps make sure the count fits your room and lasts for later repairs.
Measure the room as rectangles
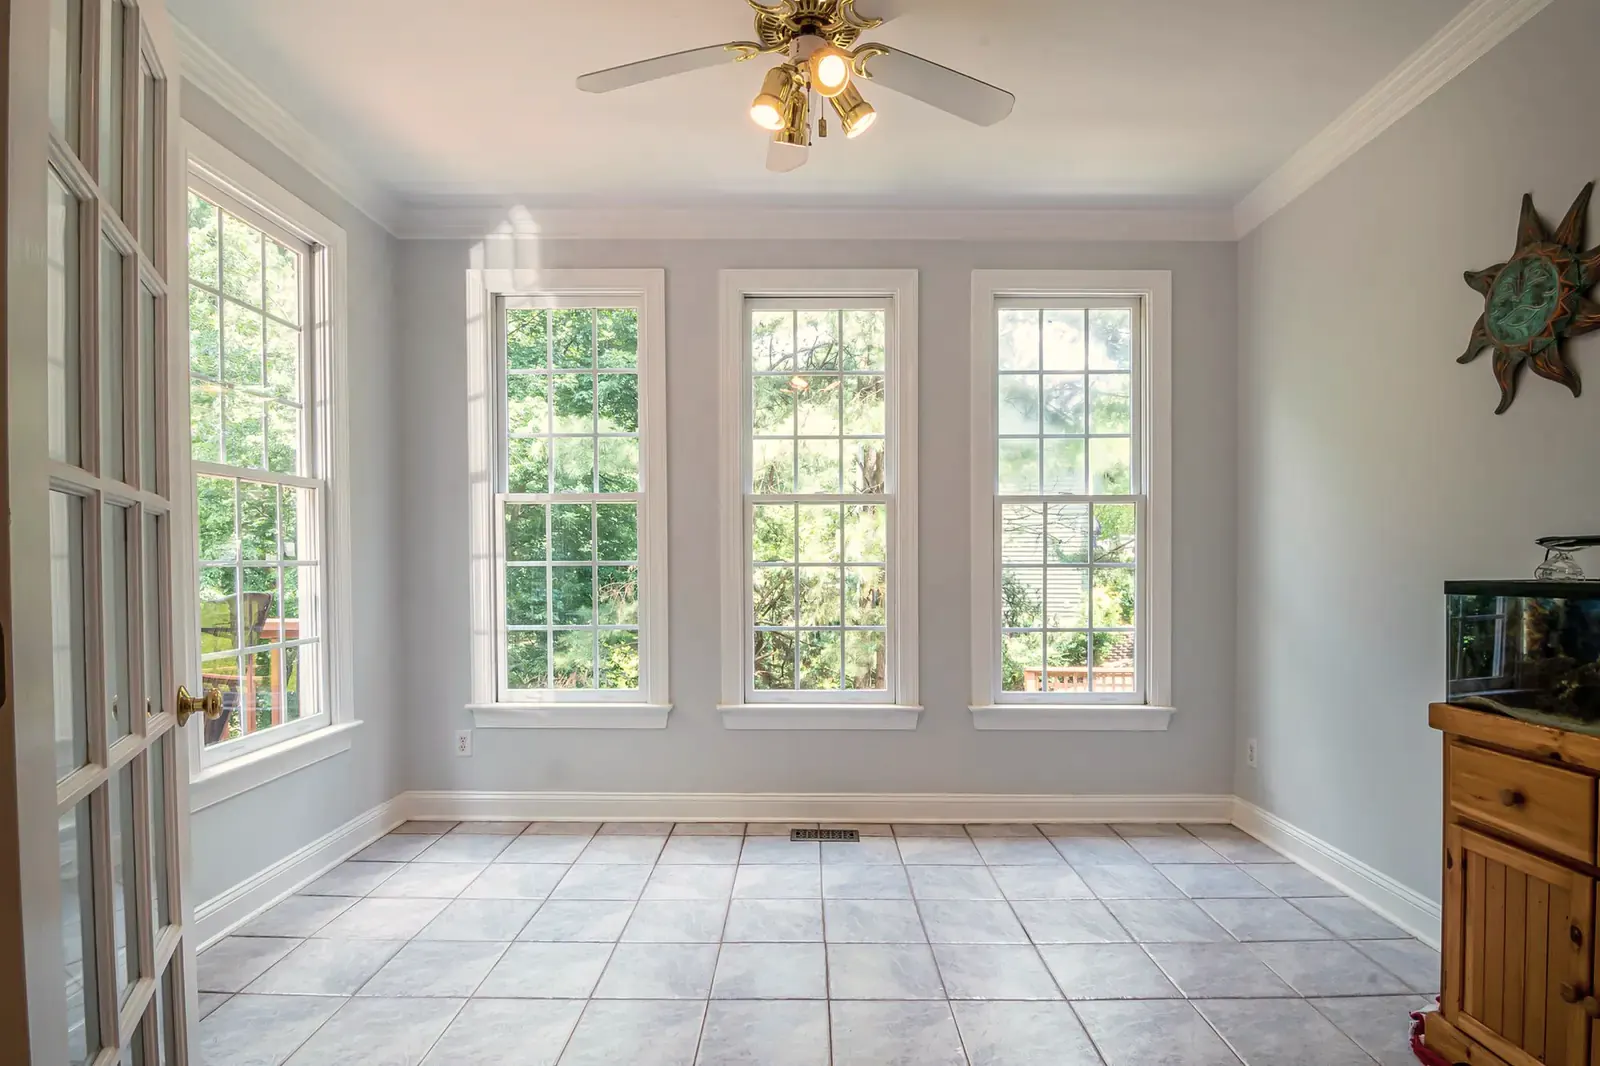
Measure each side at two places, near the wall and in the middle, and use the longer figure — walls are rarely parallel. For an L-shaped room measure the full rectangle first, then the corner that is missing. Add door reveals and the floor under a radiator if it gets tiled.
Choose the joint and the start line
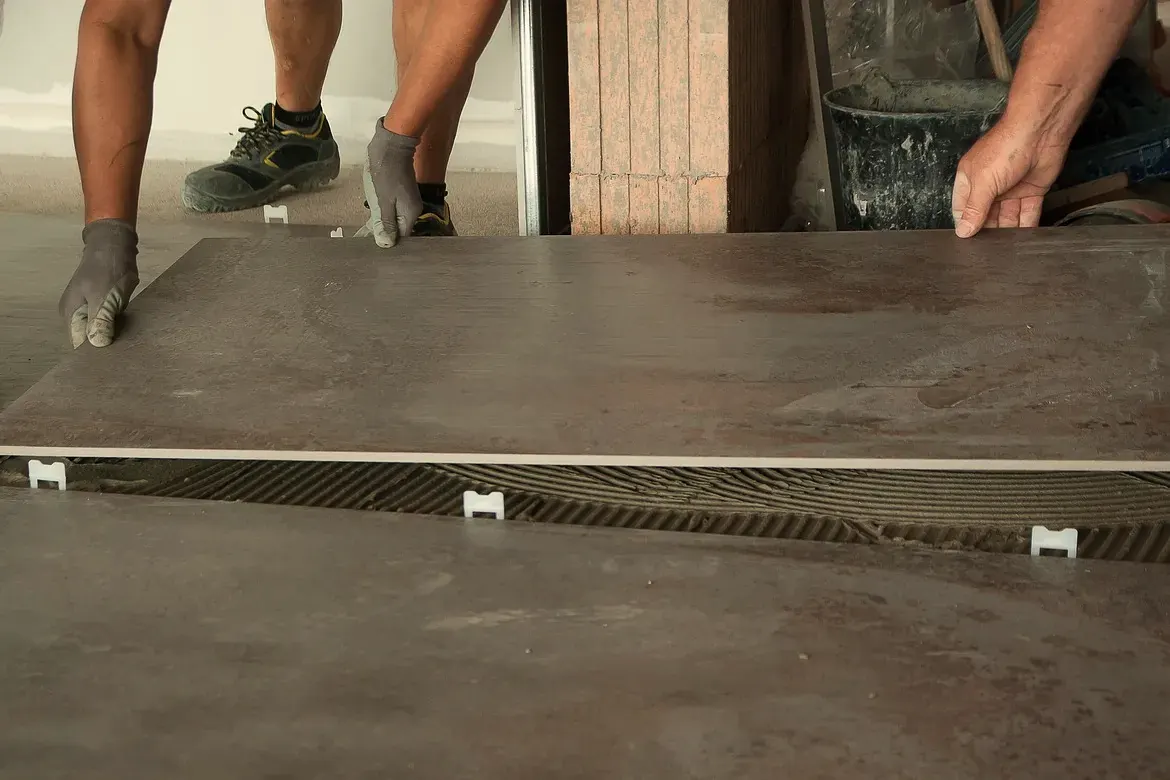
German tile standards ask for joints of 2 to 8 mm (about 1/16 to 5/16 in) for tiles over 4 in; rectified tiles take the narrow end, pressed tiles with more size variation the wider. Lay one dry row along each wall: no cut piece should be under a third of a tile. The calculator shifts the grid for you and shows the narrowest row.
Read the box label
The label gives the pieces per box, the area per box, the shade (lot) and the caliber, the measured size class of that batch. Enter pieces or area into the calculator — both give the same box count.
Buy one lot and let the boxes reach room temperature
Buy every box at once and check that shade and caliber match on all of them; tiles from two lots differ in tone and size. Bring tiles and adhesive into the room a day ahead, so tiles, floor and adhesive lie within the working range printed on the adhesive bag, typically about 59 to 77 °F (+15 to +25 °C). Mix tiles from three boxes while laying.
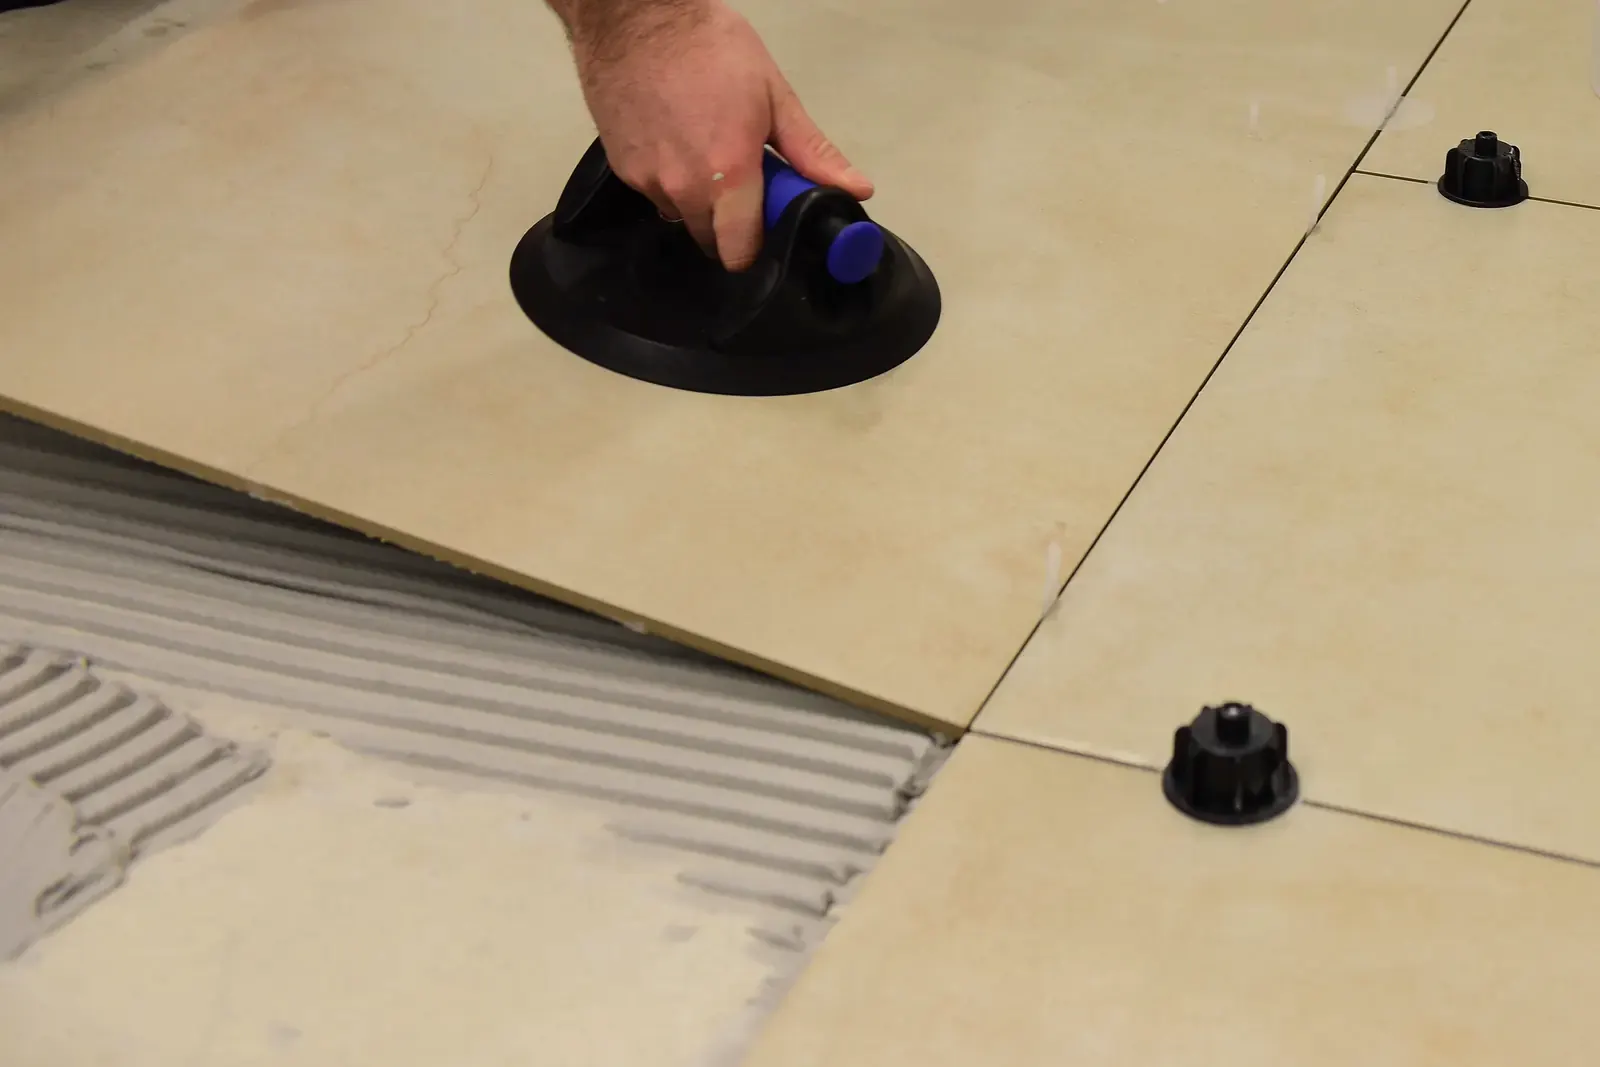
Leave the edge joint free
Keep a joint of about 3/16 in (5 mm) at walls, columns, door frames and pipes, and carry the movement joints of the floor below through the tiles. Fill them with flexible sealant at the end, never with grout.
Keep the spare tiles
Store the spare tiles the calculator adds (5 %, at least two) flat and dry with one box label, so a cracked tile can be replaced with the same shade years later. A tile from a later lot rarely matches.
Waste by pattern and room shape
| Pattern | Rectangle | L-shape | Flat rule | Why |
|---|---|---|---|---|
| Straight grid | 52 tiles, 1.4 % | 45 tiles, 2.6 % | 10 % | Cut rows at two walls; offcuts from the cut row cover the narrow pieces |
| Offset by half | 52 tiles, 1.4 % | 45 tiles, 2.6 % | 10 % | Row ends alternate, so one row's offcut often starts the next; long tiles bow, so keep the offset to a third for tiles over 18 in |
| Offset by a third | 52 tiles, 1.5 % | 45 tiles, 2.7 % | 10 % | Like half offset, with less lippage on long tiles |
| Diagonal (45°) | 53 tiles, 3.5 % | 46 tiles, 5.0 % | 15 % | Every wall tile is cut at 45°; triangles pair up two to a tile, corners and the inside corner of the L do not |
Tools and materials
| Item | Quantity |
|---|---|
| Tiles from one lot | the count above plus the spare tiles |
| Tile spacers or leveling clips | about 4 to 6 per tile; clips for tiles with a side of 24 in or more |
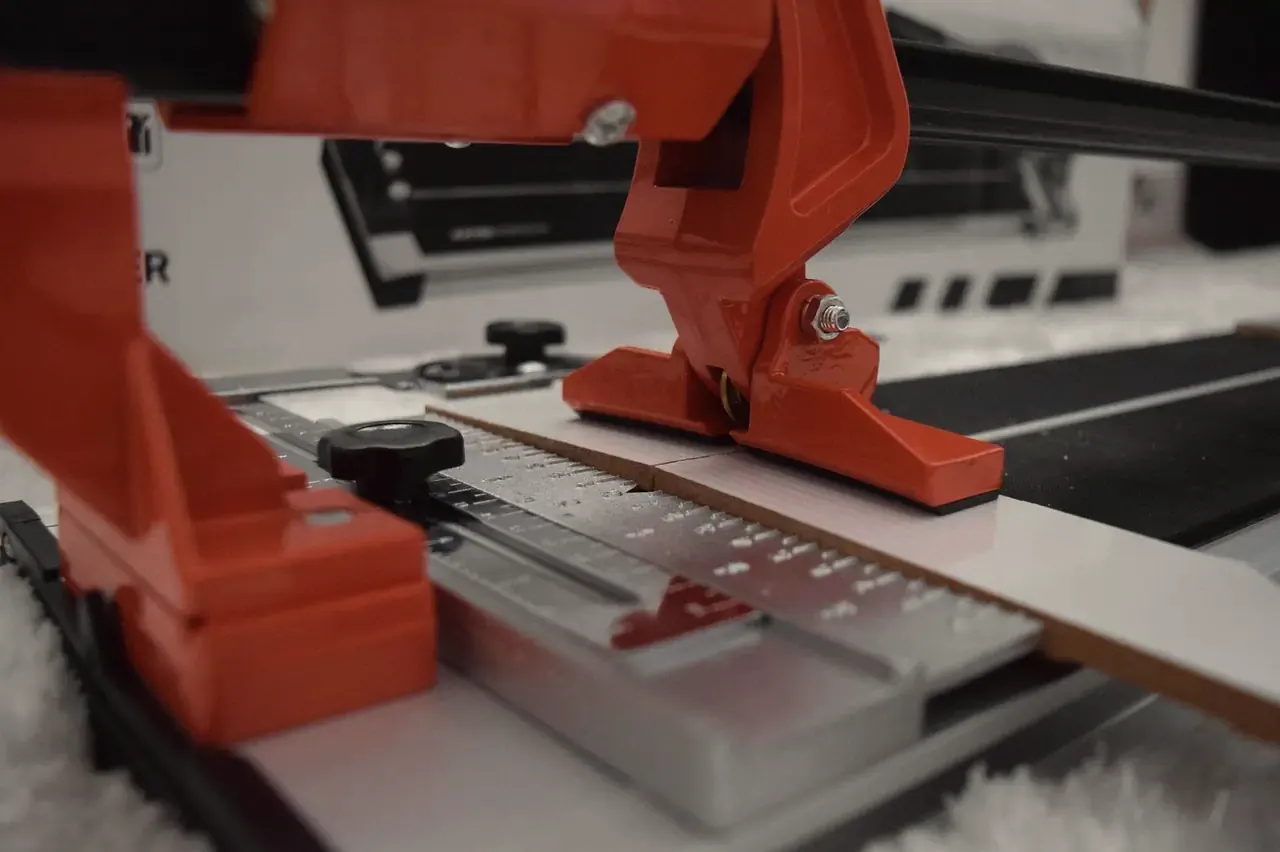
| Manual tile cutter (score and snap) | 1, with a rail longer than the tile diagonal for 45° cuts |
| Wet saw or angle grinder with a diamond blade | 1, for notches, pipe holes and strips under about 1 in |
| Notched trowel | notch by tile size — see the tile adhesive calculator |
| Rubber mallet, 4 ft level, straightedge | 1 each |
| Tape measure, chalk line, carpenter's square, pencil | 1 each |
| Tile adhesive, grout, flexible sealant | see the adhesive and grout calculators |
| Knee pads, gloves, safety glasses, dust mask for dry cutting | 1 set |
Common mistakes
Boxes from two lots
How to spot it: Shade or caliber codes differ between box labels, or tiles look lighter in daylight.
Fix: Buy the whole count plus spares at once, check every label before opening, exchange odd boxes.
Starting at a crooked wall
How to spot it: The gap to the wall grows along the first row.
Fix: Snap a chalk line square to the room's main axis and start from the line, not from the wall.
A sliver at the most visible wall
How to spot it: The dry row ends in a piece under a third of a tile at the door or the window.
Fix: Shift the grid by half a tile so both sides get an equal cut — the calculator does this for its count.
No edge joint
How to spot it: Tiles butt against the wall or the door frame.
Fix: Leave about 3/16 in (5 mm) and fill it with flexible sealant; a tight floor can crack or lift when it moves.
Ordering only the area
How to spot it: The last row runs short and the next delivery is a different lot.
Fix: Order the counted tiles plus spares; most stores take unopened boxes back — ask before you buy.
When to call a professional
Counting tiles is something anyone can do; laying them flat and lasting is the hard part. Ask a tile setter, at least for a second look, when:
- the tiles have a side over 24 in or are thinner than 1/4 in — they need a flatter floor, leveling clips and full adhesive contact;
- the floor is not flat: the German flatness standard for floors ready for tiling allows about 3/16 in (4 mm) under a 3 ft (1 m) straightedge, more needs leveling compound first;
- there is underfloor heating, a fresh screed whose moisture has to be measured, or a shower area that needs waterproofing;
- you want herringbone or a diagonal layout with large tiles over several rooms;
- you need a warranty on the work.
Frequently asked questions about the tile calculator
- How many tiles do I actually need?
- Use the calculator above: it lays the room row by row and counts whole tiles, cut pieces and boxes. For a 16 × 13 ft room with 24 × 24 in tiles, a 1/8 in joint and four tiles per box that is 52 tiles in 13 boxes, plus one more box so you keep spare tiles for repairs.
- How much waste should I expect with tiles?
- In a plain rectangle the counted cut waste is often only 1 to 6 % when offcuts are used again; offset and diagonal patterns, L-shapes and rows that end in narrow strips push it up. The usual flat allowances (about 10 % for a straight lay, 15 % for diagonal) also cover breakage, miscuts and offcuts nobody looks for, so keep the spare tiles the calculator adds.
- How exact is the count?
- It is exact for the room you enter: every tile position, every cut, offcuts reused only where they fit by size. It does not see a crooked wall, a door frame or a floor drain, and it adds no breakage — that is what the spare tiles are for. For the real outline of your room, use the planner.
- Does the joint width change how many tiles I need?
- Yes. Every joint adds its width to each tile, so over 16 ft a 3/16 in joint instead of a 1/8 in one moves the end of a row by about 1/2 in — enough to turn a usable cut into a sliver. The calculator above counts with the joint you enter; the planner currently lays tiles without a joint.
- Can I calculate tiles for an L-shaped or angled room?
- Yes: choose L-shape and enter the size of the missing corner. Measure the room as its full rectangle (the longest length and the widest width), then the corner that is not part of the room. For more corners, alcoves or angled walls, trace the outline in the planner.
Get the tile count for your own room
Upload your floor plan and the free planner works out the exact packs and waste before you order.
Start planning