
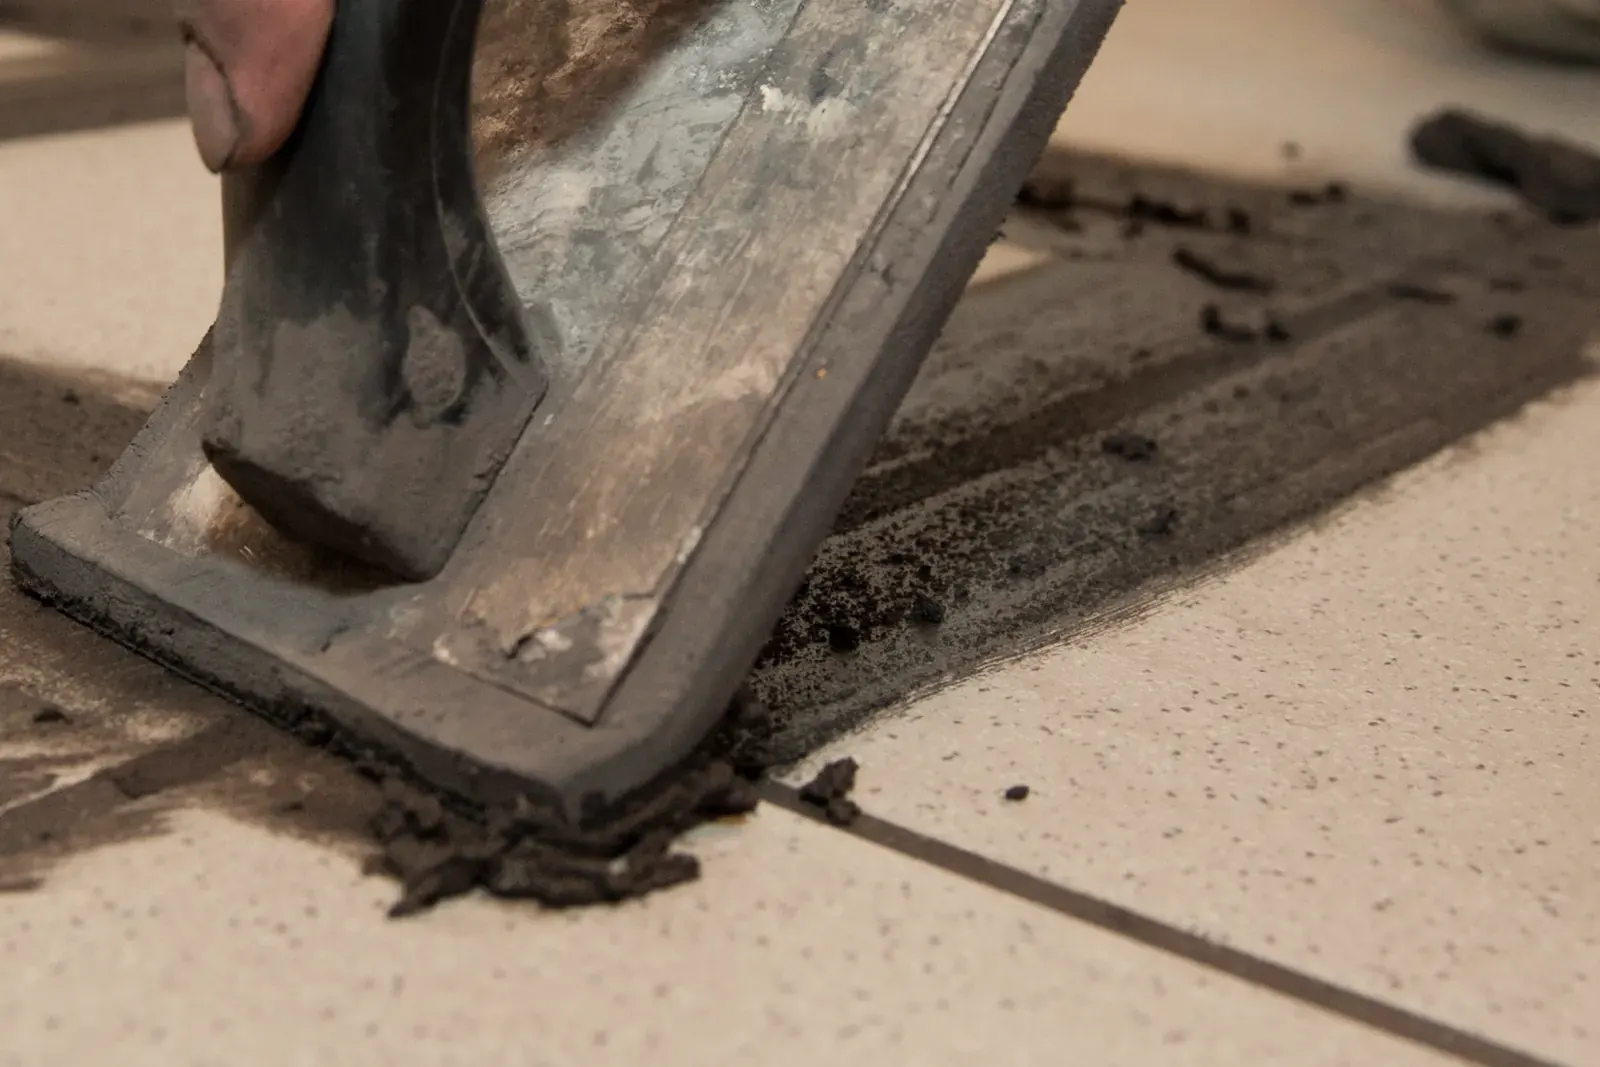
Grouting floor tiles – with numbers instead of rules of thumb
For anyone grouting their own floor or checking a tiler's work: waiting times, grout classes, consumption per square meter and the mistakes that cause patchy or cracked joints.
Grouting is not hard, but small deviations show immediately: too early, too wet, a different amount of water in each bucket or joints of uneven depth, and the grout dries in patches. The figures in this guide come from manufacturers' technical data sheets for tile adhesive and grout and from German tiling trade rules. They apply to standard cement grout at room temperature. The data sheet of the product you buy always has the final word – it is printed on the bag or on the manufacturer's website.
Which grout suits your floor?
Every bag sold in Europe carries a class under the standard EN 13888. “CG” means cement grout, the digit 1 normal and 2 improved properties; “W” adds reduced water absorption and “A” high abrasion resistance. For kitchens, bathrooms, hallways and heated floors a flexible CG2 WA grout is the usual choice; it costs little more than basic grout and picks up less dirt.
More important than “fine” or “coarse” is the joint width range on the bag, for example 1.5–10 mm. Your joint has to fall inside that range, otherwise the grout cracks or cannot be packed.
Epoxy grout (class RG) pays off where acids, grease or constant wetness act on the floor: level-access showers, kitchen work zones, workshops. It is dense and needs no sealer, but costs far more and forgives less: about 40–60 minutes of working time, and residue has to be washed off after about 15 minutes or it stays on the tile as a permanent film. For a first attempt, cement grout is the safer choice.
Polished, honed, textured or unglazed porcelain has fine pores that can trap grout pigment. Manufacturers advise against strong color contrast on these surfaces (dark grout in a light polished tile) and ask for a test on a spare tile.
Joint width and joint depth
You set the joint width when laying, not when grouting. The German contract rules for tile work (DIN 18352) are commonly quoted with 2–8 mm (about 1/16–5/16 in) for tiles over 10 cm edge length; one width is chosen for an area and kept throughout. Narrower than 2 mm is not advisable on a floor, because the joint has to absorb the size tolerances of the tiles.
Joint depth decides durability and color: data sheets require the joints to be scraped out evenly to the full tile thickness. If adhesive stands just below the surface in one joint and deep down in the next, the grout dries at different speeds and turns patchy; the thin spots break out later.
How much grout do you need?
Consumption depends on the joint length per square meter – set by the tile format – and on joint width and depth. Formula: (length + width) ÷ (length × width) × joint width × joint depth × density, all sizes in mm, density in kg per liter (about 1.4–1.9 depending on the product). The result is kg per m². Because densities differ between products, treat any figure as accurate to about ±20 %.
Example: an 18 m² hallway in 30 × 60 cm tiles with a 3 mm joint, 8 mm deep, needs about 3 kg. Add a reserve for mixing losses and buy one 5 kg bag – from one batch, because manufacturers only guarantee matching color within the same batch number. For larger jobs, manufacturers recommend measuring the consumption on a test area first.
Grouting floor tiles in 7 steps
Wait until the adhesive has dried through
With standard flexible adhesive in a thin bed, floor tiles can be grouted after about 10–12 hours, in a medium bed or with large formats after about 24 hours, with rapid-set adhesive after about 3 hours – data sheet figures at about +23 °C. Cold and humidity add time. The reason is not only strength: moisture from an adhesive bed that is still wet rises into the fresh grout and stains it.
Scrape and clean the joints
Pull the spacers or wedges. Scrape adhesive out evenly to the full tile depth, clean the tile edges and vacuum the dust. Dampen very absorbent tiles (terracotta, for example) along the joints, but leave no standing water. Room, material and floor must be between +5 and +25 °C, ideally +15 to +25 °C at 40–60 % relative humidity; no direct sun, no drafts. Underfloor heating stays off or low – data sheets rule out grouting on strongly heated floors.
Test on a spare tile
With polished, unglazed or textured tiles and with natural stone, grout and wash a spare tile first. If color stays in the surface, choose a grout closer to the tile color or pre-treat the tiles with the product the tile manufacturer recommends.
Mix – always with the same amount of water
Water into the bucket first, then the powder; mix with a slow paddle until lump-free, let it stand for about 3 minutes, stir briefly again. Measure the water given on the bag (typically about 0.26 liters per kg) and keep it identical for every mix – varying water is the most common cause of color differences. Mix only what you can use within the working time, about 45–60 minutes depending on the product. Never loosen stiffening grout with water or fresh grout.
Work the grout in diagonally
Press the grout into the joints with the rubber float held at an angle to the joint lines, one manageable section at a time. Working diagonally stops the float dropping into the joint and dragging grout back out. Joints must be full and flush with the tile surface, not hollow – a sunken joint collects dirt on a floor. Fill gaps straight away, fresh into fresh. Leave perimeter joints at walls, columns, door frames and above screed joints empty.
Wash off after the finger test
Once the grout has set up – a fingertip pressed on it leaves no wet mark – remove the excess with a firm, barely damp sponge or sponge float moved diagonally across the joints. Rinse the sponge often in clean water and wring it out well. Washing too wet scours the joints rough and light. On textured tiles remove the haze thoroughly while it is still fresh.
Remove the haze, protect, seal the perimeter
When dry, take off the remaining cement haze with a damp sponge or a dry cotton cloth. Keep off the floor for about 5–12 hours depending on the product; full load after 2–3 days (epoxy: walkable after about 16 hours, full load after about 7 days). Only when the grout is dry, seal the perimeter joints: insert backer rod so the silicone bonds to the two sides only, tape the edges, gun in the silicone, tool it with smoothing agent and pull the tape at once.
Grout consumption by tile format
| Tile format | Joint width × depth | Joint length per m² | Grout per m² |
|---|---|---|---|
| 60 × 60 cm | 3 × 10 mm | 3.3 m | about 0.14 kg |
| 30 × 60 cm | 3 × 8 mm | 5.0 m | about 0.17 kg |
| 30 × 30 cm | 5 × 8 mm | 6.6 m | about 0.4 kg |
| 20 × 20 cm | 5 × 8 mm | 9.9 m | about 0.55–0.6 kg |
| 10 × 10 cm | 3 × 8 mm | 19.5 m | about 0.66 kg |
Tools and materials
| Item | Quantity |
|---|---|
| Grout, all bags with the same batch number | see table, plus a reserve for mixing losses |
| Spare tile for the test | 1 per tile type |
| Clean mixing bucket and slow mixing paddle | 1 each |
| Measuring jug for the mixing water | 1 |
| Hard rubber grout float | 1 |
| Grout sponge or sponge float | 1 |
| Water buckets (washing out, clean rinse water) | 2 |
| Joint scraper and vacuum cleaner | 1 each |
| Dry cotton cloth | a few |
| Sanitary or natural-stone silicone | length of all perimeter joints; yield per meter is printed on the cartridge |
| Polyethylene backer rod to suit the joint width | length of all perimeter joints |
| Caulking gun, masking tape, smoothing agent, joint tool | 1 set |
Common mistakes
Grouted too early
How to spot it: The grout dries in patches, darker over areas with a thick adhesive bed.
Fix: Clear patches only go away by raking out and regrouting. Next time wait for the time on the adhesive data sheet, longer in the cold.
Water measured by feel
How to spot it: Each mix dries a different shade: light and dark sections in the rhythm of the buckets.
Fix: Measure the water for every mix; regrout sections that stand out clearly.
Washed off too wet
How to spot it: Joints are rough, sandy, below the tile surface and lighter than the color card.
Fix: Wait for the finger test, wring the sponge out hard and wipe diagonally; refill joints that sit too low.
Rigid grout in perimeter and screed joints
How to spot it: After weeks or the first heating season, a hairline crack along the wall or across the room above the screed joint.
Fix: Cut the grout out of these joints, insert backer rod and seal them with silicone.
No test on polished or unglazed tile
How to spot it: Gray shadows beside the joint that will not wash off.
Fix: Ask the tile manufacturer which cleaner that surface tolerates. Next time test on a spare tile and pick a grout close to the tile color.
When to call a professional
Grouting a standard tiled floor is a realistic job to do yourself. In these cases a professional tiler is the better choice:
- Level-access showers and wet zones with a bonded waterproofing layer, where grout, silicone and waterproofing must work together.
- Natural stone, polished large formats and epoxy grout, where mistakes stay visible for good.
- Floors over about 40 m² or with many screed joints, where the movement joints need planning.
- Tiles that sound hollow after laying: grout only hides the problem, the tile still breaks later.
Frequently asked questions
- Why is my grout patchy or unevenly light?
- Manufacturers name five causes: an adhesive bed that is still damp, varying water when mixing, joints of uneven depth, tiles or base absorbing unevenly, and washing too wet. Bags from different batches add to it. Clear patches can only be fixed by raking out and regrouting.
- How long after laying can I grout?
- With standard flexible adhesive in a thin bed after about 10–12 hours, in a medium bed or with large formats after about 24 hours, with rapid-set adhesive after about 3 hours. The “ready for grouting after” figure on your adhesive data sheet decides.
- Where does silicone go instead of grout?
- Wherever building parts move against each other: along all walls and columns, at door frames and fixed units, in doorways between two screed areas and exactly above every joint in the screed. On floating screed, a tile manufacturer's application guide based on the German tiling trade leaflet gives fields of at most 8 m side length and 40 m², as square as possible (side ratio no more than 1 : 2). Bridge a screed joint with grout and the tile or grout will almost certainly crack there.
- Do silicone joints need renewing?
- Yes. Under DIN 52460 silicone joints are maintenance joints: check them regularly and renew them when they crack, come loose or go moldy.
- Do I need to seal the grout?
- A CG2 WA flexible grout already has reduced water absorption; a grout sealer applied after curing lowers dirt pick-up further on busy floors. Epoxy grout is dense and needs none. Silicone joints are not sealed.
- How do I remove stubborn cement haze?
- Try clean water and a white scrubbing pad first. If that fails, use a cement haze remover – only on fully cured grout, wet the surface first and test in a hidden spot. Never use acid cleaners on calcareous natural stone such as marble, travertine or limestone.
Tiled area from your own floor plan
The planner gives the tiled area and tile count from a drawing of your room, which is what the consumption table above needs; it does not place movement joints – you or your tiler decide those.
Start planning