
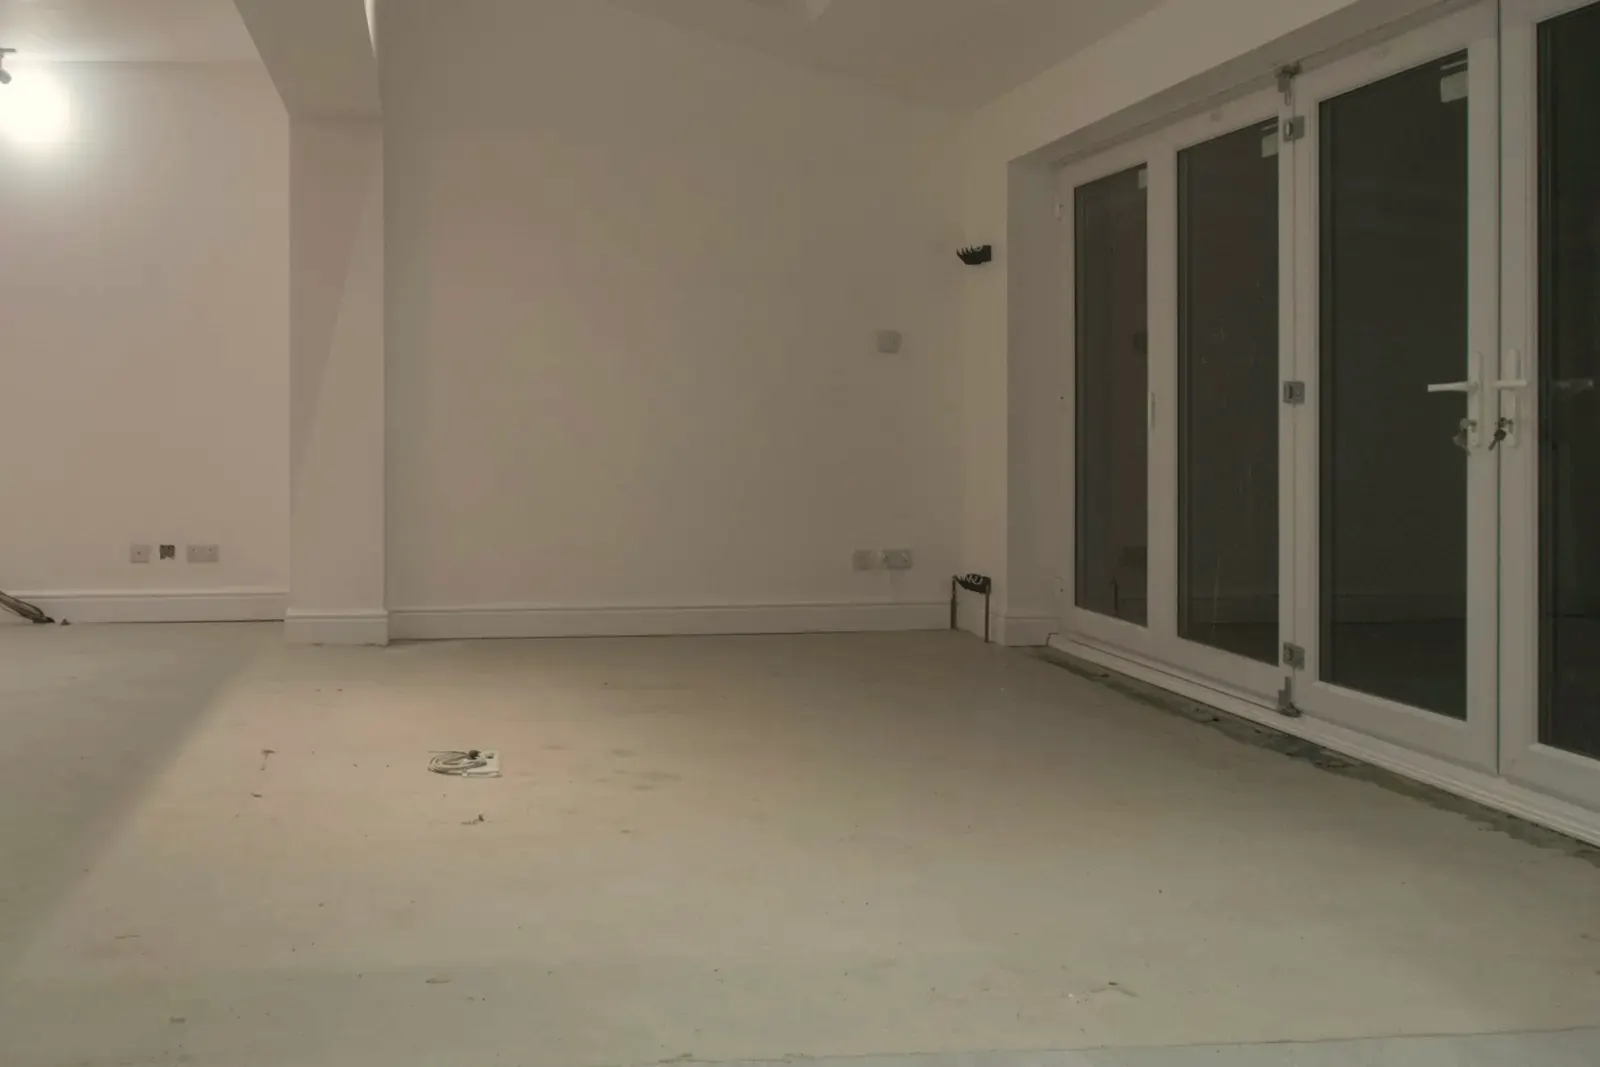
How to prepare a subfloor: what to check and which numbers apply
Dry, flat, sound and clean – with the numbers behind each one: moisture limits by screed type, flatness by floor type, how much self-leveling underlayment you need, how long it takes to cure, and which old floors can stay.
This guide is for anyone floating laminate, click vinyl or engineered wood, and for anyone who wants to know whether a screed is really ready. Tile and glued-down floors need the same checks, often with stricter values; your flooring manufacturer's installation instructions always win. The numbers come from German trade associations, standards and manufacturer data sheets, and where sources disagree, we say so. In the United States, concrete moisture is usually tested with methods other than calcium carbide, so use the test method and limit your flooring manufacturer names.
The limits at a glance
Moisture by the calcium carbide method, sample taken from the lower half of the screed: cement screed 2.0 % or less unheated, 1.8 % or less with radiant heating; calcium sulfate screed 0.5 % or less unheated, 0.3 % or less heated. Source: joint statement of the German parquet, floor covering and construction adhesive associations.
Alternative test by the relative humidity inside the screed: at most 80 % unheated, 75 % heated or cooled.
Flatness: the German tolerance standard DIN 18202 allows 10 mm over a 4 m measuring distance (about 3/8 in over 13 ft) for floors that receive a covering. Laminate and click vinyl makers usually ask for a stricter 2 to 3 mm per meter (about 1/16 to 1/8 in per 3 ft). The stricter value in your installation instructions applies.
Room climate for installing (one laminate maker's figures): air above 18 °C (64 °F), floor 15 to 25 °C (59 to 77 °F), relative humidity 50 to 65 %. Acclimate the flooring in the room for at least 24 hours in unopened packs, no more than 3 packs per stack. With radiant heating, the floor surface stays at 27 °C (81 °F) or below.
Vapor barrier on every mineral subfloor: polyethylene film at least 0.2 mm (8 mil), overlapped about 20 cm (8 in) and run up the wall. In rooms without a basement or directly on concrete: at least 1.2 mm with sealed overlaps.
Expansion gap to walls and all fixed parts: at least 10 mm (3/8 in), 12 mm (1/2 in) with some makers. Usually up to about 100 m² (1,076 ft²) or 10 m (33 ft) of room length without a movement joint; doorways get a movement joint.
Preparing a subfloor in 7 steps
Identify the subfloor and the old covering
Find out what you have: cement screed, calcium sulfate screed, tile, wood, carpet or an old vinyl floor (see the table below). Carpet and needle felt come out. If you find black adhesive or old vinyl tiles in an older building, have a sample lab-tested first – do not scrape it.
Check that it is sound
Tap the whole floor with a mallet and mark hollow-sounding spots. Scratch a grid into the screed with a hard nail: if the edges break out or the surface sands off, it is too weak for adhesive or leveling compound. Cracks, hollow areas and a sanding surface are a job for a professional.
Have the moisture tested
For a new or unknown screed: a calcium carbide test with the sample taken from the lower half of the screed. Cement screed 2.0 % or less (1.8 % with radiant heating), calcium sulfate screed 0.5 % or less (0.3 %). With radiant heating, a heat-up record must exist first, and the test spots must be marked so nobody drills into a heating pipe. The rule of thumb “one week of drying per centimeter of screed, up to 4 cm” does not replace the test.
Measure the flatness
Lay the straightedge in several directions, diagonals included, and slide the taper gauge in at the lowest point between two contact points. Do not level the straightedge with a bubble level – you are checking flatness, not level. If the deviation is above the value in your installation instructions (usually 2 to 3 mm per meter), mark high spots to grind and low spots to fill.
Clean and prime
Remove loose material, dust, grease and paint, then vacuum thoroughly. Fit a foam edge strip along the walls so the leveling compound does not bond rigidly to them. Apply the primer as its manufacturer specifies and let it dry fully; a very absorbent screed often needs a second coat.
Mix and pour the leveling compound
Mix each bag with the stated amount of water (for example 6.5 liters per 25 kg bag) and spread it in one go within the working time, usually about 30 minutes. De-air it with a spiked roller, protect it from drafts and direct sun, and do not work below 5 °C (41 °F). Pour a second layer only after the first is fully dry and primed again.
Let it cure, re-check, lay the vapor barrier
A thin layer is often walkable after about 3 hours and ready for flooring after about 24 hours at up to 3 mm; thicker layers and vapor-tight floors such as vinyl often need about 3 days. Your product's data sheet applies. Then check again with straightedge and taper gauge, vacuum, lay the film on a mineral subfloor and let the flooring acclimate in the room for at least 24 hours.
What subfloor do you have?
| Subfloor | Can it stay? | Check value | What to do |
|---|---|---|---|
| New cement screed (gray, hard) | Yes | 2.0 % or less, 1.8 % or less with radiant heating | Have it tested before you install; going by the calendar is not enough. |
| New calcium sulfate screed (anhydrite or flowing screed, light, very smooth) | Yes | 0.5 % or less, 0.3 % or less with radiant heating | Have it tested. Some guides quote 3 %, six times the trade-association value. Sand and vacuum the smooth surface skin if the screed manufacturer requires it. |
| Old screed (covered before or more than a year old) | Yes | Relative humidity in the screed about 50 ± 10 %; above 65 % points to hidden moisture | Test anyway, especially in rooms without a basement. |
| Tile | Usually | Firm, no hollow spots; tile edges offset by no more than 1 mm over 10 cm (about 1/32 in over 4 in, one laminate maker's figure) | Tap-test, clean thoroughly, fill wide or deep grout lines with patching compound. |
| Wood boards and particleboard | Usually | Firm, no bounce or squeaks | Screw down loose boards; level only with a flexible, wood-compatible compound. Whether film belongs on wood is in your installation instructions. |
| Carpet and needle felt | No | – | Remove completely, as the flooring makers require. |
| Old vinyl tiles, black adhesive (older buildings) | Decide after a lab test | Lab sample | Do not scrape, sand or grind: black-brown bitumen and tar adhesives often contain asbestos and other pollutants. Removal only by a licensed contractor. |
Tools and materials
| Item | Quantity |
|---|---|
| Straightedge, 2 m (6.5 ft), and taper gauge | 1 set |
| Rubber mallet (or a bunch of keys) for the tap test | 1 |
| Hard steel nail or scribe for the scratch test | 1 |
| Thermometer and hygrometer | 1 each per room |
| Calcium carbide moisture test | By a flooring or screed contractor, test spots marked |
| Primer for leveling compound | About 0.10 to 0.15 kg per m² per coat (example product; check the data sheet) |
| Self-leveling underlayment | 1.5 to 1.7 kg per m² per mm (about 1.0 to 1.1 lb per ft² per 1/8 in); example: 20 m² (215 ft²) × 3 mm × 1.6 kg = 96 kg (about 212 lb) |
| Drill with mixing paddle, two buckets, measuring jug | 1 set; mixing water as on the bag, for example 6.5 liters per 25 kg |
| Smoothing trowel or gauge rake, spiked roller | 1 set |
| Foam edge strip | Room perimeter in meters |
| Polyethylene film, at least 0.2 mm (8 mil) | Floor area plus 20 cm (8 in) overlap per seam plus the run-up at the walls |
| Underlayment | As the flooring manufacturer specifies |
Common mistakes
Installing by the calendar instead of testing
How to spot it: Laminate swells at the joints, adhesive lets go, vinyl blisters – often weeks later.
Fix: Have the moisture measured by the calcium carbide method and install only below the limit.
Radiant heating without a heat-up record
How to spot it: Nobody can show you a signed record of the heat-up for floor readiness.
Fix: Ask the builder or heating contractor for it before you buy material; the limits for heated screeds are stricter.
Leveling compound without primer or on dust
How to spot it: Fine crazing, loose flakes or a hollow sound after curing.
Fix: Remove the loose compound, vacuum, prime and level again.
Checking flatness with a short bubble level
How to spot it: Creaking, springy spots or broken click joints in the finished floor; a 60 cm (2 ft) level cannot show waves over 1 m.
Fix: Measure with a 2 m straightedge and taper gauge between two contact points, in several directions.
Sanding old black adhesive without knowing what it is
How to spot it: Black-brown, tar-like adhesive under old floor tiles in an older building.
Fix: Stop, have a sample lab-tested; contaminated adhesive is removed only by licensed contractors.
When to call a professional
Call a flooring or screed contractor if any of the points below applies. The moisture reading is the basis of every warranty claim.
If you are a contractor yourself: document the moisture reading and the flatness before you start, and raise any concerns with the owner in writing.
- The screed is new or unknown and you have no calcium carbide test kit.
- Cracks in the screed, hollow-sounding areas or a sanding surface.
- Moisture rising from the ground in a room without a basement.
- More unevenness than the leveling compound allows according to its data sheet.
- Suspected asbestos or tar in the old covering: removal only by licensed contractors.
Frequently asked questions
- When can I install on a new screed?
- When the measured moisture is below the limit: cement screed 2.0 % or less (1.8 % with radiant heating), calcium sulfate screed 0.5 % or less (0.3 %), measured by the calcium carbide method. Rules of thumb such as “one week per centimeter” are only good for planning; above 4 cm of thickness the figures vary widely.
- How flat does the subfloor have to be?
- The German standard DIN 18202 allows 10 mm over 4 m (about 3/8 in over 13 ft) for floors that receive a covering. For laminate and click vinyl, makers usually ask for a stricter 2 to 3 mm per meter, and 1 mm over 10 cm at tile edges. Measure with a straightedge and taper gauge between two contact points.
- Can I install over old tile?
- Usually yes, if the tiles are firm, clean and the grout lines keep the floor within the flatness your installation instructions ask for. Remove or re-fix hollow-sounding tiles first. Tile is a mineral subfloor, so it also gets polyethylene film of at least 0.2 mm (8 mil).
- How long does self-leveling underlayment take to dry?
- One example product is walkable after 3 hours and ready for flooring after 24 hours at up to 3 mm (20 °C / 68 °F, 65 % humidity). Thicker layers and vapor-tight floors need about 3 days with many products. Cold and high humidity add time.
- Do I need a vapor barrier under laminate?
- On every mineral subfloor (screed, concrete, tile), yes: at least 0.2 mm (8 mil), overlapped 20 cm (8 in) and run up the wall – unless the underlayment has a built-in vapor barrier. In rooms without a basement, at least 1.2 mm with sealed seams.
Floor area for compound and film
No software checks your subfloor for you, but the planner turns your room drawing into the exact floor area you need for leveling compound, film and underlayment.
Start planning
Sources
- German parquet, floor covering and adhesive associations: determining the readiness of screeds for covering (2013/2014, German)
- Baunetz Wissen: heated screed and the heat-up for floor readiness (German)
- Baunetz Wissen: residual moisture and readiness for covering (German)
- Technical Commission for Construction Adhesives, report 12: moisture testing of old subfloors (July 2025, German)
- Baunetz Wissen: flatness tolerances under DIN 18202 (German)
- Bavarian State Office for the Environment: tar and bitumen adhesives under floor coverings (German)
- Berlin tenants' association: asbestos in floor coverings (German)
- Technical Commission for Construction Adhesives: DIN 18365 floor covering work explained (German)