
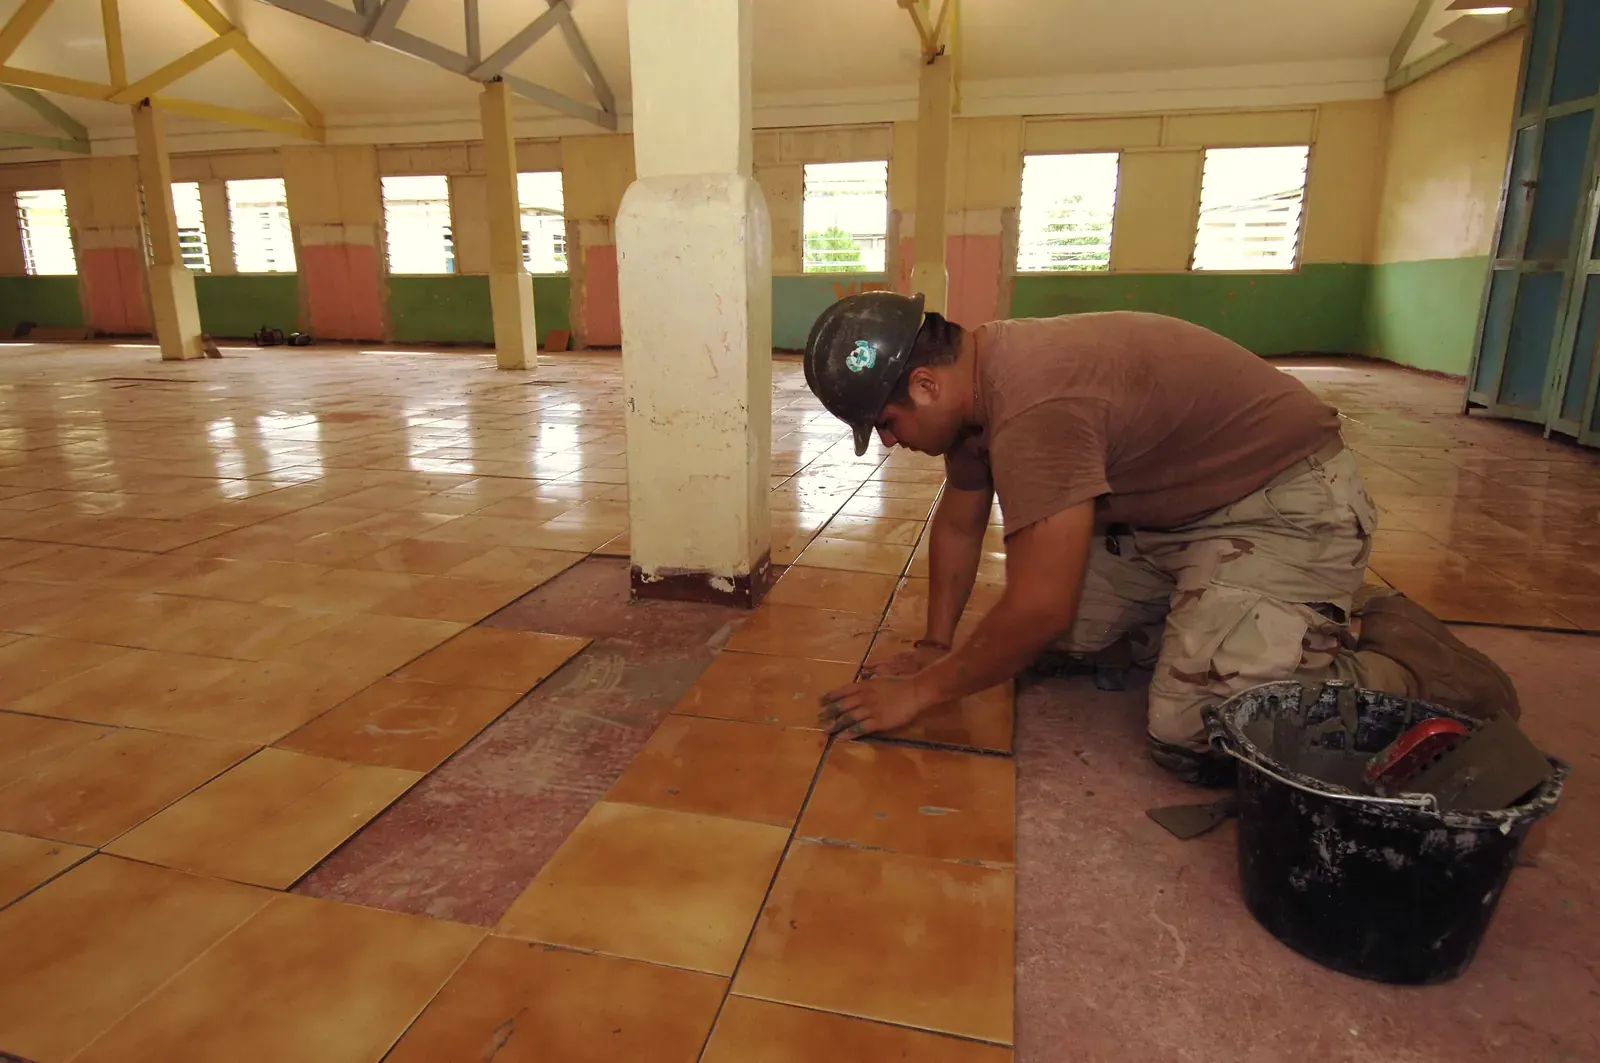
How to install floor tiles: what really matters
A tile floor lasts decades when the base is right and every tile sits fully in adhesive. This guide gives the values professional tilers work to: residual moisture, flatness, trowel notch, joints and waiting times.
Most tile floors fail because of what happened before tiling: a screed that was still too wet, a floor that was not flat, or tiles with hollow spots underneath. So this guide starts with three checks before you open the first bag of adhesive. The figures come from manufacturer data sheets and German trade rules; your local rules and your adhesive's data sheet take precedence.
Who this guide is for
Do-it-yourselfers tiling a kitchen, hallway, living room or bathroom floor on a sound screed or on old, firmly bonded tiles, with formats up to about 60 × 60 cm. If you have tiled before, you will find the limits here to look up.
Not covered: timber boards or chipboard as a base, level-entry showers, and tiles from 60 cm edge length. Further down you will find when a professional is worth it.
Check 1: Is the screed dry enough?
What counts is residual moisture measured with the calcium carbide method: a sample from the full screed depth, taken in the middle of the room, reacts with calcium carbide in a pressure vessel. Electronic moisture meters only give a first indication.
German limits for tiles: cement screed at most 2.0 % by the calcium carbide method, 1.8 % for tiles from 60 cm edge length; calcium sulfate (anhydrite) screed at most 0.5 % unheated and 0.3 % with underfloor heating. Some sources still give 1.8 % for heated cement screed; follow your adhesive's data sheet.
Cement screed must also be at least 28 days old. As a rough guide, 4–5 cm of cement screed can first be measured after about 4 weeks and 3–4 cm of calcium sulfate screed after about 6 weeks, much later in cold or damp weather or with poor ventilation.
With underfloor heating the screed must have been heated up before the measurement, and there should be a written heating log. The measuring points are marked beforehand so nobody drills into a pipe. If there is no log, ask the heating installer or the screed layer before you tile.
Calcium sulfate screed is sanded, vacuumed and primed before tiling. You can often tell it by its smooth, pale surface; if in doubt, ask which screed was installed.
Check 2: Is the floor flat enough?
Lay a straight edge in several directions and measure the largest gap under it. The German standard for building tolerances (DIN 18202, table 3, row 3) allows a floor that will receive tiles a gap of at most 2 mm over 10 cm, 4 mm over 1 m and 10 mm over 4 m of measuring distance. With increased requirements (row 4, which has to be agreed) the limits are 1 mm, 3 mm and 9 mm.
For tiles that is often too coarse: thin-bed adhesive only takes up a few millimeters, and the bigger the tile, the more it rocks over a dip. Manufacturers therefore recommend leveling with self-leveling compound before large formats. The compound must be bonded to the load-bearing screed and is tiled soon after it has cured.
Check 3: Is the base sound and clean?
The base must be dry, frost-free, firm, dimensionally stable and free of dust, oil, grease, release agents and loose parts. Scratch a cross into the screed with a nail: if the surface sands off or the crossing points break out, it is too weak and needs treatment first. Cracks in the screed are closed with casting resin and screed staples before tiling.
Absorbent bases such as cement screed get a penetrating primer, non-absorbent ones such as old tiles a bonding primer. Primer and adhesive should come from the same system.
Which adhesive, which joint?
Adhesive: for porcelain floor tiles, on underfloor heating and for larger formats use a deformable cement adhesive of class C2 (for example C2 TE S1 on the bag: C2 improved bond, T reduced slip, E extended open time, S1 deformable). Rapid-setting adhesives carry an F and are the usual choice on calcium sulfate screed.
The table below gives the trowel notch for each tile size, but the lift test matters more: after the first few tiles, lift one off again. If its back is not almost fully covered with adhesive, go one notch size up or butter the back of the tile as well.
Joint width: for dry-pressed tiles over 10 cm edge length the German standard for tiling work (DIN 18352) gives 2–8 mm, for tiles up to 10 cm 1–3 mm. One width applies to the whole floor. For large formats the joint should not be narrower than 3 mm. Even rectified, precisely ground tiles are never laid without a joint.
Edge and movement joints: leave a gap at every wall, pillar, door frame and pipe, filled later with flexible sealant, never with grout. Movement joints in the screed must run through the tiles in exactly the same place. For large formats, fields of at most 5 m side length have proven themselves; a professional works out the exact layout from the expected movement.
Bathrooms: waterproof according to water exposure
Tiles and grout are not waterproof. The German standard for waterproofing interiors (DIN 18534) groups areas by water exposure: kitchen floors without a floor drain or a powder room without a shower usually count as low exposure, bathroom floors in homes without a drain as moderate, the floor of a level-entry shower as high.
From moderate exposure upward a bonded waterproofing layer goes under the tiles: a liquid membrane brushed or rolled on, with sealing tape in the corner between wall and floor and collars around pipe penetrations. Membrane, tape and adhesive should come from one tested system.
Tiling a floor in 8 steps
Check the base
Moisture by the calcium carbide method (cement screed at most 2.0 %, calcium sulfate screed at most 0.5 % unheated and 0.3 % heated), flatness with a straight edge (at most 4 mm gap over 1 m), strength with the scratch test. Only continue when all three pass.
Level and prime
Fill dips beyond the tolerance with self-leveling compound and let it cure. Sand and vacuum calcium sulfate screed. Then prime: penetrating primer on absorbent, bonding primer on non-absorbent bases. The primer must be dry before adhesive goes on; the time is printed on the container.
Waterproof wet areas
Where water reaches the floor, bed sealing tape into the corner between wall and floor and collars around the pipes, then apply the liquid membrane in the coats the system's data sheet prescribes, keeping its drying time between coats.
Set out and mark
Find the room's center lines, dry-lay a row of tiles with spacers out to both walls and shift the grid until the edge pieces on opposite sides come out equal and no thin sliver lands in the doorway. Snap the lines with a chalk line. Start in the far part of the room so you do not tile yourself in.
Mix and comb the adhesive
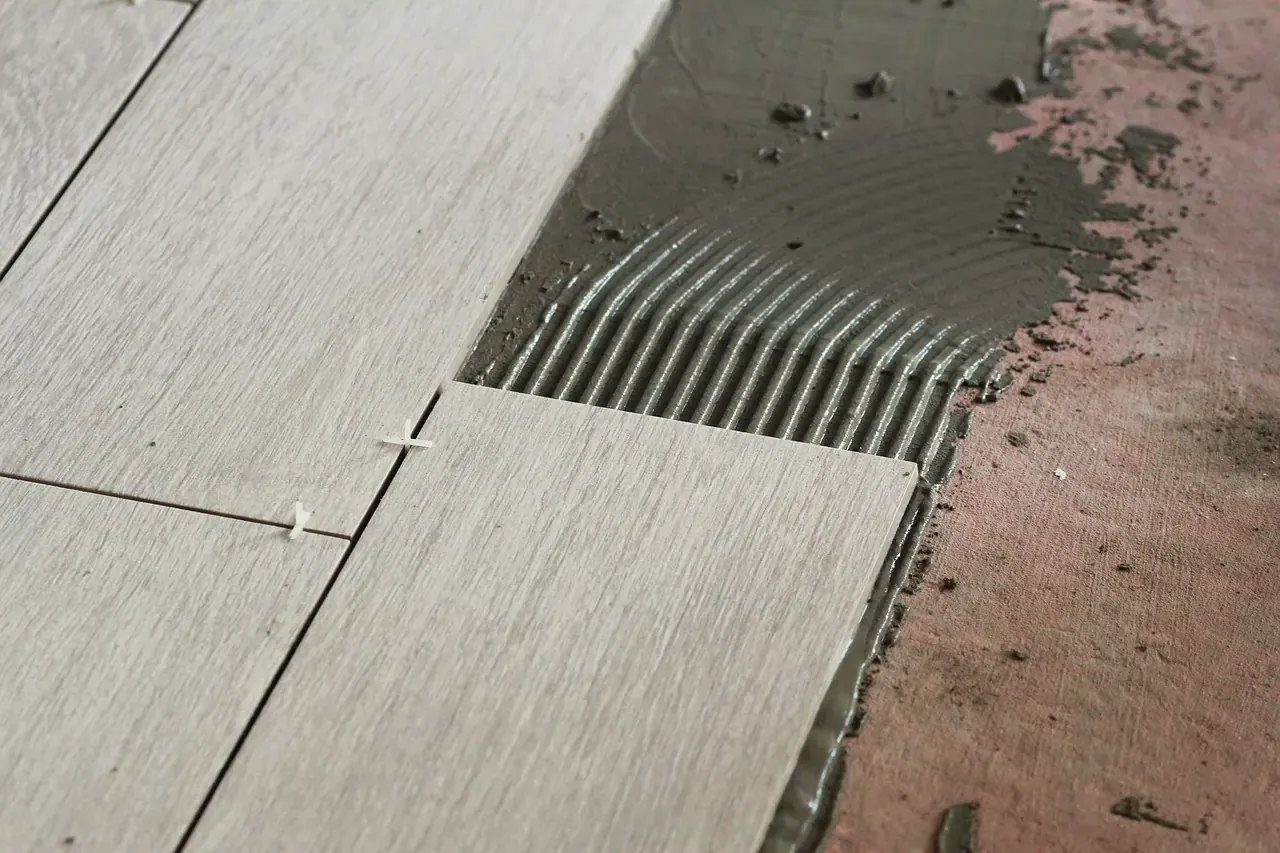
Stir the powder into clean, cold water with a slow-running mixer and work at +15 to +25 °C for material, floor and air. First scrape a thin contact layer into the base with the flat side of the trowel, then comb with the notched side at 45–60°. Only cover what you can tile within the open time, about 30 minutes for typical adhesives.
Lay and check the tiles
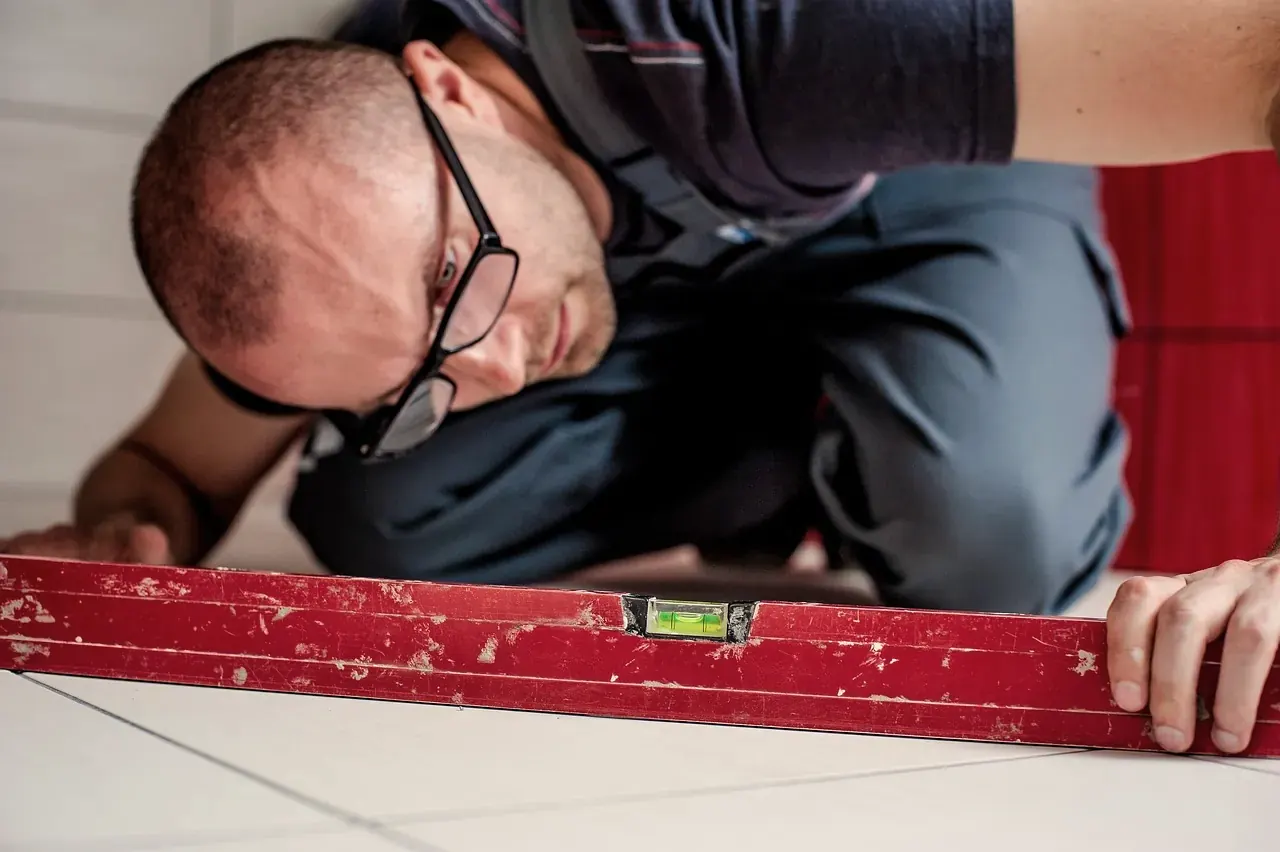
Place each tile into the fresh bed, slide it across the ridges against the spacers and tap it down with the rubber mallet. Check height and alignment with the level after every row. Lift the first tiles and then one now and again: the back must be almost fully covered. You only have about 5 minutes to correct a tile.
Cut edge tiles and cut-outs
Measure every edge tile separately because walls are rarely straight, and keep the edge joint at the wall free. Straight cuts with the tile cutter, cut-outs with an angle grinder or wet saw, pipe holes with a diamond core bit. Clean adhesive out of the joints straight away.
Cure, grout, seal
Typical flexible adhesives can be walked on and grouted after about 8 hours and take full load after about 24 hours; rapid-setting ones sooner. Then remove the spacers and grout (separate guide). Fill edge, connection and movement joints last with flexible sealant, never grout.
Trowel notch and adhesive by tile size
| Tile edge length | Trowel notch | Adhesive per m² | Method |
|---|---|---|---|
| Up to 5 cm | about 4 mm | see the data sheet | Adhesive on the floor |
| 5 to 20 cm | about 6 mm | about 1.8 kg | Adhesive on the floor |
| 20 to 30 cm | about 8 mm | about 2.1–2.5 kg | Adhesive on the floor |
| 30 to under 60 cm, or a strongly ribbed back | 10 mm | about 2.9–3.5 kg | Adhesive on the floor; butter the back as well if the lift test shows gaps |
| From 60 cm | 10 mm | about 2.9–3.5 kg plus the layer on the tile back | Combined method required (adhesive on floor and tile back), joint at least 3 mm |
Tools and materials
| Item | Quantity |
|---|---|
| Floor tiles, all from one production batch | 1 ÷ tile area including joint per m², for example 2.75 for 60 × 60 cm or 5.47 for 30 × 60 cm with a 3 mm joint, plus the cut edge rows and 1 spare box for repairs |
| Cement tile adhesive, class C2 (rapid-setting C2 F on calcium sulfate screed) | by notch size, see the table above |
| Penetrating primer (absorbent base) or bonding primer (old tiles) | as stated by the manufacturer |
| Self-leveling compound | only where the floor is out of tolerance |
| Liquid membrane, sealing tape and pipe collars from one system | for bathrooms and other wet areas |
| Grout | as stated by the manufacturer |
| Flexible sealant | for edge, connection and movement joints |
| Notched trowel and flat trowel | notch to suit the tile |
| Mixing paddle on a drill, two buckets | 1 set |
| Straight edge, bubble level, chalk line, tape measure | 1 each |
| Rubber mallet, spacers or wedges | 1 mallet, spacers for the whole floor |
| Manual tile cutter | for straight cuts |
| Angle grinder with diamond blade or wet saw | for cut-outs |
| Diamond core bit | for pipe holes |
| Leveling clip system | for tiles from 60 cm edge length |
| Knee pads, sponge | 1 each |
The most common mistakes and how to spot them
Tiling too early on screed that is still wet
How to spot it: Tiles sound hollow when tapped, grout cracks in a net pattern; calcium sulfate screed softens.
Fix: Go by the calcium carbide measurement, not by the calendar. Loose tiles have to come up and be relaid once the screed is dry.
Too little adhesive under the tile
How to spot it: A hollow sound when you tap with a wooden handle; corners break under load and water collects in the voids.
Fix: Lift a tile regularly while laying, go one notch up or butter the back, push tiles in across the ridges and never use adhesive that has skinned over (it no longer sticks to your finger).
Half offset with long tiles
How to spot it: Tiles are slightly bowed from production, so at half offset high and low points meet; a lamp on the floor (raking light) shows every proud edge.
Fix: Choose a third or quarter offset, which is clearly less risky, and check the tile maker's instructions.
Edge joint filled with grout, or a screed joint tiled over
How to spot it: No gap left under the baseboard; a straight crack exactly above a joint in the screed. The floor cannot expand when warm, so tiles crack or tent up.
Fix: Keep a gap at every wall and fill it with flexible sealant; carry movement joints in the screed through the tiles in the same place.
Thin slivers at the door and the main wall
How to spot it: Starting with whole tiles at one wall often ends with a narrow strip in the most visible place. Spot it in the dry run, not at the last row.
Fix: Set out from the center lines and shift the grid until the edge pieces on opposite walls are equal.
When to call a professional
A screed layer or tiler can take the calcium carbide moisture measurement for little money; that is almost always worth it, even if you lay the tiles yourself.
Leave the whole job to a tiler in these cases:
- The base is timber boards or chipboard.
- A level-entry shower is planned.
- The tiles are 60 cm or more along one edge.
- The floor is more than 4 mm out over 1 m and has to be leveled over a large area.
- There is underfloor heating but no heating log.
Frequently asked questions
- How long must a screed dry before tiling?
- Not by the calendar but until the calcium carbide measurement shows the limit: cement screed at most 2.0 % and at least 28 days old, calcium sulfate screed at most 0.5 % (0.3 % heated). As a rough guide, 4–5 cm of cement screed can be measured after about 4 weeks and 3–4 cm of calcium sulfate screed after about 6 weeks, later in cool, damp weather.
- Which trowel do I need for 60 × 60 cm tiles?
- A 10 mm notch for tiles from 30 cm edge length, and for 60 × 60 cm also the combined method: comb adhesive onto the floor and spread a thin layer on the back of the tile. Lift a tile to check that its back is almost fully covered.
- How much tile adhesive do I need per square meter?
- According to manufacturer data sheets about 1.8 kg/m² with a 6 mm notch, 2.1–2.5 kg/m² with 8 mm and 2.9–3.5 kg/m² with 10 mm, plus the layer on the tile back with the combined method. The exact figure is on your product's data sheet; the tile adhesive calculator scales it to your area and notch.
- How wide should floor tile joints be?
- For tiles over 10 cm edge length the German standard for tiling work gives 2–8 mm, and not under 3 mm for large formats. Pick one width for the whole room. Narrow joints look calmer but forgive less size variation between tiles.
- Can I tile over old tiles?
- Yes, if the old floor is firmly bonded (no hollow sound when tapped), clean and free of grease, and the extra height works at the doors. Treat it with a bonding primer for non-absorbent bases, then lay with a C2 adhesive.
Settle the layout before you snap the lines
The planner cannot measure your screed, but it shows where the edge tiles land in your room and counts whole tiles and edge cuts, rounded up to whole boxes.
Start planning