

How to measure a room for flooring
A floor plan shows the room as it was designed, not as it was built. Use it as a sketch and measure every wall, both diagonals and everything built in yourself, especially in older buildings. With a laser measure and a folding rule, one room takes about half an hour.
This guide is for anyone planning or ordering a new floor who needs the room's real dimensions. You will learn why floor plans are often off, what to measure and where, how to check whether the room is square, how accurate each tool is, which number counts for cutting and which for ordering, and how to enter the room honestly in the floor planner. Tolerance figures come from the German building tolerance standard DIN 18202 and from manufacturer data; where we did the math ourselves, we say so.
The short answer
Use the floor plan as a starting point for the room's shape and where the doors are, not as a source of dimensions. Measure every wall at floor level in three places, both diagonals, every alcove, bump-out, door opening and heating pipe. For cutting, the smallest measurement counts; for ordering, the largest.
The older the building, the less you trust the plan. An expert forum describes a house built in 1961 whose width in one wing was 39 cm off the original plans. That is a single case, but it makes the point: what was drawn is not necessarily what was built.
Why the floor plan is not enough
Plans often show framing or shell dimensions, masonry to masonry before plaster. Then come plaster, tile with its adhesive, drywall furring and new baseboards, and every layer makes the room narrower. A German building forum puts finish plaster at 4 to 6 mm per wall, about 1.2 cm across a room. Even the German living-space regulation measures from the front of the finished wall surface and asks for a new measurement when the building differs from the drawing.
New construction may differ from the plan too. In Germany, DIN 18202 allows clear room dimensions up to 3 m to be off by ±16 mm, and ±20 mm from 3 to 6 m. A room drawn at 4.00 m can legitimately be 3.98 or 4.02 m wide.
Older buildings add more: walls that are neither straight nor parallel, corners that are not square, rooms that are really trapezoids, and remodels that never made it into a drawing. One degree off square over a 4 m wall is already about 70 mm (our own math).
Photographed or scanned plans bring their own errors: copies are often distorted, and if you take the scale from the wrong dimension line, that error goes into every wall.
What to measure, item by item
Every wall at floor level, wall to wall, not baseboard to baseboard, because the floor runs under the baseboard. Measure in three places: at both ends and in the middle. A German kitchen-planning guide also suggests a measurement about 50 cm out from the wall, parallel to it. Measure at floor level because walls are rarely plumb and are a different length at the top than at the bottom.
Both diagonals, corner to corner. They tell you whether the room is a rectangle, a parallelogram or an irregular quadrilateral; see the next section.
Alcoves, bump-outs, chimney breasts, columns and chases: width, depth and distance from the nearest corner. Without that distance you cannot place the piece in the right spot later.
Doors: width of the opening, depth of the jamb to the middle of the door or to the threshold, and the height from the floor to the bottom of the casing. Casings are later undercut by the thickness of the new floor so the plank slides under them.
Heating pipes and other penetrations: distance from both adjacent walls, and diameter. Egger asks for holes at least 16 mm larger than the pipe.
Heights: thresholds and transitions to the next rooms, and the flatness of the subfloor with a long straightedge. Egger allows a gap of at most 2 mm over 100 cm, planeo at most 3 mm over 1 m.
Is the room square? The diagonals tell you
If opposite walls are the same length and both diagonals are the same length, the room is a rectangle. If the diagonals differ, at least one corner is out of square. For scale, our own math: in a 4 × 3 m room, one degree out of square makes the diagonals differ by about 84 mm, a tenth of a degree by about 8 mm.
Check single corners with the 3-4-5 triangle: 60 cm along one wall, 80 cm along the other, and the distance between the two marks must be exactly 100 cm. The bigger the triangle, the clearer the error: at 60/80/100 cm one degree changes the diagonal by about 8 mm, at 1.20/1.60/2.00 m by about 17 mm.
You can calculate a corner's angle from three measurements: the two walls at the corner (a, b) and the diagonal d between their far ends. Interior angle = arccos((a² + b² − d²) ÷ (2 × a × b)). Example: 4.00 m, 3.00 m and 5.03 m give 90.7°. Any calculator with trigonometric functions can do it.
For context: DIN 18202 allows an angle offset of 12 mm over 3 to 6 m. A room of 4 × 3 m built within tolerance can therefore show up to about 15 mm difference between its diagonals (our own math). Our rule of thumb, not a standard: up to about 10 mm difference, enter the room as a rectangle and measure the last row at both ends; beyond that, enter the real angles.
Tools: how accurate is what?
Laser distance measure: Bosch states ±1.5 mm plus 0.05 mm per meter for its meters, measured against a light-colored wall in low ambient light; in bright light ±3.0 mm plus 0.15 mm per meter. Over 5 m that is just under 2 mm, in bright light just under 4 mm (our own math). Mind the reference edge: most meters measure from the back edge, so put that against the wall. Do not aim straight into a corner, where the beam hits two surfaces and the reading jumps; aim at the flat wall next to it. Mirrors, glass and dark glossy surfaces are poor targets.
Steel tape measure: European tapes carry an accuracy class as a Roman numeral. Class II allows 0.3 mm plus 0.2 mm per started meter, so 1.3 mm over 5 m. Cloth tapes stretch and are not good enough.
Folding rule: usually class III, 0.6 mm plus 0.4 mm per meter. Good for short measurements such as jambs, pipe distances and alcoves; over long runs every reposition adds error.
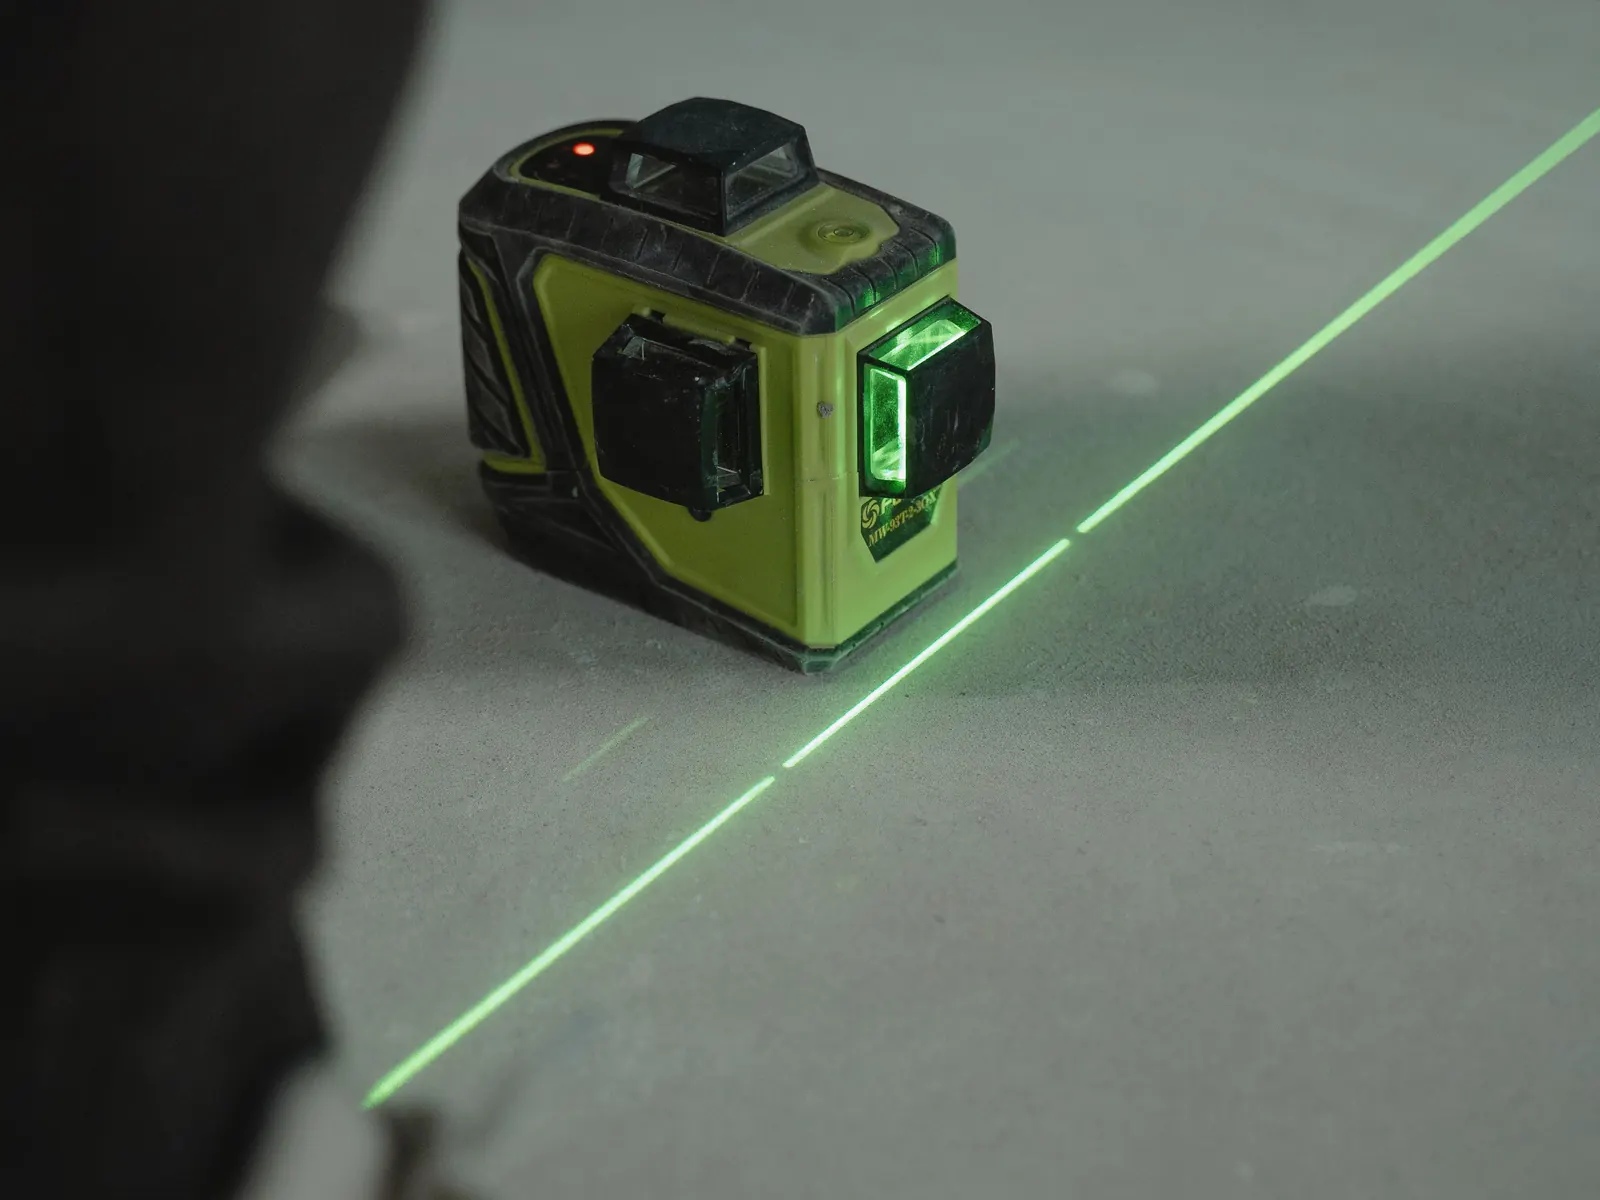
Cross-line laser: projects a straight reference line. Bosch states ±0.3 mm per meter for a common model, so 1.5 mm over 5 m. Measure from the line to the wall in several places to see whether the wall runs straight. A taut string line does the same job, only slower.
A 1 to 2 m straightedge for subfloor flatness and as a straight edge on short walls.
Compare with the plan, but measure
Put the floor plan next to your sketch and write your measurements beside the plan's. If a measurement is off by more than one or two centimeters, your number wins, not the plan's. If several measurements are off in the same direction, a copy's scale is often distorted or the plan shows framing dimensions.
The plan stays useful for whatever has not changed: door positions, the room's shape, the order of the rooms. For cutting and ordering, the room counts.
Write it down: a sketch with every measurement
Draw the room by hand, number the walls clockwise and write every measurement where it belongs: three values per wall, both diagonals, every alcove with its distance to the corner, doors, pipes, thresholds. Graph paper helps but is not required; what matters is that every number belongs to one line.
Which number counts: for cutting and for working out the first and last row, use a wall's smallest measurement, or the floor will bind. For the order quantity, use the largest plus waste: commonly about 10 % for a straight lay, 15 % for many corners and alcoves, and 15 to 20 % for diagonal or herringbone, rounded up to full boxes. The figures in your product's instructions come first.
Take a photo of the finished sketch and of anything unusual in the room. At the saw, you will not have the room in front of you.
Enter the room honestly in the floor planner
In the floor planner, choose “Create room from dimensions”. Each row is one wall: its length and the turn angle to the next wall, plus for left, minus for right, for example at an alcove. A square corner is 90°. At a corner that is out of square, the turn angle is 180° minus the interior angle: an interior 90.7° becomes 89.3°. On the plan itself, the floor planner labels the interior angles.
Enter the walls in order and let “Close outline automatically” work out the last wall. Compare its length with your measurement: if it matches to about a centimeter, your numbers agree with each other. If it is far off, a length or an angle is wrong, and you measure that spot again before ordering material.
Enter alcoves, door openings with a threshold, and the pattern's starting point as numbers from a wall, the way you measured them. The floor planner works with what you enter; it does not check whether a wall is crooked or the subfloor flat.
Measure the room in 7 steps
Get ready
Clear the room as far as you can, and pull the baseboards if they are being replaced anyway. Have tools, paper and the floor plan at hand.
Compare with the plan, but measure
Use the floor plan as the template for your sketch and number the walls clockwise. No number from the plan counts until you have confirmed it in the room, especially in older buildings.
Measure every wall in three places
At floor level, wall to wall, at both ends and in the middle. Write down all three values, not just one.
Check diagonals and corners
Measure both diagonals. If they differ, check each corner with the 3-4-5 triangle or work out its angle from two walls and the diagonal.
Record everything built in
Alcoves, bump-outs, columns, doors with jamb depth and casing height, heating pipes, thresholds: size and distance to the nearest corner for each.
Check straightness and flatness
Measure along each wall from a cross-line laser or string line, and check the floor with a straightedge. From about 5 mm deviation along a wall, scribe the first row; from 2 to 3 mm over 1 m, level the floor.
Enter and cross-check
In the floor planner, choose “Create room from dimensions”, enter walls and turn angles, let it close the outline automatically and compare the last wall with your measurement.
Plan or tape measure: when is the plan good enough?
| Situation | The plan is good for | Measure |
|---|---|---|
| New construction, construction drawings with finished dimensions | Quantity estimate, comparing quotes | Every wall in three places and both diagonals before cutting |
| Plan with framing dimensions, before plaster or drywall | Room shape and door positions | Everything: each layer of plaster or tile makes the room narrower |
| Older building, plan decades old | Rough room shape, order of the rooms | Every wall, both diagonals, every corner with the 3-4-5 triangle |
| Remodeled since the plan (furring, new wall, tile) | No dimensions at all | The whole room again |
| Photographed or copied plan | Room shape | At least two long dimensions, to catch distortion |
| Diagonals differ by more than about 10 mm | No angles | Work out the angles from walls and diagonals and enter those |
| Tile in a visible grid | Nothing for the layout lines | Snap layout lines in the room and check them for square |
Tools and materials
| Item | Quantity |
|---|---|
| Laser distance measure | 1; typically ±1.5 mm, ±3 mm in bright light (Bosch) |
| Steel tape measure, accuracy class II or better, at least 5 m | 1 |
| Folding rule for short measurements | 1 |
| Cross-line laser or string line as a straight reference | 1 |
| Straightedge, 1 to 2 m | 1 |
| Paper, pencil, clipboard | 1 each |
| Calculator with trigonometric functions, or a phone | 1 |
| Painter's tape to mark measuring points | 1 roll |
The most common measuring mistakes
Taking the numbers from the floor plan
How to spot it: The last row does not fit, or you are a box short.
Fix: Use the plan as a sketch only and measure every wall yourself.
Measuring in only one place
How to spot it: The last row gets too narrow at one end, or binds.
Fix: Measure every wall at both ends and in the middle.
Measuring baseboard to baseboard
How to spot it: The quantity comes up short because the floor runs under the baseboard.
Fix: Pull the baseboards or measure wall to wall.
Skipping the diagonals
How to spot it: The room is a trapezoid and the rows run at an angle into the far wall.
Fix: Measure both diagonals and work out the angles if they differ.
Aiming the laser into a corner, or the wrong reference edge
How to spot it: The same distance gives two different readings.
Fix: Back edge against the wall, aim at the flat surface next to the corner, measure every important distance twice.
Forgetting alcoves, door jambs or pipes
How to spot it: Only during installation, when a piece is missing or a hole is in the wrong place.
Fix: Write every item into the sketch with width, depth and distance to the corner.
When to have a professional measure
You can measure a room yourself. Get help when the numbers carry a decision that gets expensive if they are wrong:
- The diagonals differ by several centimeters, or hardly any corner is square.
- The subfloor is more than 2 to 3 mm out of flat over 1 m and needs leveling.
- You are ordering expensive material such as solid hardwood or large-format tile, where every box counts.
- Several rooms are to be joined without a transition, and the rows have to line up through the doorways.
- Walls will be moved or furred out; then measure after that work, not before.
Frequently asked questions
- Can I just take the dimensions from the floor plan?
- For a first quantity estimate, yes; for cutting and ordering, no. Plans often show framing dimensions before plaster, and even new construction may differ from the drawing by ±16 to ±20 mm under the German standard DIN 18202. In older buildings it can be centimeters.
- How precise do I need to be?
- To the millimeter is enough; what matters is measuring in several places. The 8 to 15 mm expansion gap manufacturers ask for absorbs small errors, but not a wall measured wrong.
- Is a laser distance measure enough?
- For long distances it is more accurate and faster than a tape: typically ±1.5 mm, ±3 mm in bright light. For short measurements at jambs and pipes a folding rule is handier, and to check whether a wall is straight you need a reference line from a cross-line laser or a string.
- My room is not square. Now what?
- Measure both walls at the crooked corner and the diagonal between their ends, and work out the angle. Enter it in the floor planner as a turn angle, which is 180° minus the interior angle. Where the taper ends up is a decision for where you start laying.
- Which number do I use for ordering?
- The largest, plus waste as your instructions say, rounded up to full boxes. For cutting the first and last row, use the smallest.
Your measurements as a room
In the floor planner you build the room from your wall lengths and angles, with alcoves and door openings, and see the pattern, the cuts and the quantity. It works with your numbers; it does not check whether walls are straight or the subfloor is flat.
Open the planner
Sources
- DIN Media: DIN 18202 building tolerances, 2019-07 edition (German)
- fertighaus.de: DIN 18202 tolerances (German)
- Baunetzwissen: flatness tolerances (German)
- German living-space regulation, section 3 (German)
- Bosch: GLM 40‑12 laser measure technical data
- Bosch: GLL 3‑50 line laser (German)
- Measuring Instruments Directive, Annex MI-008: material measures of length
- Egger: How to lay laminate flooring
- planeo: Fold-Down laminate instructions (German)
- sanier.de: measuring a kitchen (German)
- The Wooden Floor Store: How to measure your room for flooring
- Checking a right angle with the 3-4-5 triangle (German)