
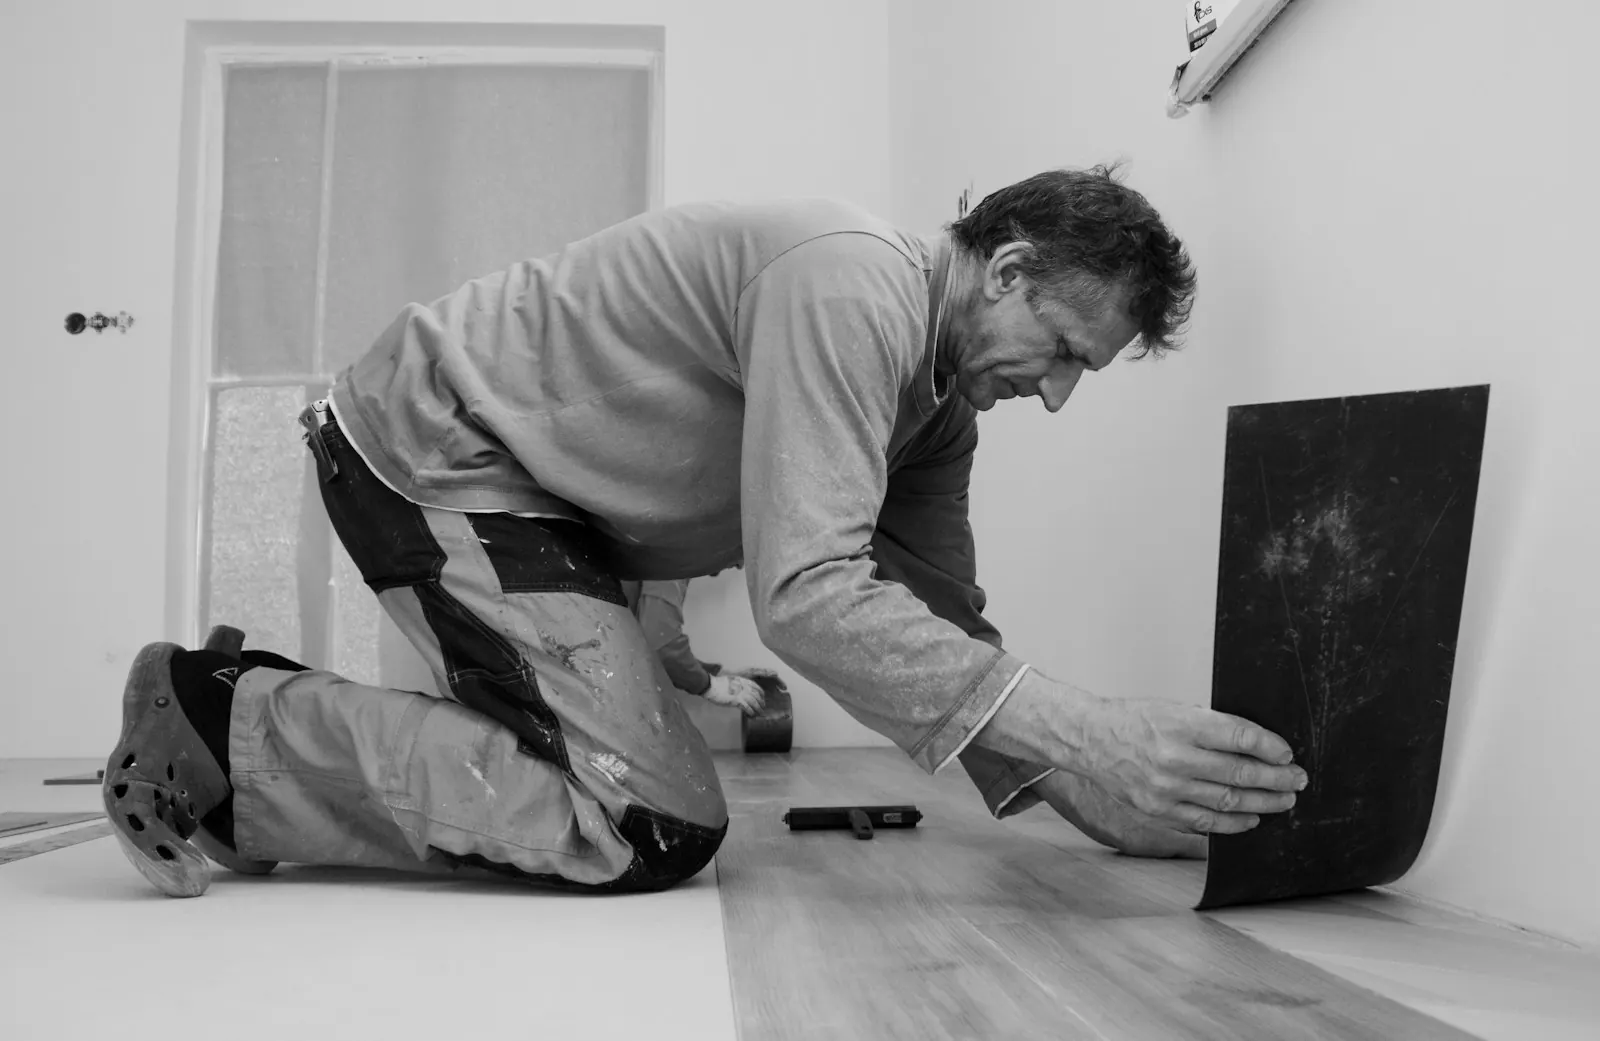
How to install click vinyl flooring
Rigid click vinyl floats over the subfloor with no adhesive. Clicking it together is easy – what goes wrong usually happens before that: a damp slab, a wavy subfloor, an expansion gap that is too tight. Here are the numbers you need, with sources.
This guide covers rigid click vinyl, often sold as luxury vinyl plank: planks or tiles with a stiff core (stone-polymer or a similar mineral core), usually with a pre-attached underlayment. The figures come from current manufacturer installation instructions and German trade rules. Where manufacturers disagree, we give the range. The instructions in your box always win – following them keeps your warranty – so read them before you buy, not while you install.
Who this guide is for
For homeowners laying a living room, hallway, kitchen or bathroom themselves, and for installers who want current manufacturer limits side by side.
It is not meant for glue-down vinyl (fully bonded, with different leveling and adhesive requirements), sheet vinyl or large commercial areas.
Expect checking and leveling the subfloor to take longer than the clicking.
Decide first: is click vinyl right for your room?
New concrete slab or cement screed: yes, once it is dry. Have the moisture tested to your manufacturer's method and limit. In Germany that is the calcium carbide method: at most 2.0 CM-%, 1.8 CM-% with radiant heat.
New gypsum (calcium sulfate) screed: yes, once it is dry – at most 0.5 CM-%, and with radiant heat most manufacturers ask for 0.3 CM-% (explained under the key figures below).
Old tile: usually yes. Fill grout joints wider than 10 mm (3/8 in) and deeper than 2 mm (1/16 in) first and fix any loose tiles.
Old vinyl, wood plank or panel subfloors (particleboard, oriented strand board): usually yes if they are solid and flat – but with no vapor barrier, which would trap moisture in the wood.
Carpet: no. Take it out completely – it is too soft and unhygienic underneath a floor.
Hydronic radiant heat: yes, if the slab has been heated to readiness with a heat-up record. Flooring plus underlayment should stay at or below about 0.15 m²K/W thermal resistance, and manufacturers cap the surface temperature at 27–29 °C (81–84 °F), a few at 35 °C (95 °F).
Electric heating mats: often no. Several manufacturers exclude them; install only with explicit approval.
Bathrooms: yes, as long as there is no floor drain. Manufacturers exclude showers, saunas and rooms with a floor drain.
Sunrooms and large south-facing glass: only with care. Strong sun heats the floor, so shading is needed; some manufacturers exclude sunrooms entirely.
Rooms or continuous runs longer than 8–15 m (26–49 ft): yes, with an expansion joint and a profile. Your manufacturer sets the limit.
Why the figures differ between manufacturers
Every manufacturer tests its own locking system and core. If your product's instructions give a figure, that figure applies. If they don't, use the stricter end of the range – that is the right-hand column of the key figures table.
On gypsum screed with radiant heat: the German screed standard DIN 18560-1 has given 0.5 CM-% across the board since November 2015, while the floor-laying trade associations and most flooring manufacturers still ask for 0.3 CM-%. Stick to your flooring manufacturer's figure – otherwise it can refuse the warranty.
Installing click vinyl in 8 steps
Read the instructions, note the limits, buy the material
Before you buy, note the expansion gap, the longest run without an expansion joint, the shortest end piece, the minimum stagger, the moisture limits and the rules for underlayment, vapor barrier and radiant heat. Buy the floor area plus 5–10 % and one spare carton, all from one production lot.
Acclimate the flooring
Store the closed cartons flat in the middle of the room for 24–48 hours at about 20 °C (68 °F), at least 15 °C (59 °F), and 30–65 % relative humidity; in winter, give it 48 hours. Windows, exterior doors and painting should be finished.
Check the subfloor: dry, solid, flat
New concrete or screed: have the moisture tested to the manufacturer's method and limit. Flatness: lay a 2 m (6 ft) straightedge in several directions and fill anything more than 3 mm per 1 m (1/8 in per 3 ft). Remove carpet, fix loose tiles, fill grout joints wider than 10 mm (3/8 in), vacuum thoroughly.
Underlayment and vapor barrier as the manufacturer says
No second pad under an attached underlayment. Otherwise use only a pad with compressive strength above 400 kPa, butted, not overlapped. If a vapor barrier is required over concrete: 0.2 mm (8 mil) polyethylene, 20 cm (8 in) overlaps taped, turned up at the walls. No vapor barrier over wood subfloors, particleboard or old vinyl.
Work out the first and last row
Divide the room width (minus both gaps) by the plank's face width. If the last row would come out narrower than 5–8 cm (2–3 in), rip the first row so both edge rows are about equal. Do the same along the length: the last piece of the first row should be at least 20–30 cm (8–12 in), otherwise shorten the first plank.
Lay the first row
Start in a corner with spacers for a 5–10 mm (3/16–3/8 in) gap, as your instructions specify. Keep the first row dead straight against a string line and scribe the planks to crooked walls. Pipes: drill the pipe diameter plus twice the gap, cut the plank through behind the hole and fit the piece back in. Undercut wooden door jambs by one plank thickness so the plank slides under with its gap.
Keep going with staggered joints
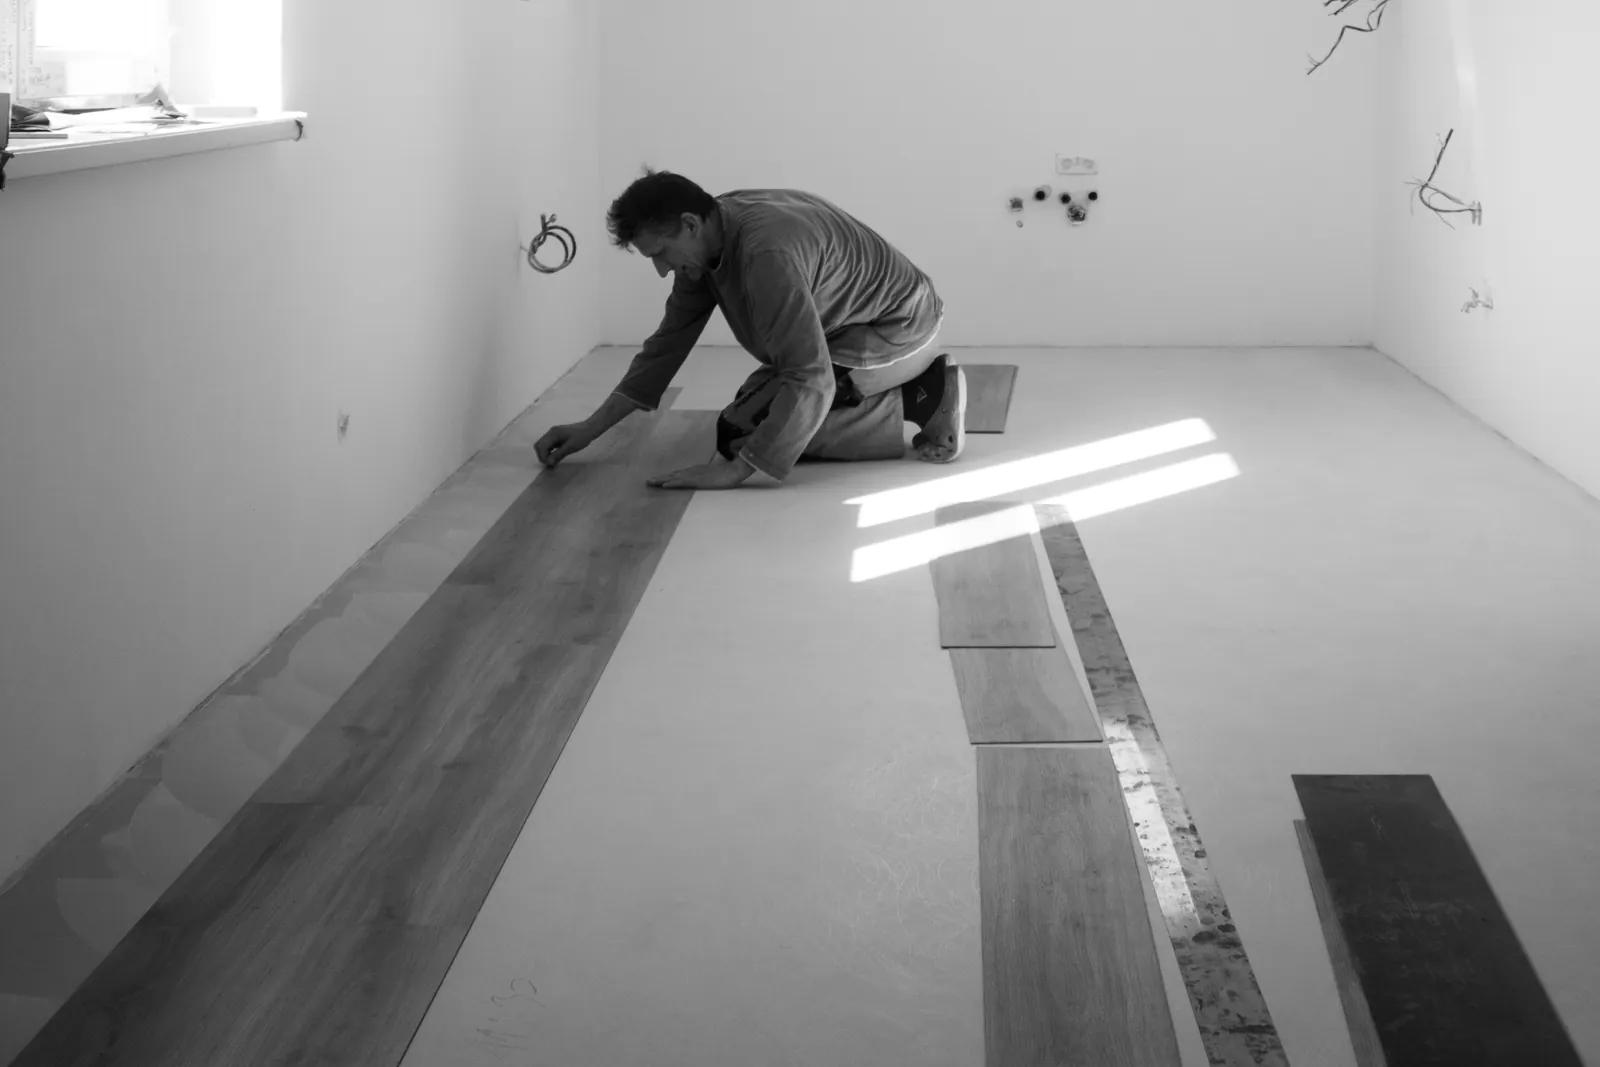
Start each row with the previous row's offcut if it is at least 20–30 cm (8–12 in) long, and stagger end joints at least 30 cm (12 in). Angle the long side in and drop it; tap or slide the end joint as the locking system requires – always with a tapping block, never the mallet on the edge. Mix cartons. To cut, score the face several times with a utility knife against a square, snap it, then cut the backing. Add an expansion joint with a profile over every slab joint and where the manufacturer's maximum run is reached.
Fit the last row and finish
Mark the last row to the wall minus the gap, cut it and pull it in with a pull bar. Remove the spacers. Fix baseboards to the wall, never to the floor, and use the right profiles at doors, expansion joints and stairs. Put felt pads under furniture – no colored rubber feet or rubber-backed mats.
The figures that matter
| Figure | Range in manufacturer instructions | Our suggestion without instructions |
|---|---|---|
| Acclimation (cartons closed, flat, middle of the room) | 24–48 hours | 48 hours |
| Room climate while installing | at least 13–18 °C (55–64 °F), usually around 20 °C (68 °F); 30–65 % relative humidity | 18–22 °C (64–72 °F) |
| Cement screed moisture (calcium carbide method, Germany) | 2.0 CM-%, 1.8 CM-% with radiant heat | as given – all sources agree |
| Gypsum screed moisture | 0.5 CM-%; with radiant heat 0.3 CM-% (manufacturers, trade associations) or 0.5 CM-% (DIN 18560-1 since 2015) | 0.3 CM-% with radiant heat, because the flooring warranty depends on it |
| Flatness | no more than 2–3 mm (about 1/8 in) under a 1–2 m (3–6 ft) straightedge | 3 mm per 1 m (DIN 18202, table 3, line 4) |
| Gap at walls, door jambs, pipes, stairs | 5–10 mm (3/16–3/8 in) | 8 mm (5/16 in) |
| Expansion joint in the floor | from 8, 13 or 15 m (26, 43 or 49 ft) in length or width; also over every slab joint | from 8 m (26 ft) and over every slab joint |
| End-joint stagger row to row | at least 10–30 cm (4–12 in) or one third of the plank length | at least 30 cm (12 in) |
| Shortest end piece | 20–30 cm (8–12 in) | 30 cm (12 in) |
| Narrowest last row | 5–8 cm (2–3 in) | 8 cm (3 in) |
| Separate underlayment | only without an attached pad; compressive strength at least 200 kPa, manufacturers ask above 400 kPa | above 400 kPa, or the manufacturer's own underlayment |
| Vapor barrier over concrete or screed | polyethylene at least 0.2 mm (8 mil), 20 cm (8 in) overlaps, taped | only where the manufacturer requires or allows it |
| Surface temperature over radiant heat | at most 27–35 °C (81–95 °F) | at most 27 °C (81 °F) |
| Thermal resistance of flooring plus underlayment over radiant heat | in practice at most 0.15 m²K/W | at most 0.15 m²K/W |
| Waste allowance | 5–10 % | 10 %, more with many corners, doorways or a diagonal layout |
Tools and materials
| Item | Quantity |
|---|---|
| Tape measure, pencil, square | 1 each |
| Utility knife with hook or trapezoid blades | 1, plus spare blades – the core dulls them fast |
| 2 m (6 ft) straightedge or long level | 1 |
| Spacers matching your expansion gap | 1 set |
| Tapping block, rubber mallet, pull bar | 1 each |
| Fine-tooth handsaw or jigsaw with a fine blade for cut-outs | 1 |
| Drill bit or hole saw for heating pipes | pipe diameter plus twice the gap |
| Jamb saw or oscillating multi-tool for undercutting door jambs | 1 |
| Moisture test of a new slab or screed (calcium carbide method in Germany) | by a flooring or screed contractor; simple electric meters only show a trend |
| Click vinyl, every carton from one production lot | floor area plus 5–10 %, rounded up to whole cartons, plus 1 spare carton |
| Underlayment, only without an attached pad | 1 m² per m², seams butted |
| Vapor barrier, only where required: 0.2 mm (8 mil) polyethylene and tape | about 1.1 m² per m² with a 2 m (6 ft) roll and 20 cm (8 in) overlaps, plus the turn-up at the walls |
| Self-leveling compound | by area and thickness, see the bag |
| Baseboards | room perimeter minus doorways, plus spare for miter cuts |
| Transition and end profiles | 1 per doorway, expansion joint and stair nosing |
Common mistakes
Expansion gap too tight or blocked
How to spot it: The floor bounces or clicks in one spot, baseboards lift from below, joints pop open in summer. Causes: a gap under 5 mm (3/16 in), forgotten spacers, door jambs not undercut, or cabinets standing on the floor.
Fix: Keep 8 mm (5/16 in) everywhere, including at pipes and jambs; install fixed cabinets first and lay the floor up to the toe kick only. If it has happened, trim the edge back where it pinches.
Subfloor not flat enough
How to spot it: Joints open or edges stand proud, often in a line over a dip. Over hollows the lock flexes with every step and eventually breaks.
Fix: Check crosswise with a 2 m (6 ft) straightedge beforehand and fill anything over 3 mm per 1 m (1/8 in per 3 ft). Lift broken planks, fill the spot and relay with planks from the spare carton.
A second pad under an attached underlayment
How to spot it: The floor gives noticeably at the seams and the plank edges move against each other.
Fix: Use only the underlayment your manufacturer names, above 400 kPa compressive strength – none at all if one is attached.
Damp slab or missing vapor barrier
How to spot it: Musty smell, swollen backing, discoloration along the joints.
Fix: Have the moisture tested before you install and lay the vapor barrier exactly as the manufacturer says; no film over wood.
Short end pieces, slivers in the last row, too little stagger
How to spot it: Loose end pieces at the wall, a staircase pattern or continuous lines in the end joints.
Fix: Work out the first and last row before you start; avoid pieces under 20–30 cm (8–12 in) and strips under 5–8 cm (2–3 in), and stagger end joints at least 30 cm (12 in).
Colored rubber feet, rubber-backed mats and casters
How to spot it: Permanent yellow or dark stains under furniture and mats.
Fix: Use felt pads and mats without rubber backing; the stain does not come out, so replace the affected planks.
Large windows without shading
How to spot it: Joints open or planks bow in front of the glass, especially on sunny days.
Fix: Shade and ventilate; in a sunroom, only install products the manufacturer approves for it.
When to call a professional
Click vinyl is a good do-it-yourself job – as long as the subfloor is right. Call a professional if any of these apply:
- Any new slab or screed: under German trade rules the installer tests readiness with the calcium carbide method right before laying. If you have no meter, have the test done – it costs little next to a new floor.
- Radiant heat without a heat-up record for the screed, or when it is unclear whether the system limits the surface temperature.
- Unevenness that needs more than a thin skim coat, or an old subfloor that sounds hollow or bounces.
- Runs longer than about 8–15 m (26–49 ft), floors running through several rooms, or stairs.
- Bathrooms with moisture problems or a curbless shower.
Frequently asked questions
- How wide should the expansion gap be for click vinyl?
- Manufacturers ask for 5–10 mm (3/16–3/8 in); most German instructions 7–10 mm. It applies at every wall, door jamb, pipe, stair and fixed cabinet. With no figure in your instructions, use 8 mm (5/16 in).
- When do I need an expansion joint in the middle of the floor?
- Depending on the manufacturer, from 8, 13 or 15 m (26, 43 or 49 ft) in length or width. Every joint in the slab has to be carried through the floor regardless. Whether each doorway needs a profile differs by manufacturer – again, your instructions decide.
- Do I need underlayment or a vapor barrier under rigid vinyl?
- Not a second pad if one is attached. Otherwise a pad with at least 200 kPa, better above 400 kPa compressive strength. A vapor barrier (polyethylene from 0.2 mm / 8 mil) goes only over concrete or screed and only when the manufacturer asks for it; over wood or old vinyl it does more harm than good.
- Can click vinyl go over radiant floor heat?
- Over hydronic heat, yes, if the slab has been heated to readiness with a record, flooring plus pad stay at or below about 0.15 m²K/W thermal resistance and the surface does not stay above 27–29 °C (81–84 °F), depending on the manufacturer. Several manufacturers exclude electric heating mats.
- How much extra vinyl should I buy?
- 5–10 % for a straight lay in a rectangular room, more with many corners, doorways or a diagonal layout. Offcuts shorter than the manufacturer's minimum length are waste, even if they still look usable.
See your first row, last row and carton count first
With the plank size, gap, shortest end piece and narrowest last row from your instructions, the planner places every plank in your room and rounds up to whole cartons – it does not check moisture or flatness.
Start planning
Sources
- Baunetzwissen – Ebenheitstoleranzen nach DIN 18202
- Forum Verlag – Lehrgangsskript Estricharbeiten, Tabelle DIN 18202 (PDF)
- Industrieverband Klebstoffe – Ermittlung der Belegreife von Estrichen (PDF)
- Baulinks – überarbeitete DIN 18560-1, 0,5 CM-% für Calciumsulfatestrich (2015)
- Bauprofessor – CM-Verfahren
- Bundesverband Estrich und Belag – Papier 01/2021 zur Messung der relativen Luftfeuchte (PDF)
- Industrieverband Klebstoffe – Fachartikel FussbodenTechnik 05/2024 (PDF)
- Baulinks – Merkblatt Unterlagsmaterialien des Verbands der mehrschichtig modularen Fußbodenbeläge (2019)
- Haustechnik-Dialog – Bodenbeläge auf Fußbodenheizung