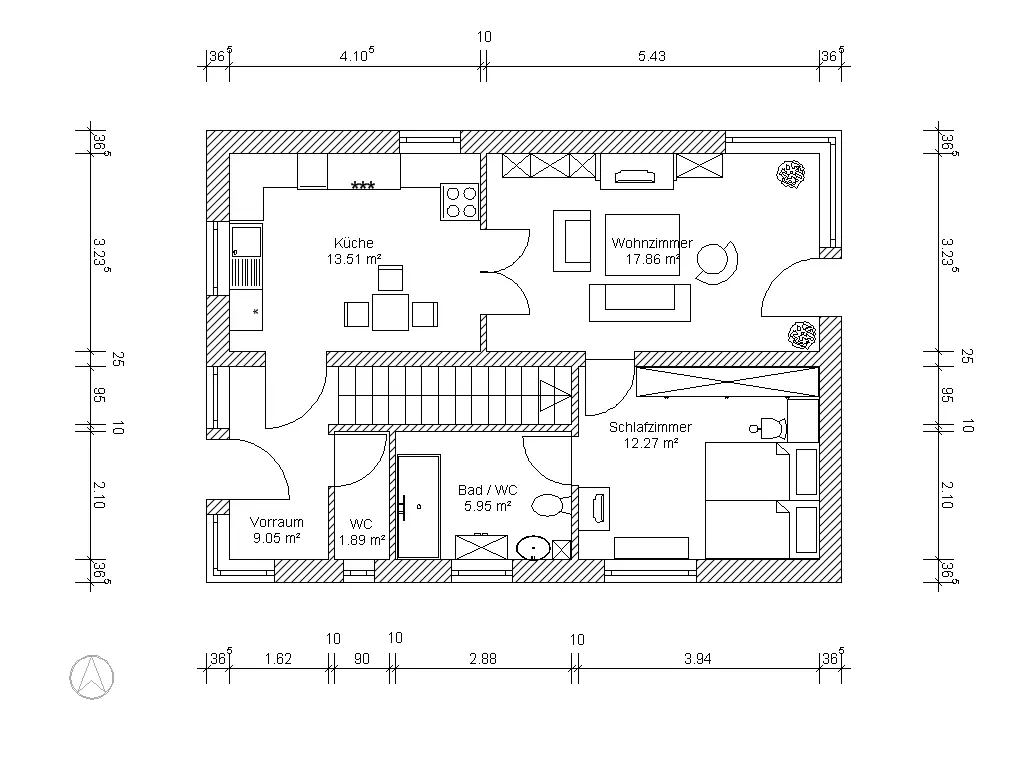
Photograph the plan on the kitchen table, drop in the architect's PDF, or bring an IFC model or a 3D scan. Set the scale once, trace the room — or let the planner find it — and you get a real layout plan: every plank placed, counted and priced. No redrawing the room wall by wall.
Try it on the demo plan →Most free planners start with an empty canvas: you measure the room, then redraw every wall with the mouse. If a drawing of the room already exists — as a photo, a PDF, a DXF, an IFC model or a scan — that work has been done once already. Autolay reads the file and lets you trace on top of it, so the room in the planner is the room on the drawing.
Drag the file onto the planner: a phone photo or screenshot (JPG, PNG, WEBP), a PDF, a DXF, an IFC/BIM model or a 3D scan (GLB, GLTF, OBJ, PLY). The drawing opens in your browser — nothing has to be e-mailed anywhere.
Draw over one length you know — a door width, a dimension line — and type it in; every number after that is in real metres. Then trace the outline, or click into the room and let the built-in segmentation find the walls. Several rooms, recesses and door openings are all allowed, and an IFC model brings its named spaces with it.
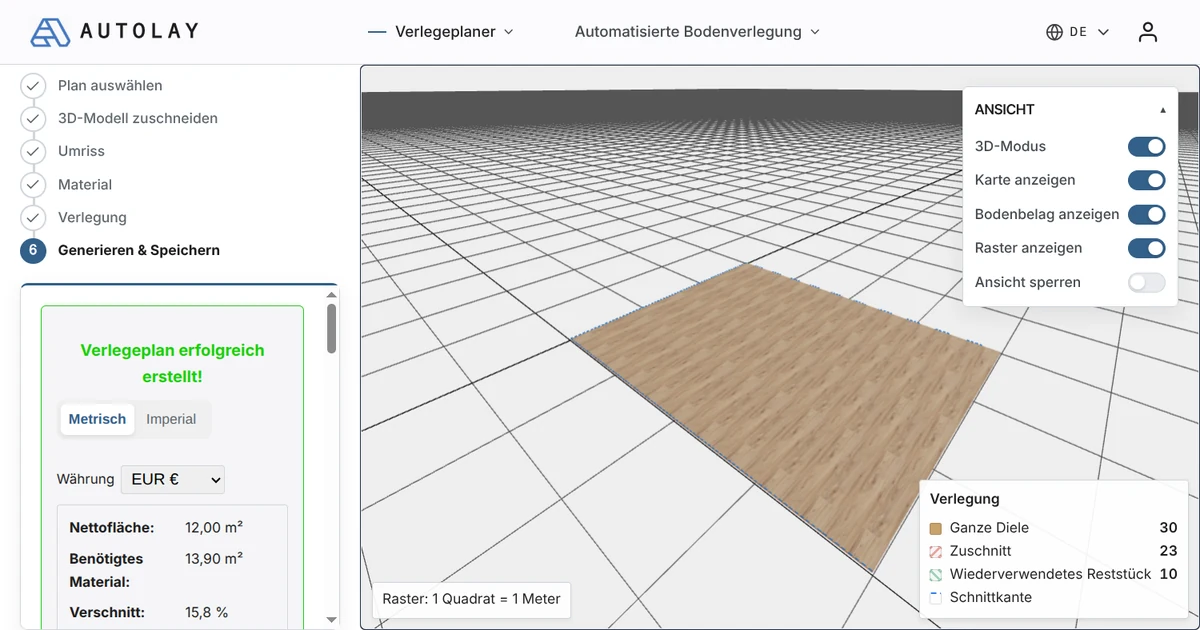
Pick the material and the laying direction, and the planner places every plank or tile: the piece count, the cut pieces at the walls, the waste percentage and the material cost. Save the project, or export the laying plan and the shopping list as one download.
In the July 2026 interface audit of the free floor planners, none of them took a file of your room: the outline had to be drawn by hand, from measurements you take yourself. Importing it changes four things:
The demo plan opens in the planner exactly the way your own photo would: set the scale, trace the room, pick a material and read the counts. Bring your own file in whenever you are ready.