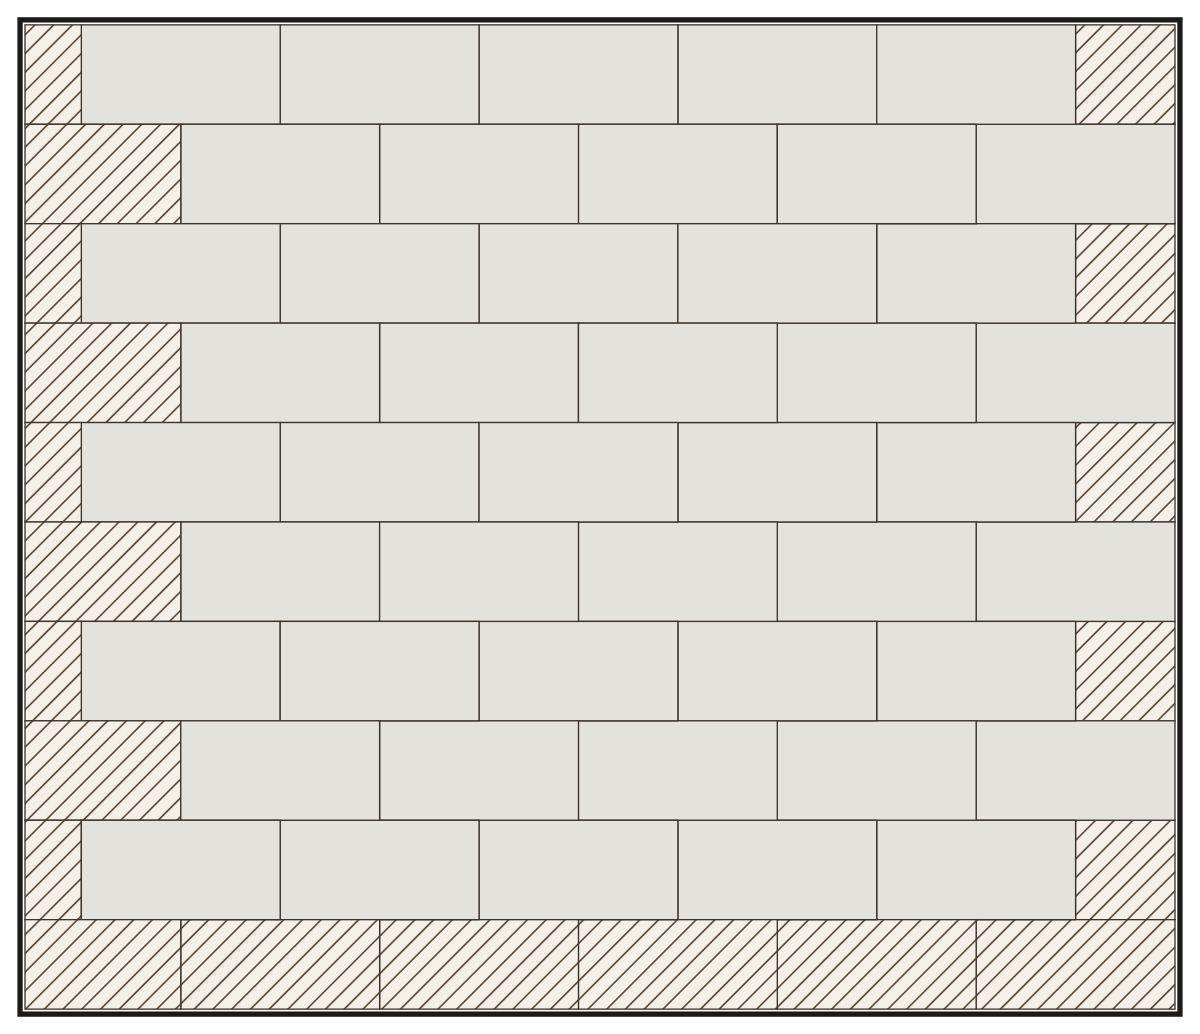
Tile adhesive calculator
Tile adhesive is sold by the bag, but you plan a floor by the square foot and the size of your notched trowel. This calculator turns your area, trowel size and tile format into the pounds — and number of bags — of adhesive to order.
Calculate the quantityHow much tile adhesive do you need?
Enter your floor area and pick the notched-trowel size you'll use — it sets a typical consumption figure you can still edit. Large-format tiles laid buttering-floating need roughly 30% more.
Default value – replace it with the manufacturer’s figure.
Optional – shows the material cost for the rounded-up amount.
You need
Enter a floor area to see the quantity.
The result updates as you type – no button to press.
Quantity = area × trowel consumption (+30% for buttering-floating).
Figures assume a full, even adhesive bed with only light skim loss; always check the adhesive manufacturer's own data sheet for your exact product.
Choosing the right trowel size
- A bigger tile needs a bigger notch: 1/4 in suits small-format tiles up to about 8×8 in, 5/16 in suits standard 12×12 to 24×24 in tiles, and 3/8 in or a double-notch trowel suits large-format tiles and rectified porcelain.
- Hold the trowel at a consistent angle — the ridges collapse under the tile, and a shallower angle leaves less adhesive than the notch size implies.
- On an uneven subfloor or an out-of-plumb wall, add a safety margin rather than relying on the average consumption figure alone.
- Tiles with a side of 15 in or more need a flatter subfloor (ANSI A108.02), and large-format tiles from about 24 in and natural stone should be buttering-floated — adhesive combed onto the tile as well as the floor — which is the +30% option above.
Consumption by trowel size
Consumption per 100 sq ft by notch size, from the data sheet of a flexible cementitious adhesive (class C2TE S1) for lightly ribbed tiles on cement screed. Bag charts for square-notch trowels often print more; type in your bag's figure:
| Notched-trowel size | Typical consumption |
|---|---|
| 3/16 in | ≈ 31 lb per 100 sq ft |
| 1/4 in | ≈ 41 lb per 100 sq ft |
| 5/16 in | ≈ 51 lb per 100 sq ft |
| 3/8 in | ≈ 61 lb per 100 sq ft |
What this calculator does — and does not
It does
Work out the pounds and bags of tile adhesive for the floor, from your area, trowel size and tile format.
It does not
Plan the tile layout, count cut tiles or work out grout — Autolay's planner does that from your floor plan. The planner also estimates the adhesive bags for the whole plan from the chosen product's coverage per bag; this calculator refines that figure by trowel size and the large-format surcharge.
From the bag count to a full adhesive bed
Worked example: a 20 m² (215 sq ft) floor with 30 × 60 cm (12 × 24 in) porcelain tiles and an 8 mm notch. Current manufacturer data sheets for a flexible C2TE S1 adhesive give about 2.5 kg/m², so 20 × 2.5 = 50 kg: exactly 2 bags of 25 kg with nothing to spare, or 3 bags where the adhesive comes in 20 kg bags. In pounds: 215 sq ft × 51 lb per 100 sq ft = 110 lb, 3 bags of 50 lb. With 60 × 120 cm tiles, a 10 mm notch and buttering-floating the same floor needs 20 × 3.0 × 1.3 = 78 kg, 4 bags of 25 kg. Where the result is a whole number of bags, buy one more for an uneven subfloor: the data sheet figure assumes lightly ribbed tiles on a flat cement screed.
Pick the notch by tile size
The notch must be deep enough for the ridges to collapse into a closed bed under the tile. Rough guide from trade practice: 4 mm for mosaic and small wall tiles, 6 mm up to about 20 × 20 cm, 8 mm for 30 × 30 to 60 × 60 cm, 10 mm and buttering-floating for larger tiles. American trowels are named by notch width × depth × spacing, for example 1/4 × 3/8 × 1/4 in square notch, and their bag charts print coverage per 50 lb bag; one American bag chart gives 55 to 65 sq ft per 50 lb bag with that trowel, about 3.8 to 4.4 kg/m², more than the European data sheet because square notches leave more adhesive. Type the figure from your own bag into the consumption field.
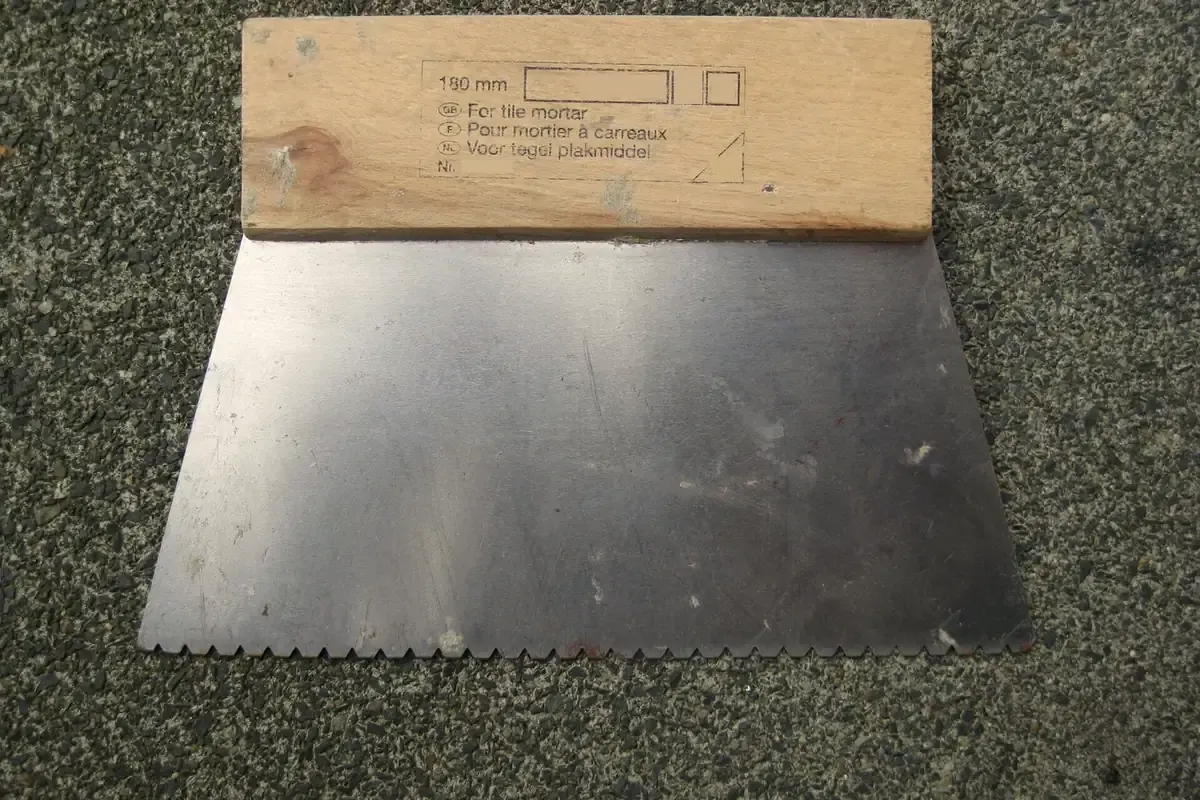
Photo: Romate, CC BY-SA 3.0, via Wikimedia Commons Prepare and prime the subfloor
The subfloor must be firm, clean, flat and dry. Absorbent subfloors such as gypsum or anhydrite screed and plaster draw water out of the adhesive and shorten its open time, so prime them first (the adhesive data sheet names a suitable primer). For tiles with a side of 15 in (38 cm) or more, the American flatness rule (ANSI A108.02) allows no more than 1/8 in in 10 ft (about 3 mm over 3 m); level the floor first instead of filling hollows with adhesive.
Mix to the bag's water amount
Water into the bucket first, then the powder: a typical flexible adhesive takes about 7.4 liters per 20 kg sack (0.37 l per kg). Mix with a slow paddle until free of lumps, let it ripen about 3 minutes, stir again. Pot life is about 3 hours for one product and more than 2 hours for another; work between +5 and +25 °C. Never thin stiffening adhesive with water.
Scrape on, then comb in one direction
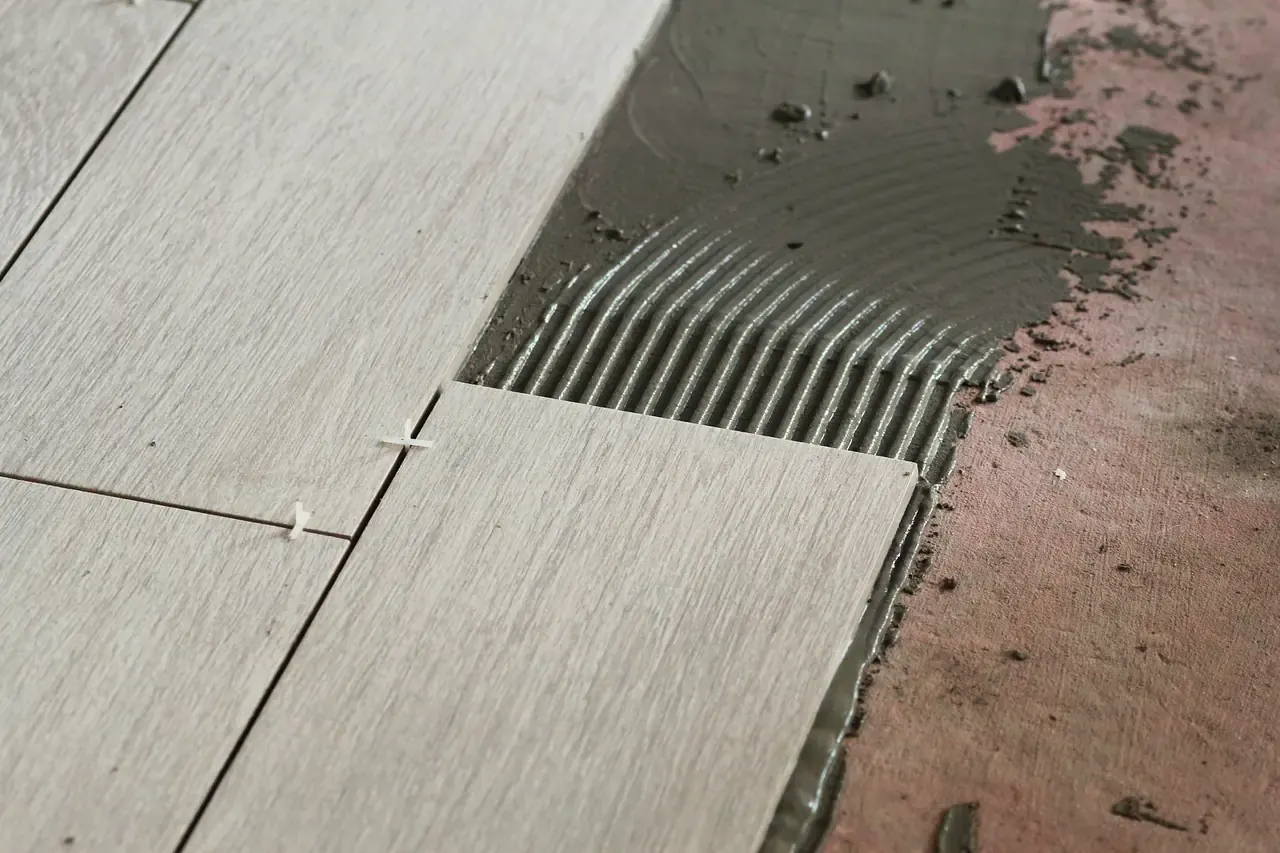
Scrape a thin contact layer into the subfloor with the flat side of the trowel, then comb on more adhesive with the notched side, all ridges in one direction. Spread only as much as you can cover within the open time, about 30 minutes for both data sheets; touch the adhesive with a fingertip, and if nothing sticks, scrape it off and comb fresh.
Set the tile and butter large formats
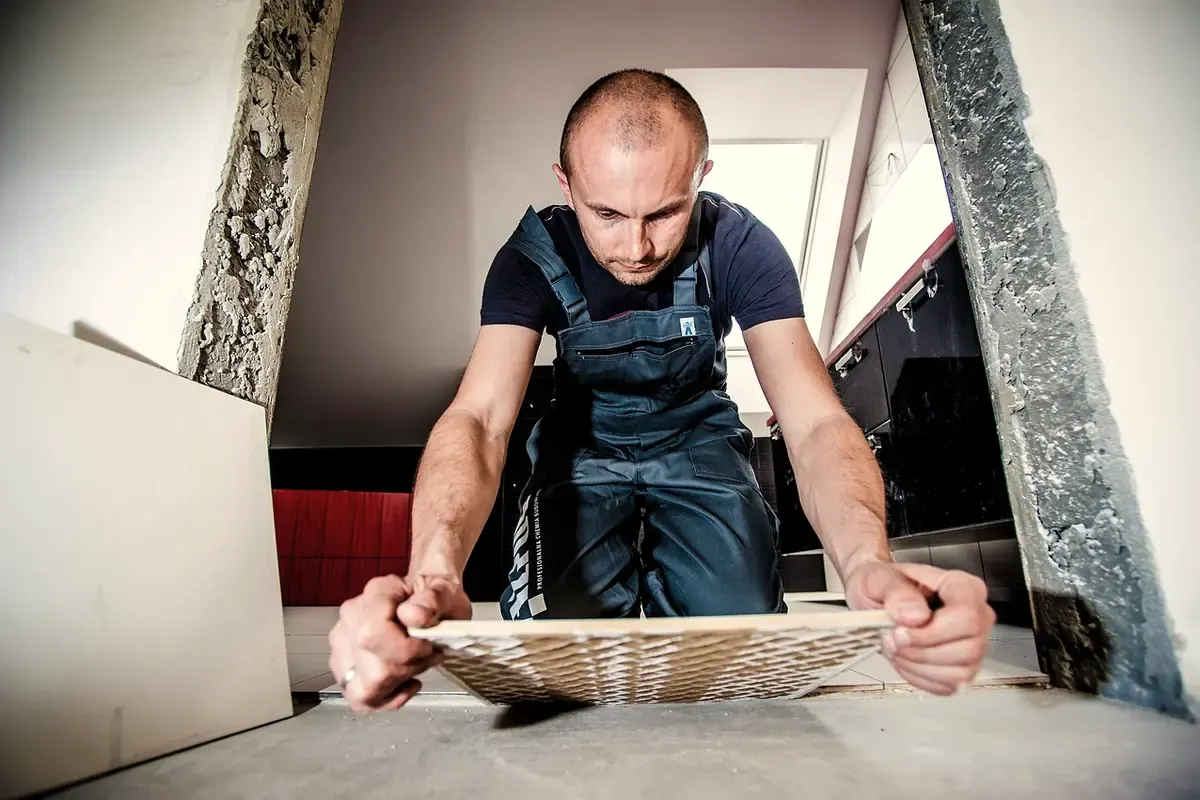
Place the tile and slide it a little across the ridges, so they collapse and close the air channels. Large-format tiles, natural stone and floors in wet areas get buttering-floating: a thin coat on the tile back as well. A 0.5 to 1 mm back coat is about 0.5 to 1.1 kg of powder per m² (from the data sheet's mixing water and fresh density of 1.5 kg/l), which is why the calculator adds 30 %.
Check flatness and contact
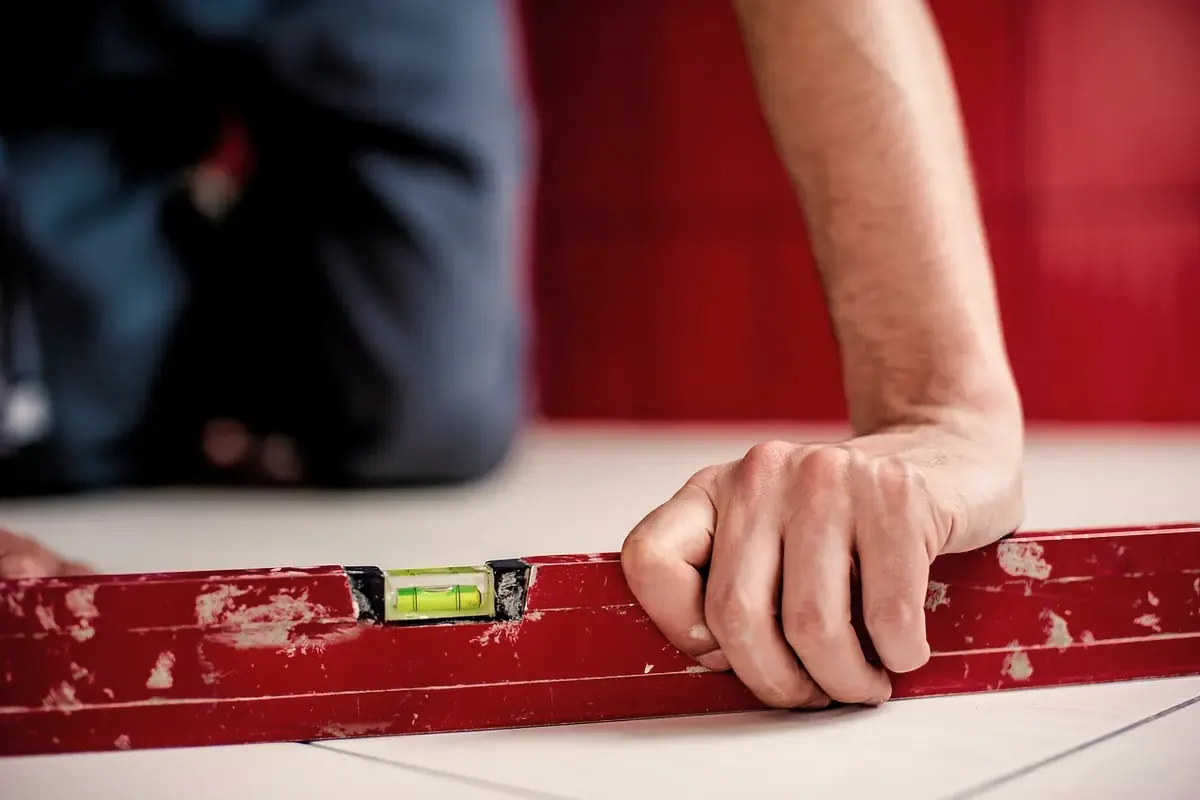
Check with a level across neighbouring tiles as you go. Lift one tile now and then: the back should be covered almost fully. American practice asks for at least 80 % contact in dry interior areas and 95 % in wet areas and outdoors; manufacturers tell installers to lift tiles periodically and back-butter if needed. Clear adhesive out of the joints so at least two thirds of the tile depth stays free for grout. A typical flexible adhesive is walkable and ready for grouting after about 8 hours, fully loadable after about 3 days.
Notch, consumption and bags by tile size
| Tile size | Notch | Consumption | 20 m² needs | Bed |
|---|---|---|---|---|
| Mosaic, wall tiles up to 10 × 10 cm (4 × 4 in) | 4 mm (3/16 in) | about 1.5 kg/m² | 30 kg, 2 bags | Floating |
| Up to 20 × 20 cm (8 × 8 in) | 6 mm (1/4 in) | about 2.0 kg/m² | 40 kg, 2 bags | Floating |
| 30 × 30 to 60 × 60 cm (12 to 24 in) | 8 mm (5/16 in) | about 2.5 kg/m² | 50 kg, 2 bags, a third recommended | Floating, check contact |
| From 60 × 60 cm, natural stone, wet areas | 10 mm (3/8 in) | about 3.0 kg/m², 3.9 kg/m² buttered | 78 kg, 4 bags | Buttering-floating |
| 60 × 120 cm and larger, thin porcelain slabs | 10 mm or a large-format trowel | Data sheet of a large-format mortar | Ask the supplier | Buttering-floating, leveling clips |
Tools and materials
| Item | Quantity |
|---|---|
| Flexible cement tile adhesive, class C2 S1 for porcelain, heated floors and large formats | calculator result, rounded up to whole bags (5, 20 or 25 kg; 10, 25 or 50 lb) |
| Primer for absorbent subfloors | per the primer calculator |
| Notched trowel in the right notch, plus a smoothing trowel for buttering | 1 each |
| Bucket and slow paddle mixer on a drill | 1 |
| Spacers, leveling clips for tiles over 60 cm | about 4 spacers per tile; clips per the clip maker |
| Level and rubber mallet | 1 each |
| Knee pads, gloves; cement adhesive is alkaline | 1 set per worker |
Common mistakes
Combing more area than you can tile in 30 minutes
How to spot it: The adhesive surface is skinned and does not stick to a fingertip; a lifted tile shows clean ridges
Fix: Scrape off skinned adhesive and comb fresh; work in smaller sections, more often in warm or draughty rooms.
A notch that is too small for the tile
How to spot it: Hollow sound when tapping, corners rock, cracked tiles later
Fix: Go one notch size up and butter the tile back; take up hollow tiles while the adhesive is fresh.
Dabs of adhesive at the corners only
How to spot it: Tiles crack under load, water collects under them in wet rooms
Fix: Always a full combed bed; in wet areas buttering-floating for a closed bed.
Thinning stiff adhesive with water
How to spot it: Weak, crumbly bed, tiles come loose
Fix: Mix smaller batches within the pot life; throw stiffened adhesive away.
Filling a wavy floor with adhesive
How to spot it: Lippage between tiles, adhesive bed thicker than the data sheet allows (typically up to about 10 mm)
Fix: Level the subfloor first with leveling compound, then tile.
When to call a professional
Standard tiles up to 60 × 60 cm on a flat, firm screed are a realistic job for a careful hobby worker. Get a tiler where the substrate or the tile size makes mistakes expensive:
- Tiles of 60 × 120 cm and larger, and thin porcelain slabs
- Heated floors, wooden subfloors and old tiled floors, which need a deformable adhesive, sometimes a decoupling layer
- Showers, wet rooms, balconies and terraces, where waterproofing comes before the adhesive
- Subfloors that are uneven by more than about 3 mm over 2 m, cracked or still damp
- Natural stone that can discolor with gray adhesive
Frequently asked questions about tile adhesive
How much tile adhesive do I need per 100 sq ft?
It depends on the notched-trowel size: about 31 lb per 100 sq ft for a 3/16 in notch, 41 lb for 1/4 in, 51 lb for 5/16 in and 61 lb for 3/8 in. The calculator multiplies your area by this rate, so 215 sq ft with a 5/16 in trowel comes to roughly 110 lb.
What trowel size should I use?
The notch should match the tile: 1/4 in for small-format tiles up to about 8×8 in, 5/16 in for standard 12×12 to 24×24 in tiles, and 3/8 in or larger for big-format or rectified tiles. A bigger notch leaves a thicker, more forgiving bed.
Why does large-format tile need 30% more adhesive?
Large or heavy tiles are laid buttering-floating — adhesive combed onto both the tile back and the floor — to close air pockets and get full contact, which matters for their weight and size. That adds roughly 30% to the floor-only figure.
How many bags is that, and how does it round?
The calculator divides the total pounds by your bag size and always rounds up to a whole bag. At 110 lb with 50 lb bags that is 3 bags (110 ÷ 50 = 2.2, rounded up).
Is the calculator free and does it run in the browser?
Yes. It runs entirely in your browser, free and without signing up, and nothing is sent to a server. Enter the area, trowel size and bag size to see the pounds and number of bags.
Planning the tile layout
Once the adhesive is on the floor, the Autolay planner works out the tile count, cut pieces and waste from a photo of your floor plan, an IFC building model or a 3D scan.
Start planning