
Autolay LogoAUTOLAY
Flooring Calculator
Automated Flooring
Create a flooring planFree to start
Getting StartedTutorialGuides
Try Demo
Floor Plan3D ScanBIM
Floor-Laying RobotProcessTechnologyBooking ServicesRobot Dashboardsign in
Autolay
Flooring Calculator
Create a flooring planGetting StartedTutorialGuides
Try Demo
Floor Plan3D ScanBIM
Automated Flooring
Floor-Laying RobotProcessTechnologyBooking ServicesRobot Dashboardsign in
Language
Autolay Logo
AUTOLAYAutomated Flooring

Company

About UsNewsletter

Service

Customer ServiceOur ServicesAPI for developers
© 2026 Autolay. All rights reserved.
ImprintPrivacy PolicyTerms & ConditionsRevocation PolicyCookies

We value your privacy

We use cookies for website statistics (Google Analytics).

We use cookies to analyze our website traffic using Google Analytics and improve your experience. You can read more about how we handle your data in our Privacy Policy and Cookie Policy.

"Accept All" turns on Google Analytics with cookies so we can see how the site is used. "Accept Essential Only" sets no analytics cookies and does not recognise your device — your visit is only counted anonymously, without cookies.

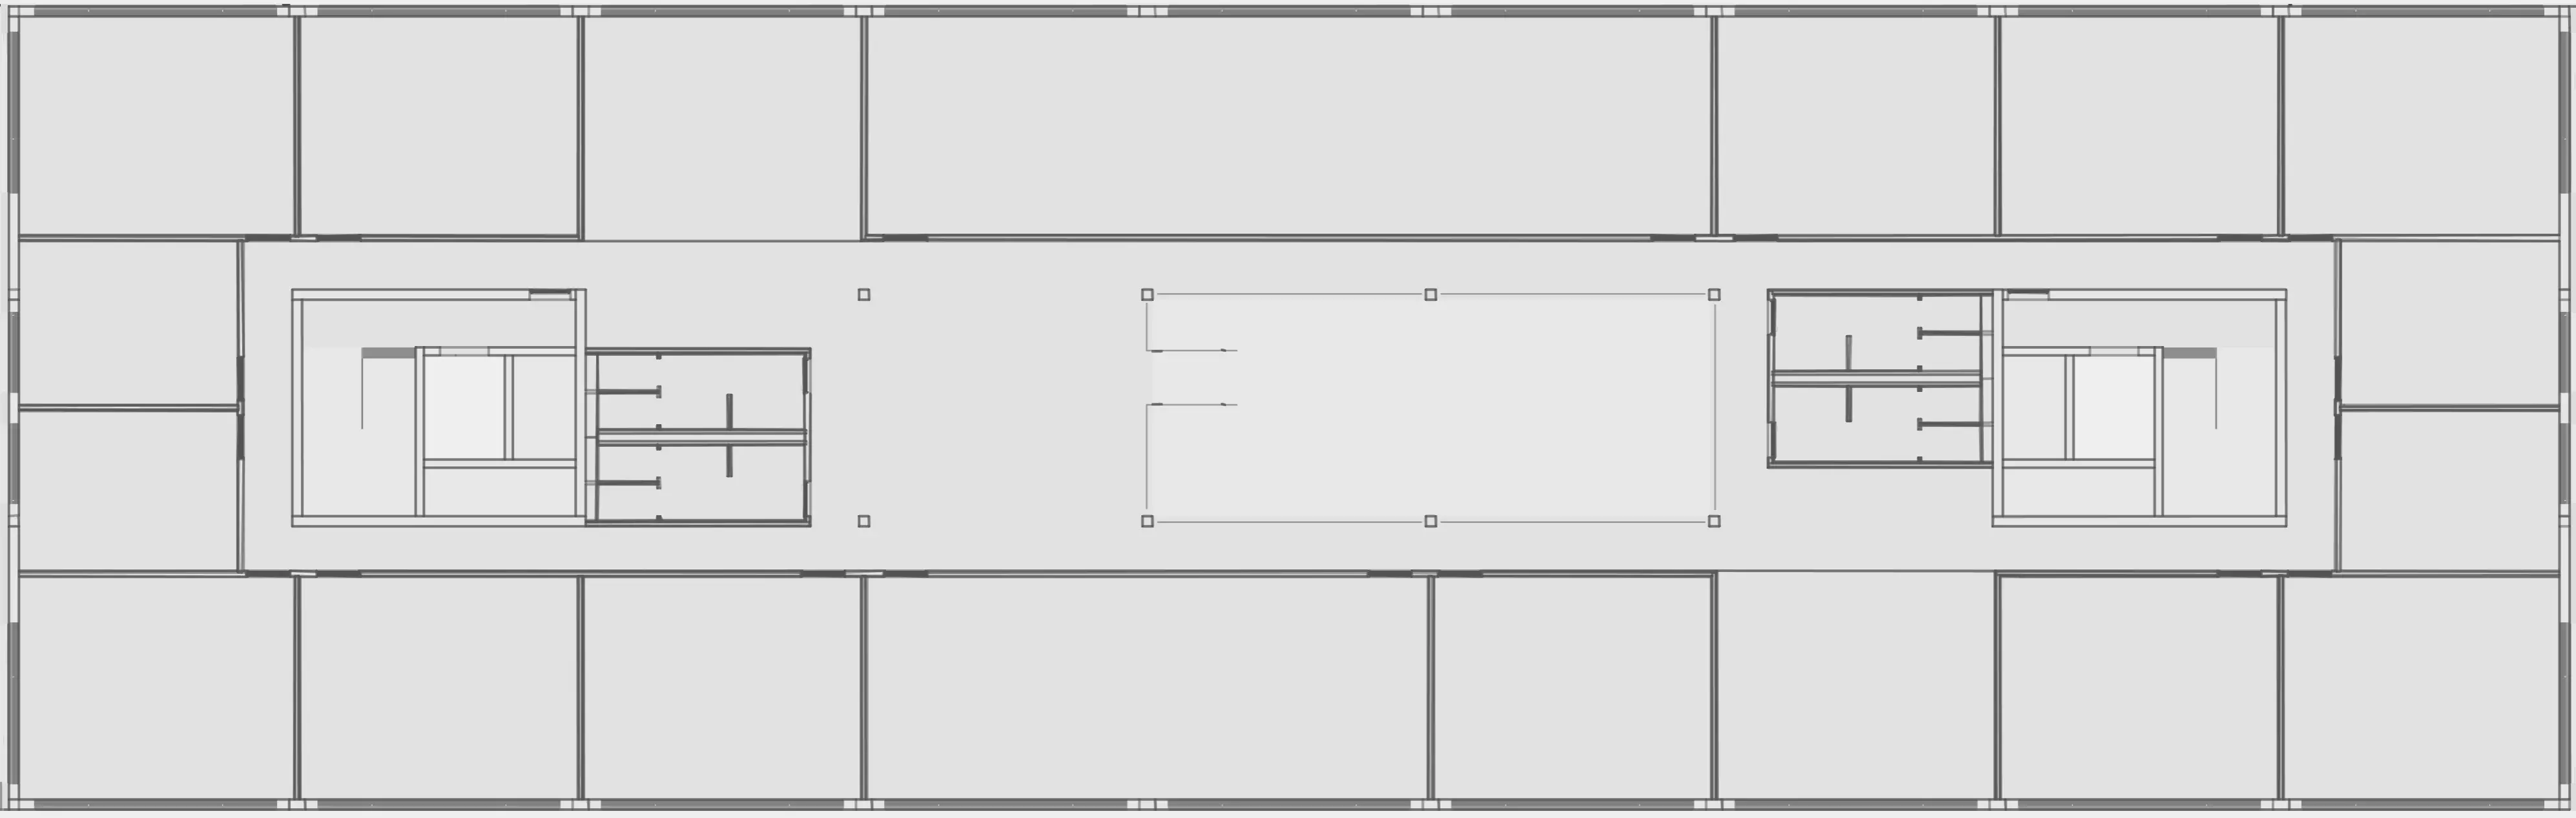
Top-down view of a building storey from a BIM model: walls, rooms and cores.
Laying patterns

Flooring Pattern Calculator: Waste per Pattern for Laminate and Parquet

The laying pattern decides how much of your floor becomes waste: a straight run keeps it low, because the offcut from one row starts the next, while herringbone and chevron fill the perimeter with angled cuts and often land in the 10–20 % range. This pattern calculator lays each pattern out in your real room and returns the material list, the waste percentage and the cut list for every one of them — straight, offset, herringbone and chevron — free in the browser.

Calculate waste per pattern →
Setting-out — pattern and perimeter cutsPARQUET
NET 215.3 ft²ORDER 253.0 ft²WASTE 17.5 %

What a laying-pattern calculator has to do

Choosing a pattern from a catalogue photo tells you nothing about the cost. A calculator earns its place only if it turns the pattern into real numbers for your room:

  • Cover the patterns people actually lay — straight, offset (half-bond), herringbone and chevron.
  • Compute the waste per pattern from the real room shape, because a herringbone or chevron field wastes far more than a straight run.
  • Put the patterns side by side, so you can compare the waste before you commit and order.
  • Produce a cut list for the chosen pattern: which planks are cut, at what length, and which offcuts reappear at the opposite wall.

From pattern to material list in four steps

  • Bring the room in: a photo of the plan, a PDF, an IFC/BIM model or a 3D scan.
  • Trace the outline and set the scale, so every following number is in real metres.
  • Pick the pattern — straight, offset, herringbone or chevron — and the plank size.
  • Get the material list, waste percentage and cut list for that pattern, then compare the patterns or order against it.

How much does the pattern change the waste?

Straight and offset

Planks run wall to wall and the offcut from one row starts the next, so waste stays low. This is the baseline every other pattern is measured against.

Herringbone

Every plank meets its neighbour at a right angle, so the perimeter fills with angled cuts and the waste climbs — often into the 10–20 % range, depending on the room.

Chevron

Planks are mitre-cut at an angle to meet in a continuous V, which produces the most waste of the common patterns. Only a real calculation gives the number for your room.

Choose the pattern for the room, not for the catalogue photo

Every laying pattern was photographed in a large, square, well-lit room, which is the one setting where all of them look good. In a real room the proportions do the deciding. A long narrow space laid across its width reads as a series of stripes and looks shorter; laid along its length it reads as a single surface. A small room takes a large-format herringbone badly, because the eye needs several full repeats to recognise a pattern and a 9 m² room only shows two.

Light is the second constraint and the one most often ignored. A plank joint catches the light along its length: run the planks towards the main window and the joints disappear, run them across and every joint casts a thin shadow line all day. In rooms with large glazing this decides how the floor looks far more than the pattern does.

Only after those two questions does the material calculation become interesting — and then it can still overturn the choice, which is why it is worth running both candidates through the planner before the material is ordered rather than after.

  • Long, narrow rooms and corridors: run the planks along the length — fewer end joints, fewer cuts, a longer-looking room.
  • Rooms with one dominant window: run the planks towards the light, so the joints do not cast shadow lines.
  • Small rooms: a smaller plank or a plain offset pattern; large-format herringbone needs the repeats to be readable.
  • Rooms opening into one another: one setting-out origin for the whole floor, otherwise the courses step at the threshold.

Offset patterns: the bond fraction is a real decision

'Offset' covers several different floors. A half-bond staggers every row by exactly half a plank, which produces a regular brick pattern and a strong rhythm. A third-bond staggers by a third and reads calmer. A random stagger varies row by row and is the most forgiving of odd room widths, because it can absorb offcuts of many lengths instead of only one.

The bond fraction changes the material figure in two opposite ways. A fixed half-bond can only reuse an offcut that happens to be near half a plank, so the rest of the offcuts stay in the bin; but it always starts a row with a known piece, so the perimeter cuts repeat and the cut list is short. A random stagger reuses far more offcuts and generates a longer, less repetitive cut list that takes more attention on site.

Whichever you pick, the minimum end-joint distance is not negotiable. Manufacturers commonly require 30 to 40 cm between the end joints of neighbouring rows, and a click floor that ignores it loses joint strength exactly where it is most walked on — near doorways, where the rows are shortest and the temptation to cheat is greatest.

The rules a pattern has to obey before it is a plan

A pattern that looks right on screen can still be unbuildable. Four constraints decide that, and all four belong in the plan rather than in the fitter's head on the day.

The expansion gap comes first: floating floors need a clear perimeter gap, typically 10 to 15 mm and more for large areas, and the skirting has to be able to cover it. Second, continuous runs have a maximum length — most manufacturers ask for an expansion joint every 8 to 12 m, and a doorway is the natural place to put one. Third, underfloor heating limits both the material and the pattern's glue-down variants. Fourth, the room's own squareness sets a floor under what any pattern can achieve: in a room that is 3 cm out over 5 m, a pattern that keeps a constant joint line against one wall will visibly taper against the opposite one.

Autolay applies the gap and the perimeter rules while it lays the pattern, so the material list is for a floor that can actually be built, not for a geometric ideal that gets adjusted on site.

  • Perimeter expansion gap of 10–15 mm, covered by the skirting — larger on big floors and on click floors.
  • An expansion joint or a threshold profile every 8–12 m of continuous run, and at every doorway that narrows.
  • Check underfloor-heating compatibility for the material and the fixing method before the pattern is chosen.
  • Measure the diagonals: a room that is out of square needs the taper put where it is least visible, which is a setting-out decision.

The pattern behaves differently in each material

The same word means different work depending on what is being laid. In click laminate and click LVT the pattern is limited by the locking profile — herringbone needs a dedicated left/right product and cannot be improvised from ordinary planks. In glue-down parquet almost any pattern is possible, but every piece is set into adhesive and a mistake has a working time rather than a click to correct it.

Tile changes the constraints again. A brick bond in a long-format tile builds up lippage at the middle of each neighbouring tile, which is why most manufacturers cap the offset at a third rather than a half for tiles over 60 cm. Large formats also need a flatter substrate than the pattern itself suggests: the pattern shows the deviation, the substrate causes it.

Sheet materials — vinyl in rolls, linoleum — are a different calculation entirely, because the waste is driven by roll width against room width, and a pattern repeat has to be matched across every seam. The number that matters there is how many room widths fit into a roll width, not a percentage.

Compare patterns on the cut list, not on the percentage alone

A waste percentage is one number and it hides two others. The first is packs: two patterns that differ by three percent on paper can land on the same pack count once the figure is rounded up, in which case the cheaper-looking pattern costs exactly the same. The second is cuts: the cut list tells you how many pieces have to be measured, marked and sawn, and that number drives the labour, which on most jobs is the larger half of the invoice.

So compare like a buyer, not like a spreadsheet. Run each candidate pattern through the planner for your real room, and put the three numbers side by side: packs to order, cut pieces to make, and the waste percentage that explains the difference between them. That comparison usually settles the question in a way a catalogue photograph cannot.

It also makes the decision reversible. Changing your mind on the pattern before the order is a click; changing it after the pallet arrives is a return, a restocking fee and a delayed start. The planner is free, and running it twice costs nothing but the minute it takes.

Get the number for your own pattern

Autolay's free planner takes a photo of your floor plan, a BIM/IFC file or a 3D scan, lets you switch the pattern, and computes the exact material list, waste percentage and cut list for each one before you order anything.
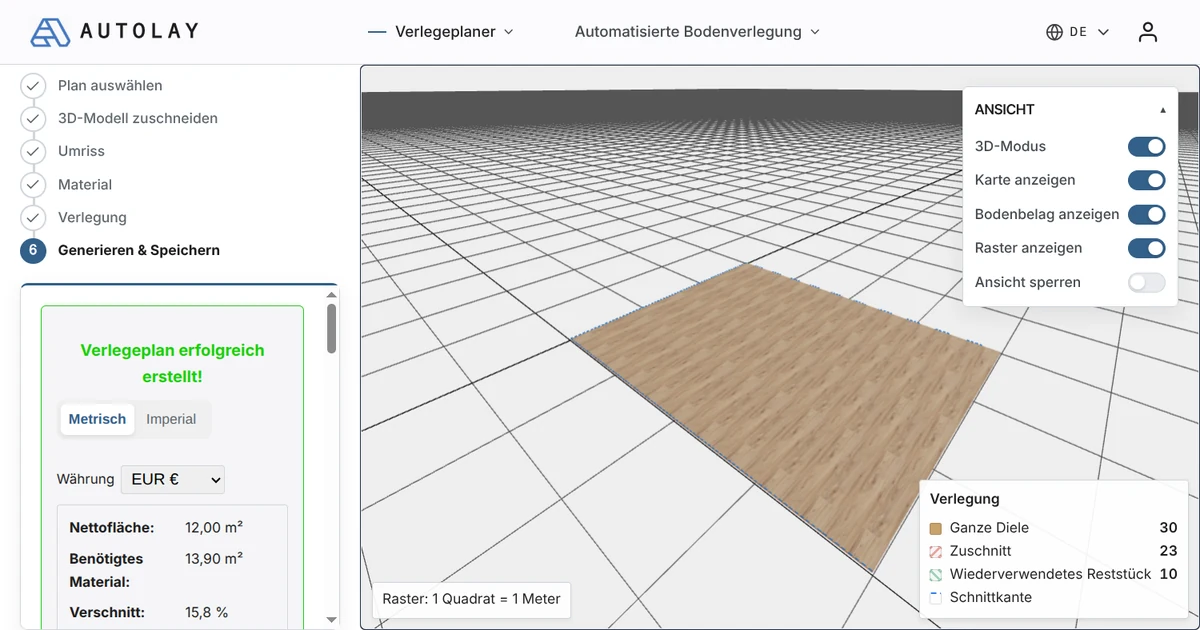
The Autolay layout planner showing a generated 3D wood-plank floor with a live panel of material quantities and waste percentage.
The same room, laid out and costed in the Autolay planner — exact piece count and waste percentage, before you order.
Open the free planner →

Pattern calculator FAQ

Which laying patterns can I calculate?
The planner covers the patterns people actually lay — straight, offset (half-bond), herringbone and chevron — so you can compute and compare each one for your own room.
How does the pattern change the cut pieces and the waste percentage?
A straight or offset run keeps waste low because the offcut from one row starts the next. Herringbone fills the perimeter with angled cuts and often lands in the 10–20 % range, while chevron's mitre cuts produce the most waste of the common patterns.
Is it free, and are the numbers the real per-pattern counts?
Yes — it runs free in your browser and computes the exact material list, waste percentage and cut list from your traced room for each pattern, instead of applying one fixed formula.
Which direction should the planks run?
The default is along the longest wall and, where possible, parallel to the main light source, because a plank joint that runs towards a window is far less visible than one lit across. In narrow rooms and corridors, running along the length also cuts the number of end joints and therefore the number of cuts. Where the two rules disagree — a long room with the window on the short wall — the light usually wins in living spaces and the length wins in corridors.
What is the minimum stagger between end joints in an offset pattern?
Most manufacturers ask for at least 30 to 40 cm between the end joints of neighbouring rows, and some require a third of a plank length. Below that the floor develops visible steps and, in a click floor, the joint loses strength. The planner keeps the stagger you set on every row, including the perimeter rows, which is exactly where a hand-laid floor tends to drop below the minimum.
Is a random stagger cheaper than a fixed half-bond?
Usually slightly, because a random stagger can consume offcuts of many different lengths instead of only the one length a fixed bond needs. The saving is a point or two and it depends on the plank length and the room width, so it is worth calculating rather than assuming. What a random stagger costs is discipline: it still has to respect the minimum end-joint distance, and left to chance it often does not.
Does the pattern change the labour cost as well as the material?
Yes, and often by more. A herringbone or chevron field takes roughly twice as long to lay as a straight run of the same area, because every piece is placed to an angle and the perimeter is cut individually. The cut list tells you how many cuts the pattern needs, which is the number a day rate is really priced against — so compare patterns on cuts and packs, not on the waste percentage alone.
Can the same pattern run through several rooms and a hallway?
It can, and it usually looks best when it does — but the courses then have to line up across every threshold, which means the whole floor is set out from one origin instead of room by room. Plan the rooms as one outline where the covering is continuous, and use a threshold profile where it is not. A continuous run also has to respect the manufacturer's maximum length before an expansion joint, typically 8 to 12 m.

Flooring guides

Learn how autolay measures, plans and prices a floor:

  • Layout SoftwareWhat flooring layout software has to do: turn a floor plan into a laying plan with the exact material list, waste percentage and cut list — and a free planner that runs in the browser.
  • Herringbone Waste %Herringbone flooring typically wastes 15–20% more material than a straight lay. Formula, worked example, and your exact % free in the browser.

All guides →